
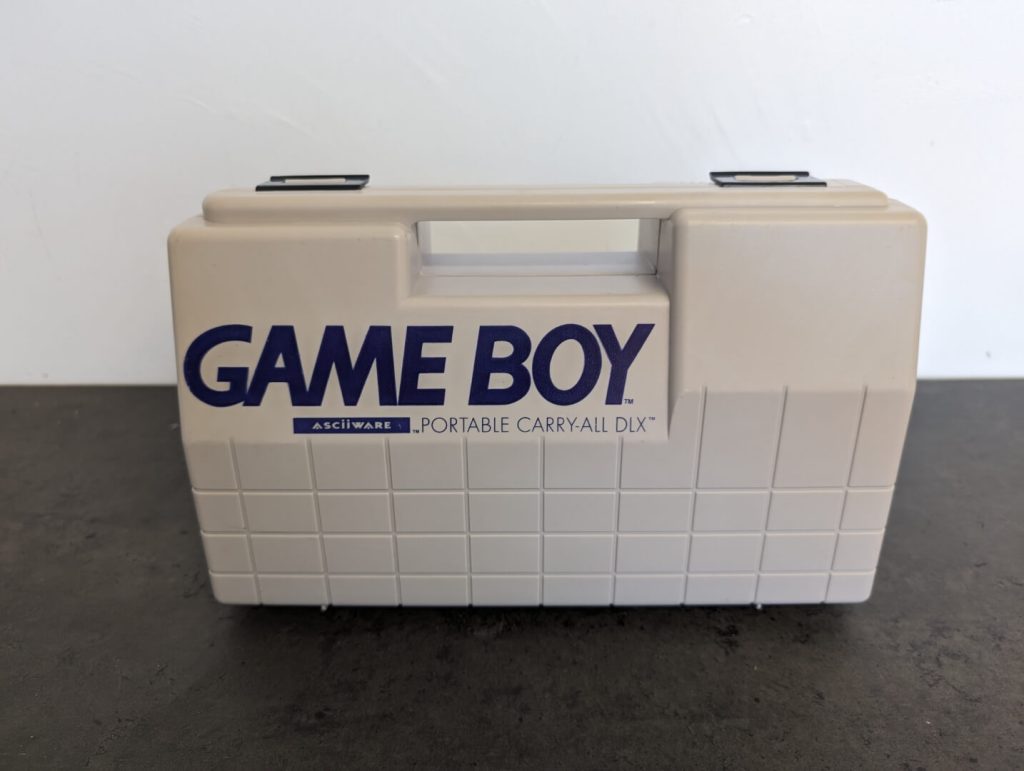
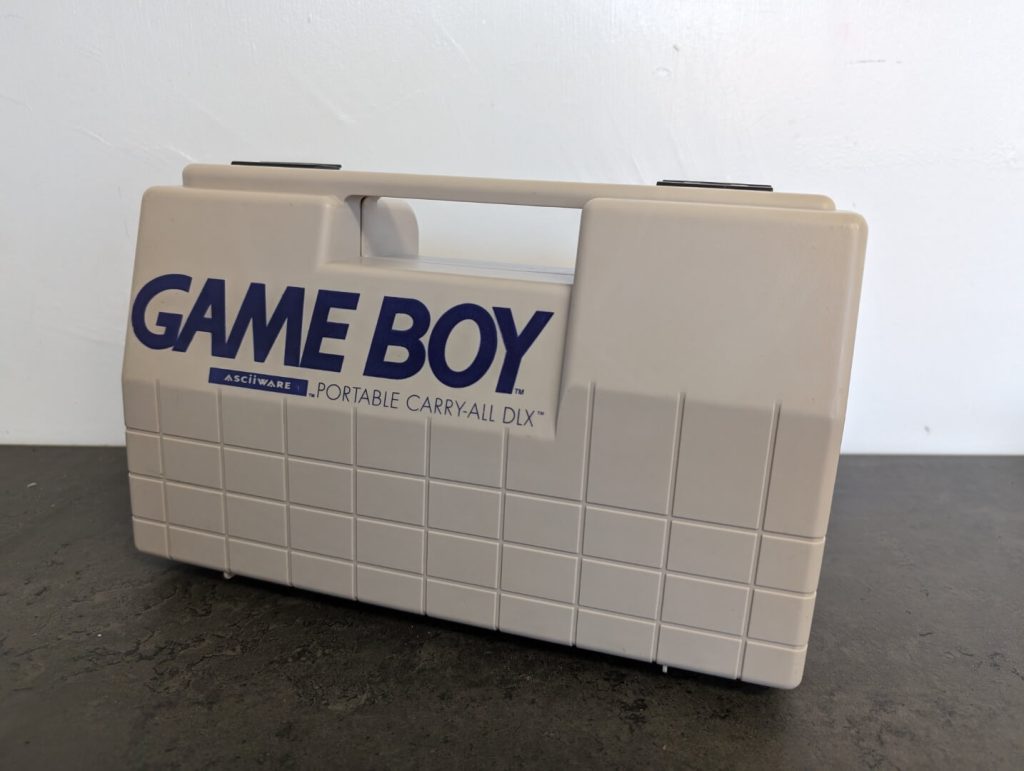
So on a recent day off, I decided that I would tackle 3 projects that had been on the back burner for a bit of time. I first had to do a little retrobrighting on my Game Boy case, fix 2 joysticks with stuck buttons, and fix a NES with a blinking light issue.
Retrobrighting
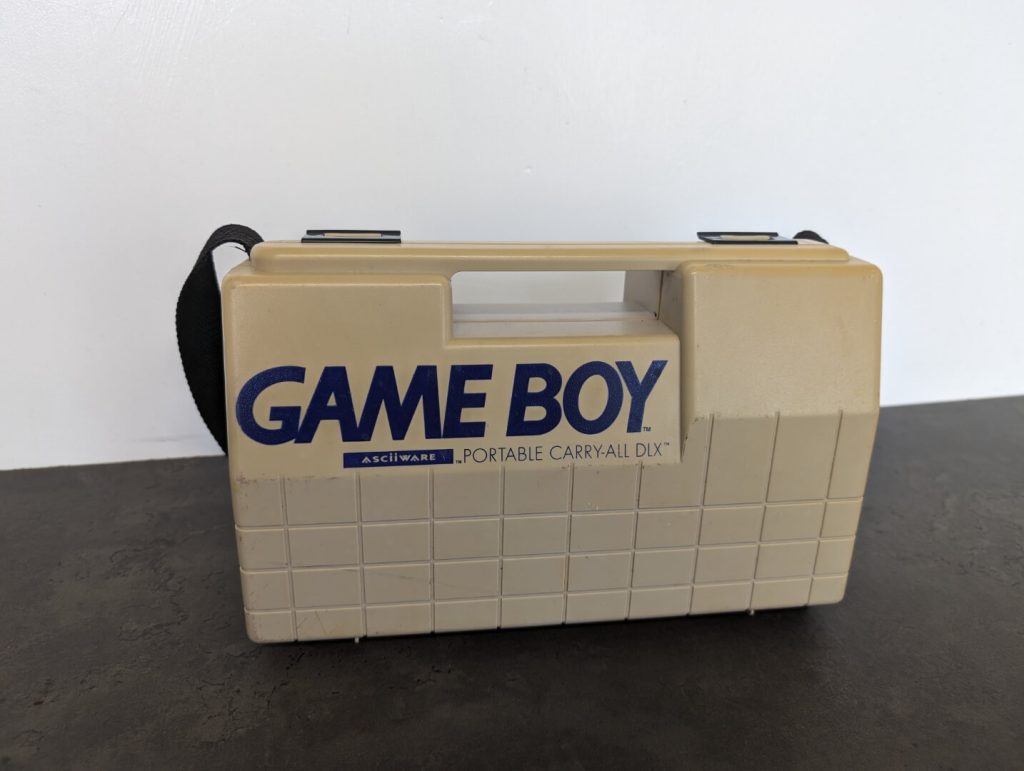
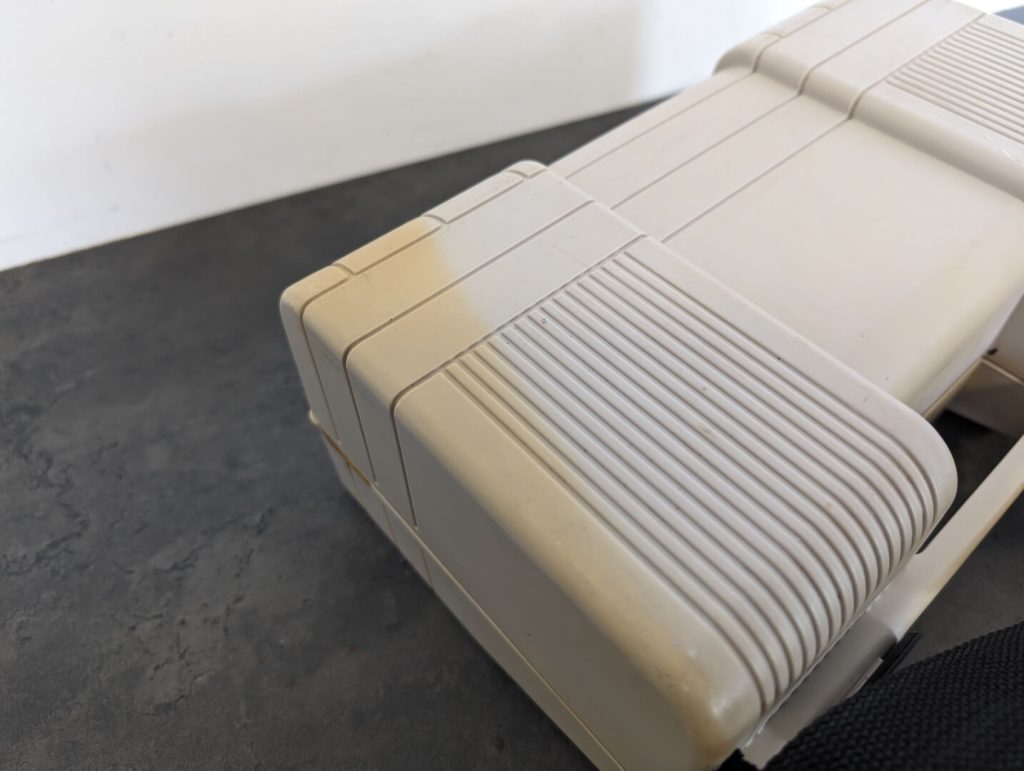
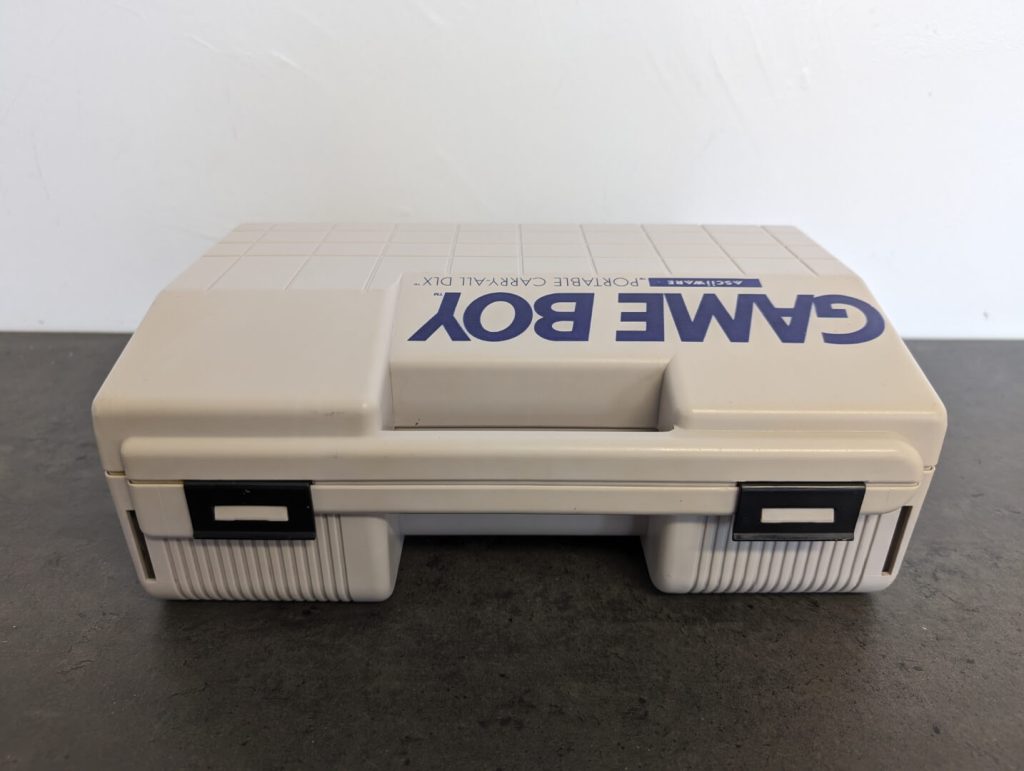
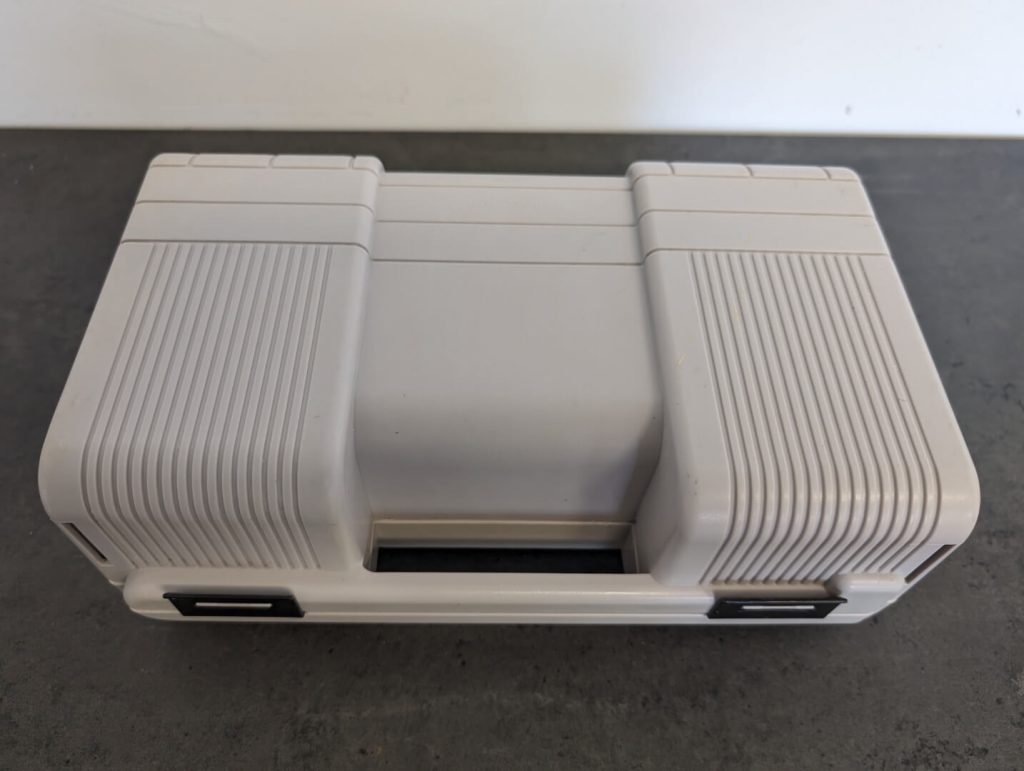
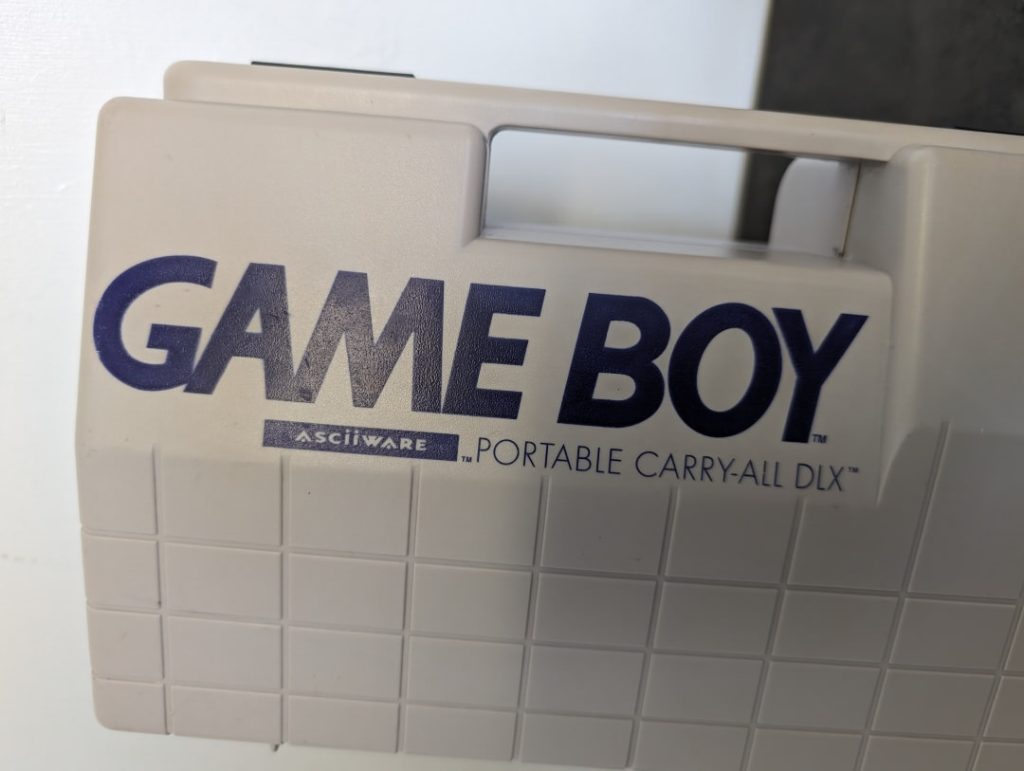
You can really see how discoloured the case was, the photos don’t actually show how bad it was.
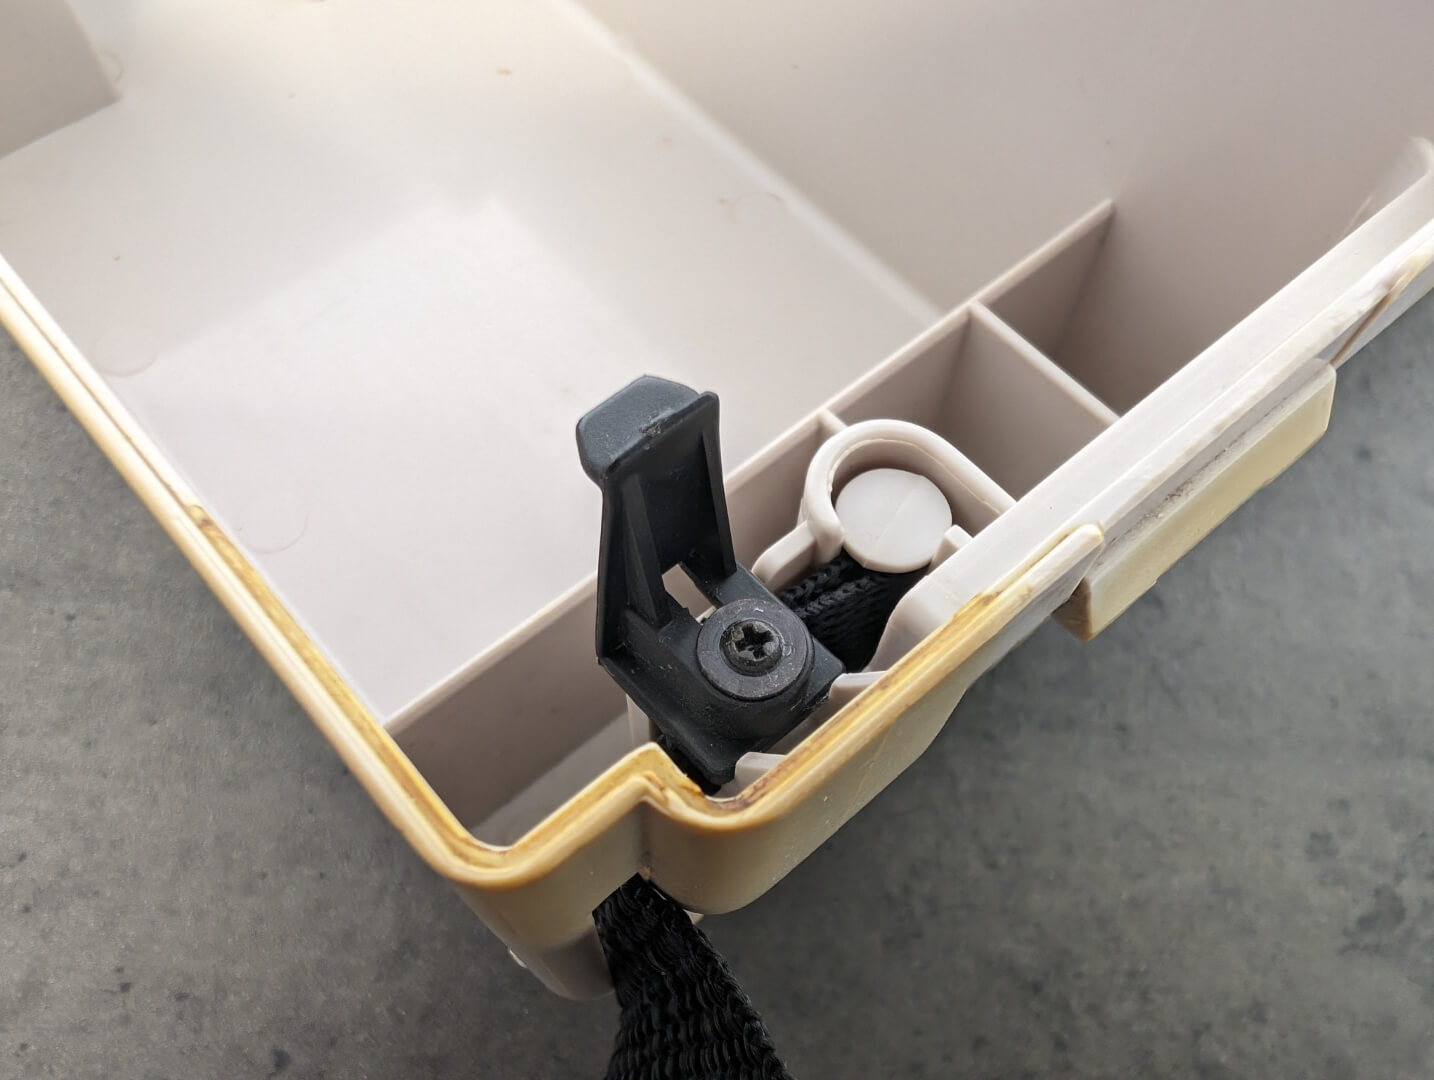
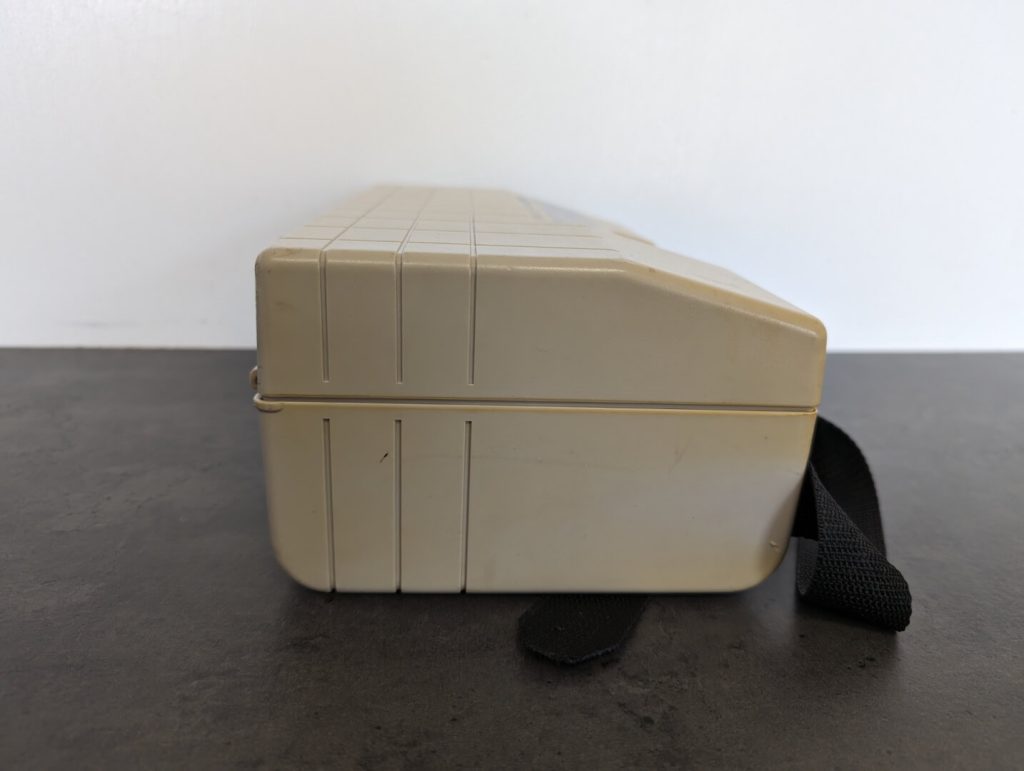
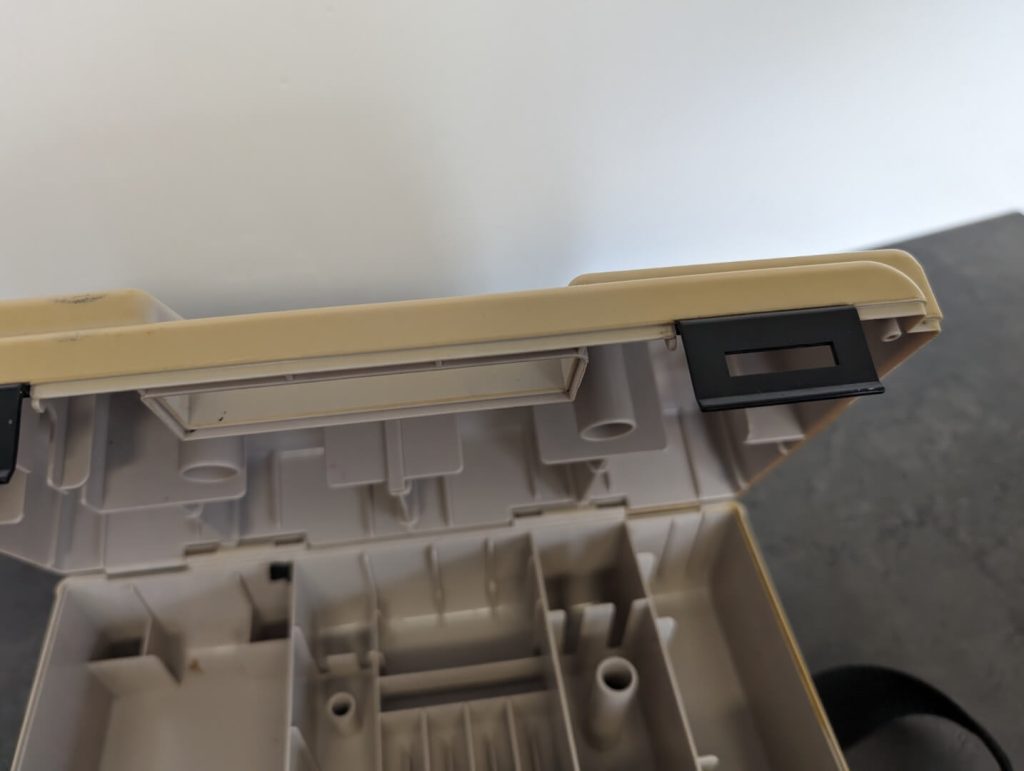
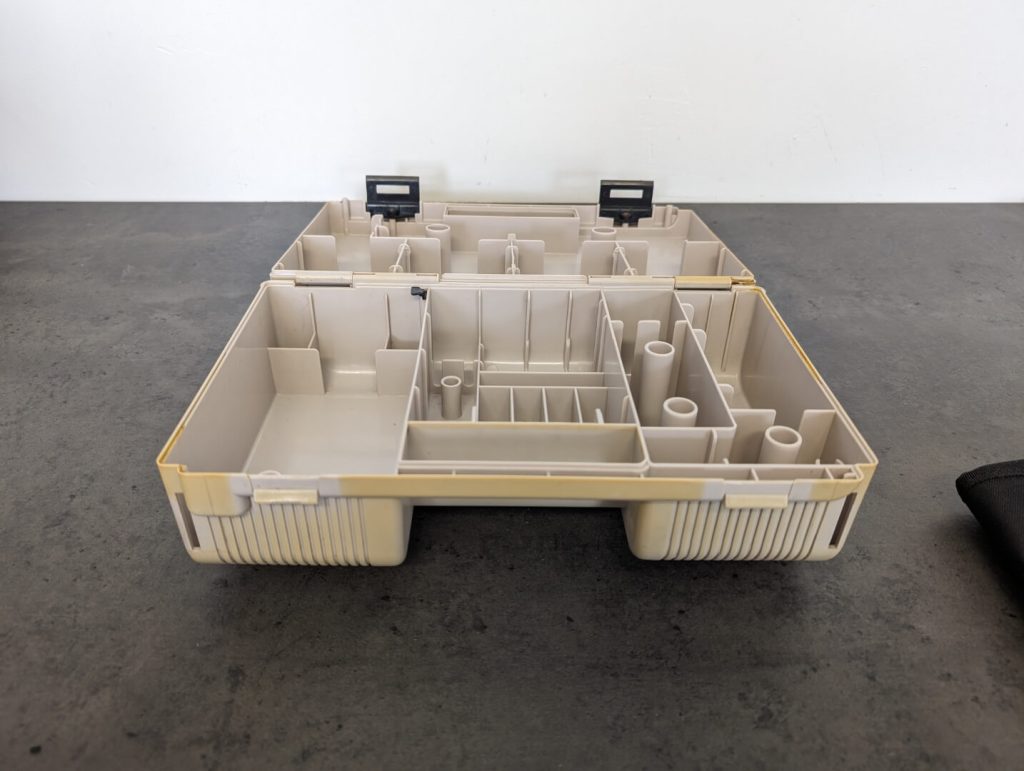
I first had to remove the strap and any screws.
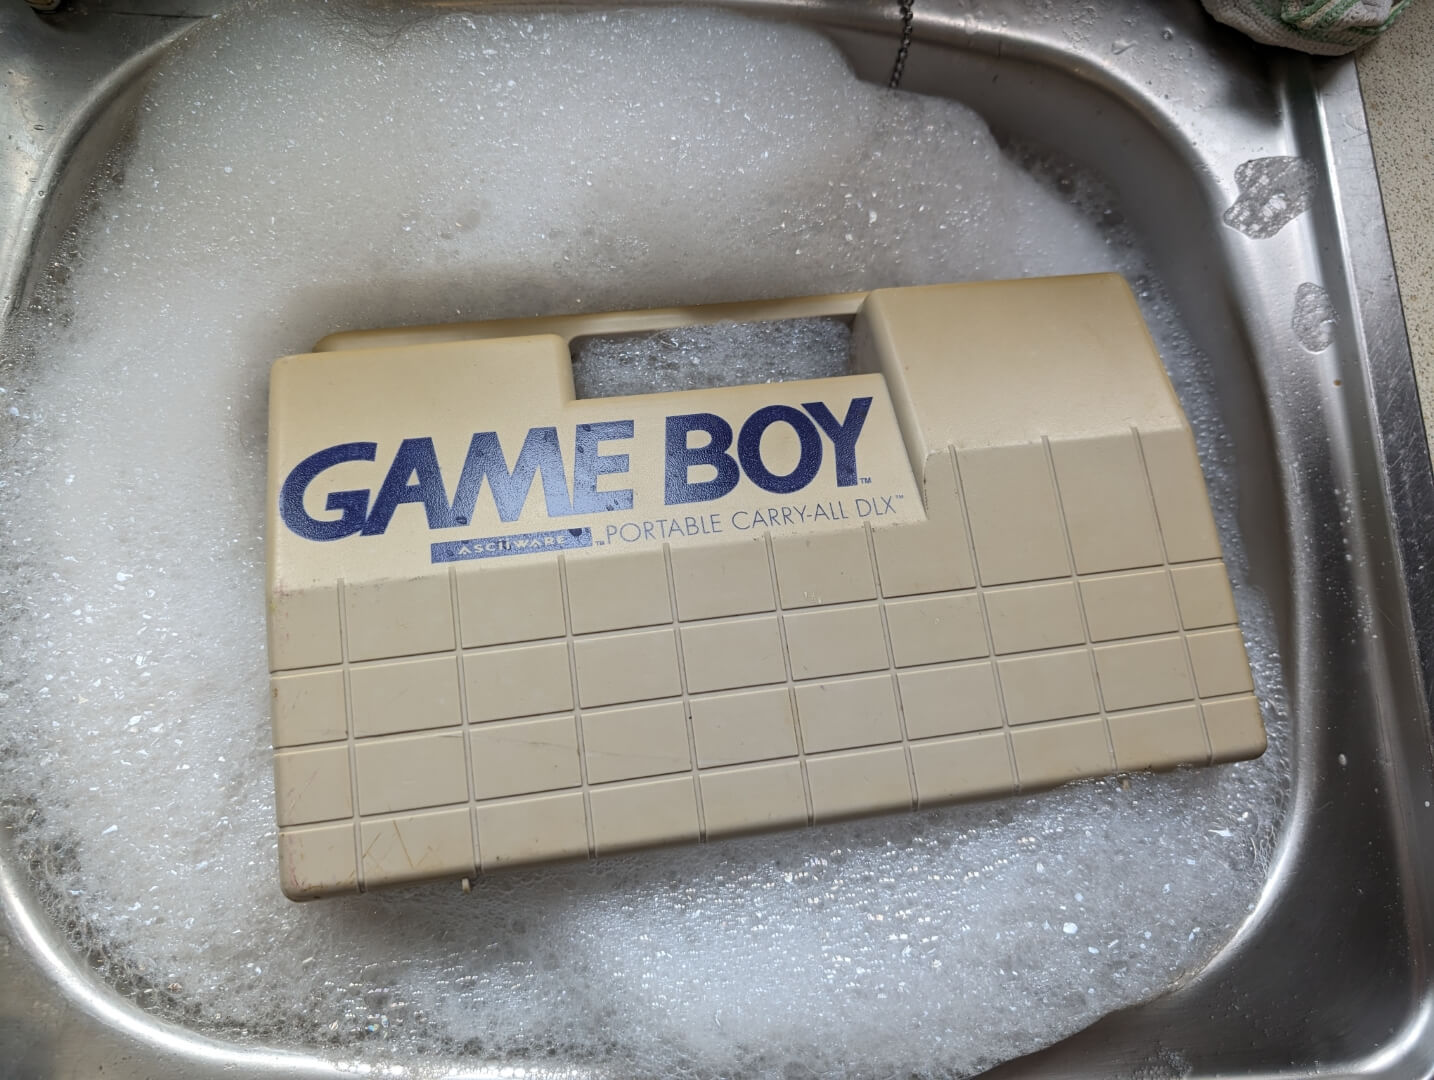
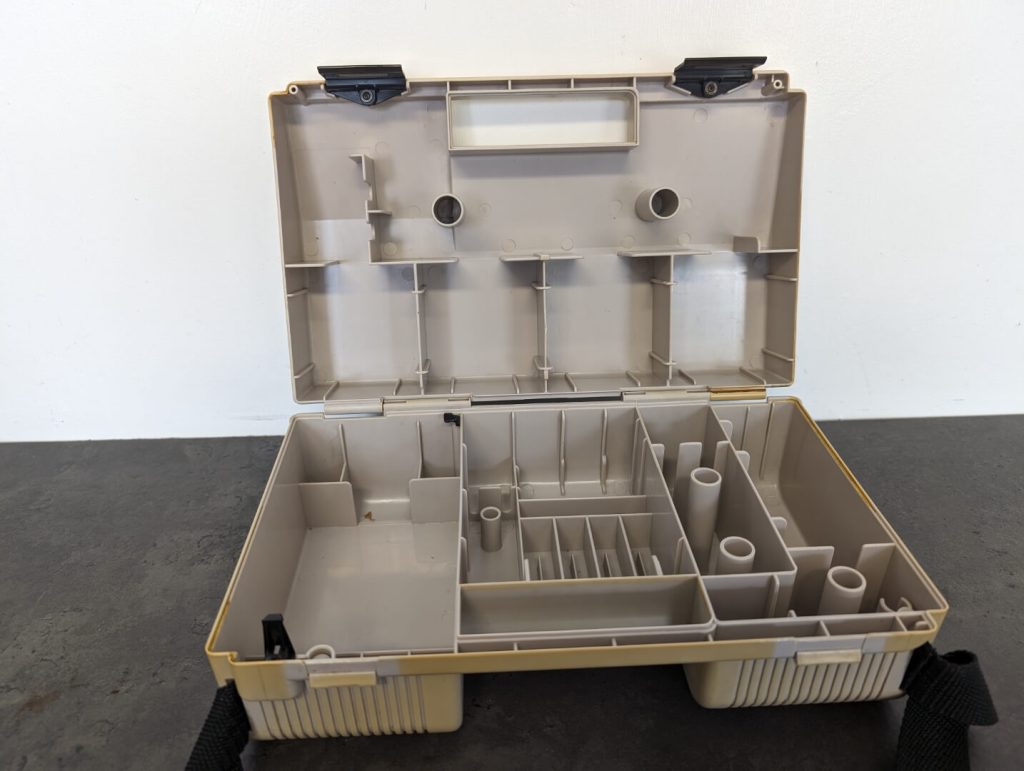
Then I gave it a nice bath to remove any dirt and give it a thorough clean.
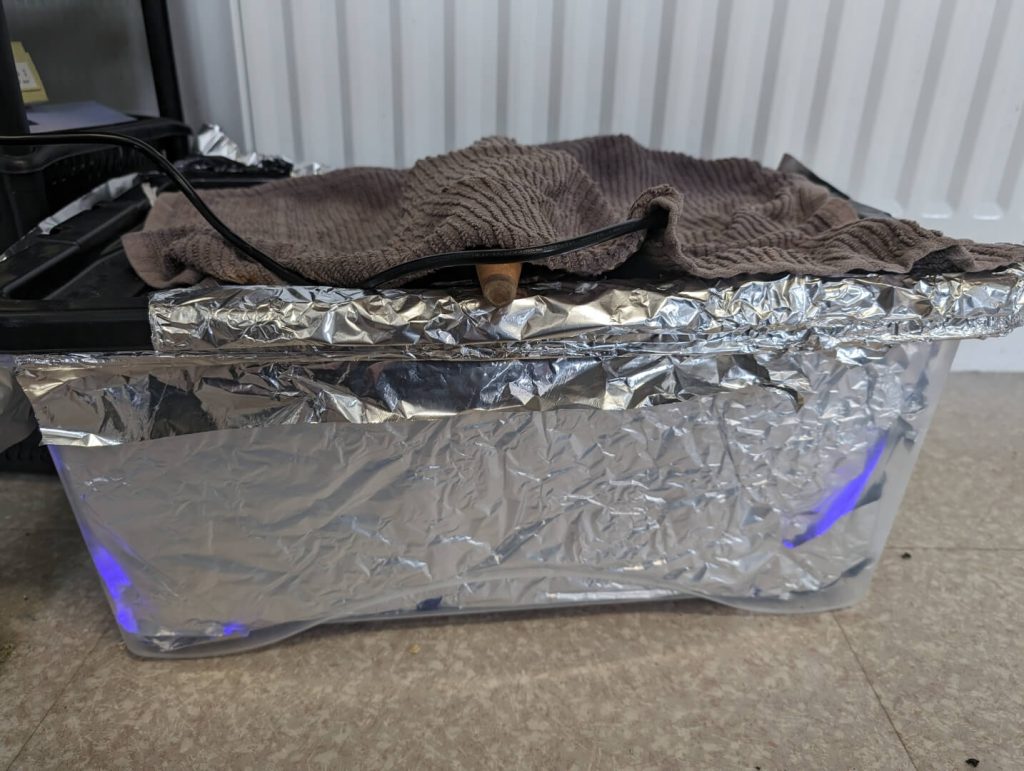
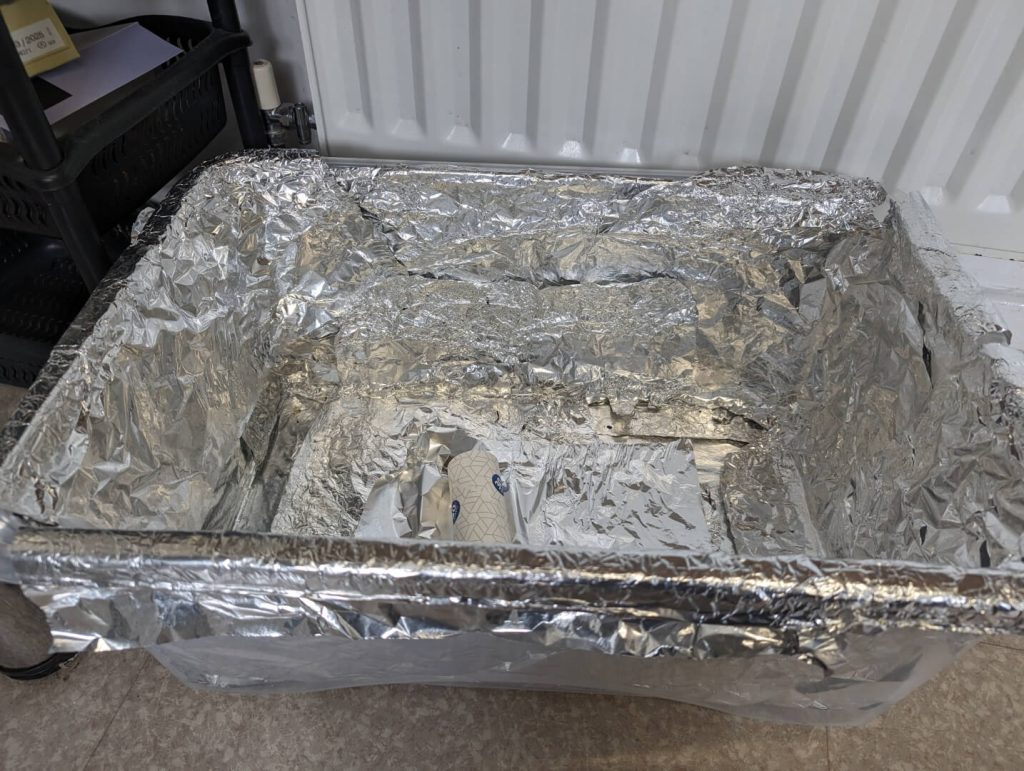
I then started the retrobrighting process (you can read about my process here). We will check back later…
Joystick repair
I recently aquired 2 Quickjoy joysticks with an Atari bundle you will see in one of my pickups soon. Both joysticks top buttons were sticky and would not press correctly.
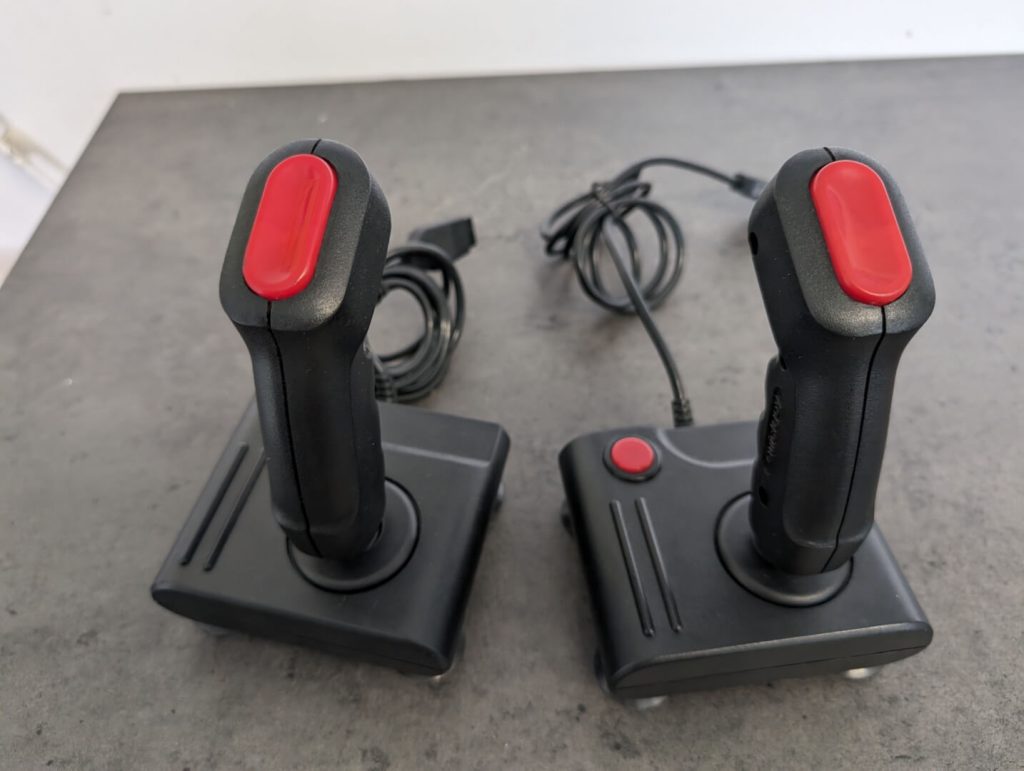
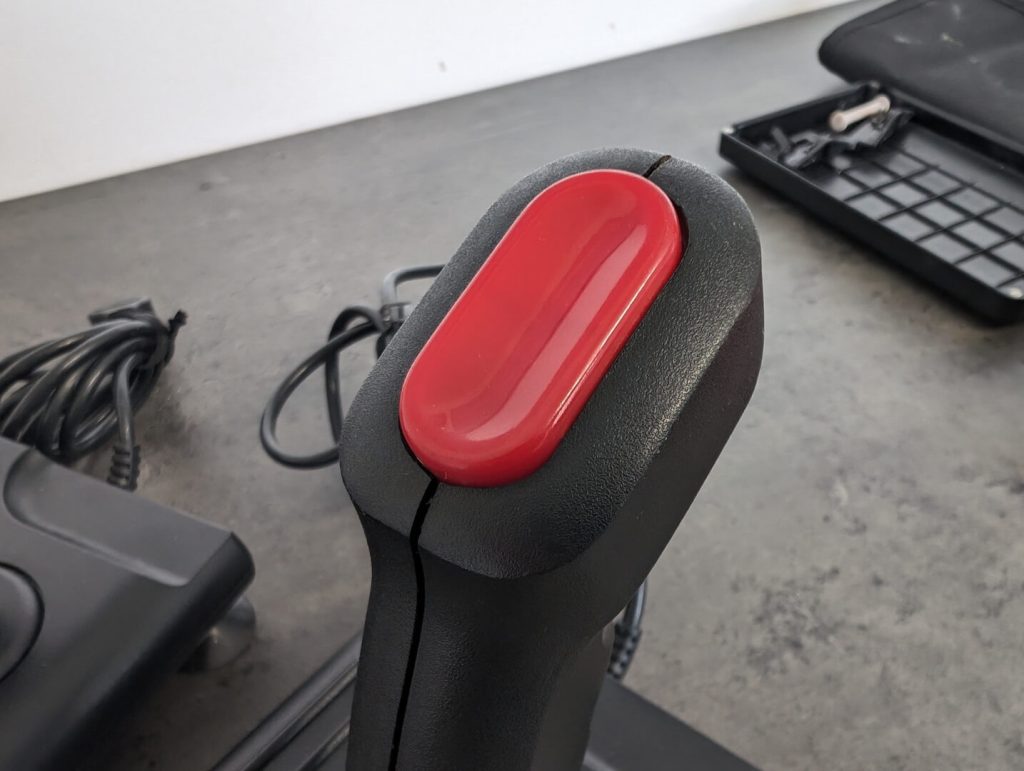

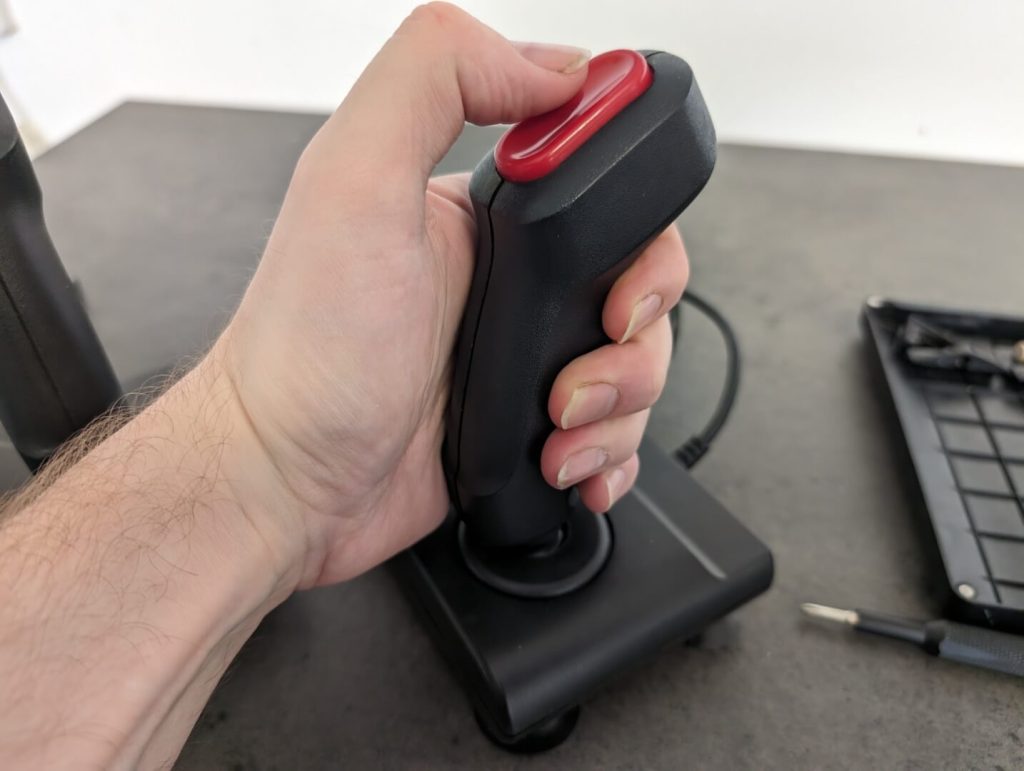
So I set about opening the joysticks, and as soon as I loosened the first screw on the top of the first one, the button popped right up and would press down correctly. I unscrewed the second one in the same way and that worked too. RESULT. I honestly thought it would be harder than that. But it’s a win.
Blinking Light NES Repair
When I received this NES it was faulty, when it was turned on, the power light would flash and nothing would be displayed on the screen. The cartridge also felt loose when it was inserted. These faults all point to a worn 72 pin connector, as when the console does not detect a game it will display a blinking LED. The console was not detecting the game as the connector wasn’t making a good enough contact with the cartridge. Luckily I have fixed this issue with a NES before for a customer at work. The fix is a little weird.
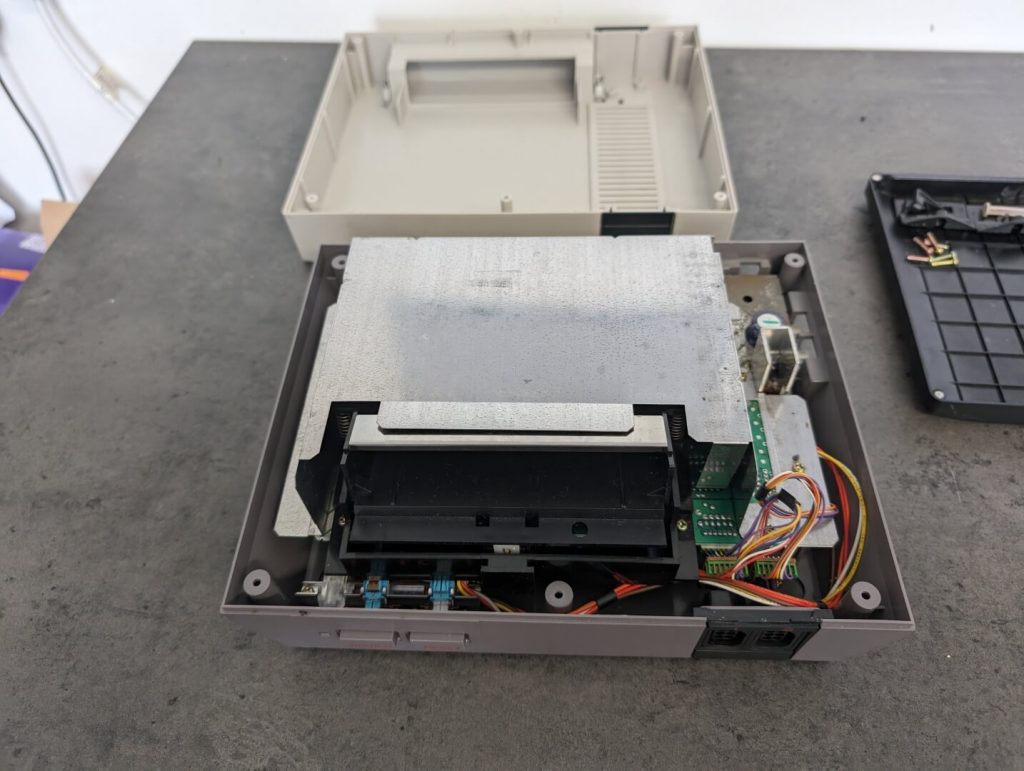
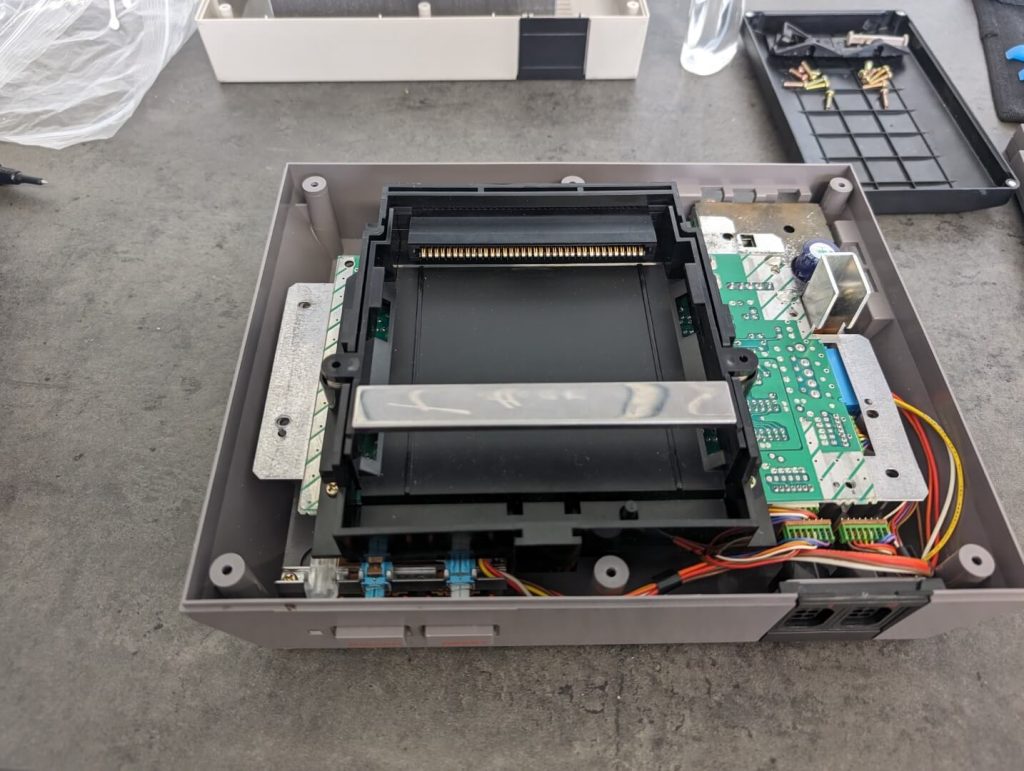
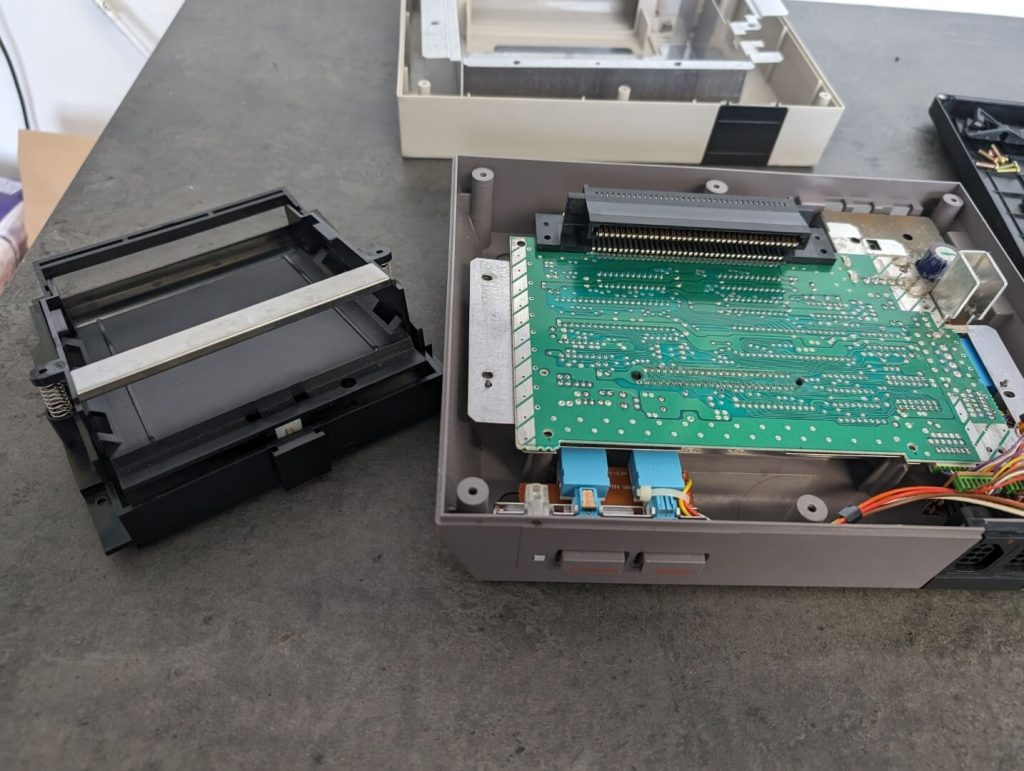
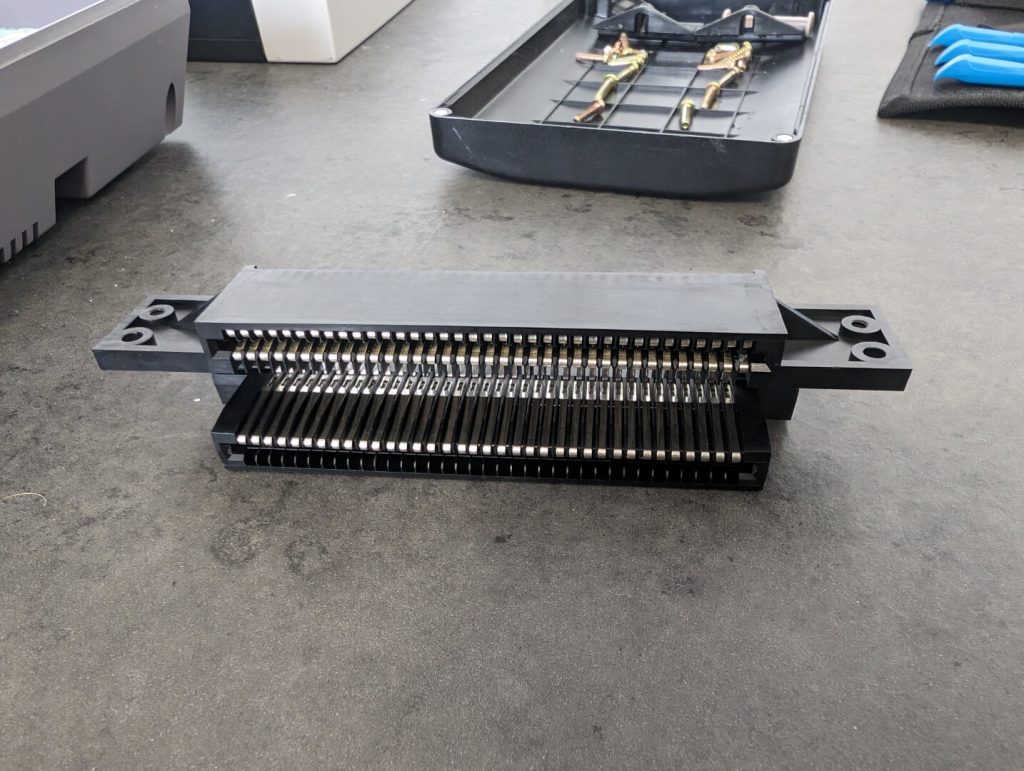
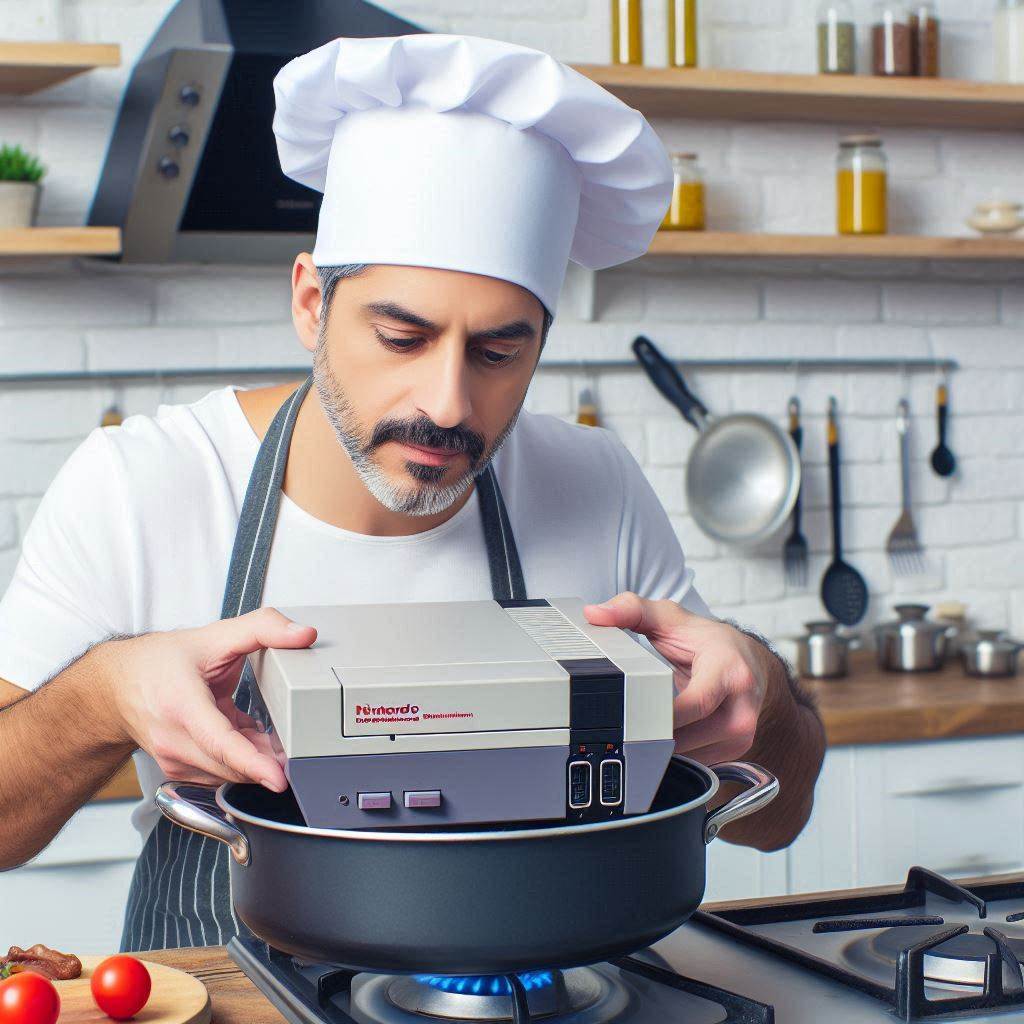
First I had to disassemble the console a little, After removing the top of the NES, the shielding was next. At this point the cartridge mechanism was removed exposing the connector that needed repairing. The connector is attached to the motherboard by the pressure of the pins and can be removed easily. Once the connector was removed, I used tweezers to pull up the pins on the top part of the connector to make the top and bottom row of pins closer together so that it grips the cartridge better. The next part may seem strange but it works. You have to boil the connector in boiling water for around 10-15 mins. Don’t ask me what it does, I’m not a scientist. Unfortunately I forgot to take a photo of this part but with the help of AI I can show you what it looked like.
So after this I reassembled the NES and tested it, and would you believe it….

So another win in the bag.
Retrobrighting Results
So after leaving the case for around 10 hours, moving occasionally so the UV light hits all parts of the case, I reapplied some more peroxide and left it overnight to do it’s thing. Early the next morning it was done, and the results are good. There is still a couple of spots where the marks would not come off, but the colour is miles better than what it was. Judge for yourself.


So I’d say that was a productive day off work, wouldn’t you agree?.