


Retrobright , is a chemical process used to remove ‘yellowing’ from ABS plastics. The usage has also expanded to other retro restoration applications, such as classic and collectible sneaker restoration.
Yellowing in ABS plastic occurs when it is exposed to UV light or excessive heat, which causes photo-oxidation of polymers that breaks polymer chains and causes the plastic to yellow and become brittle. The method of reversing the yellowed discoloration was first discovered in 2007.
There is still some debate over the long-term effectiveness of this technique. Some have discovered the yellowing reappears, and there are concerns that the process weakens and only bleaches the already damaged plastic.
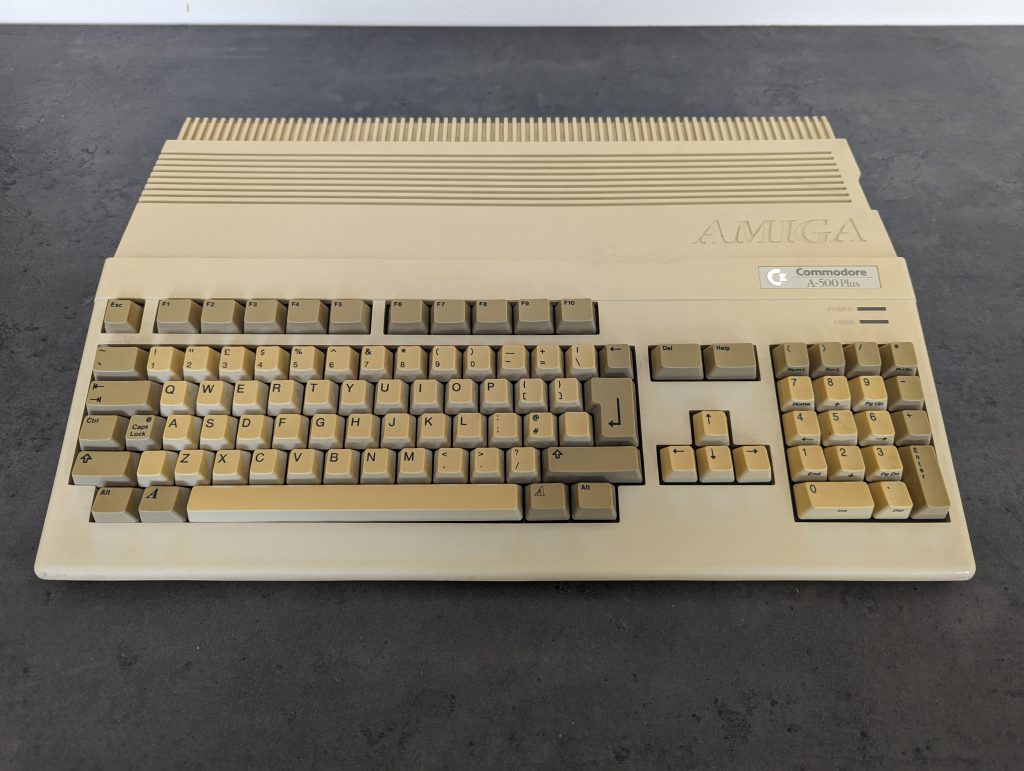
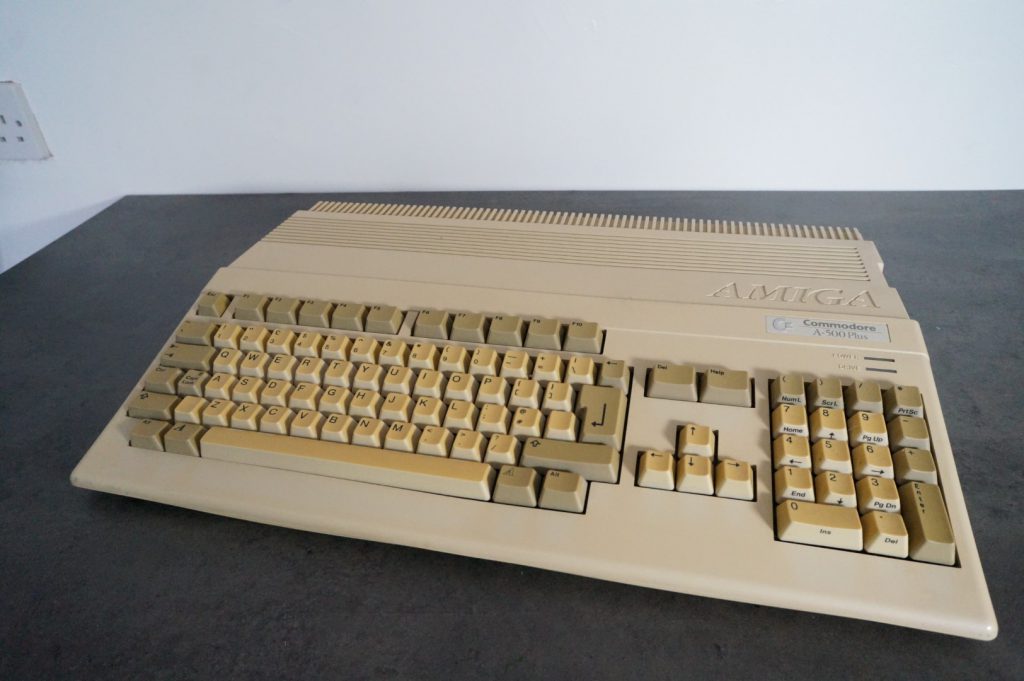
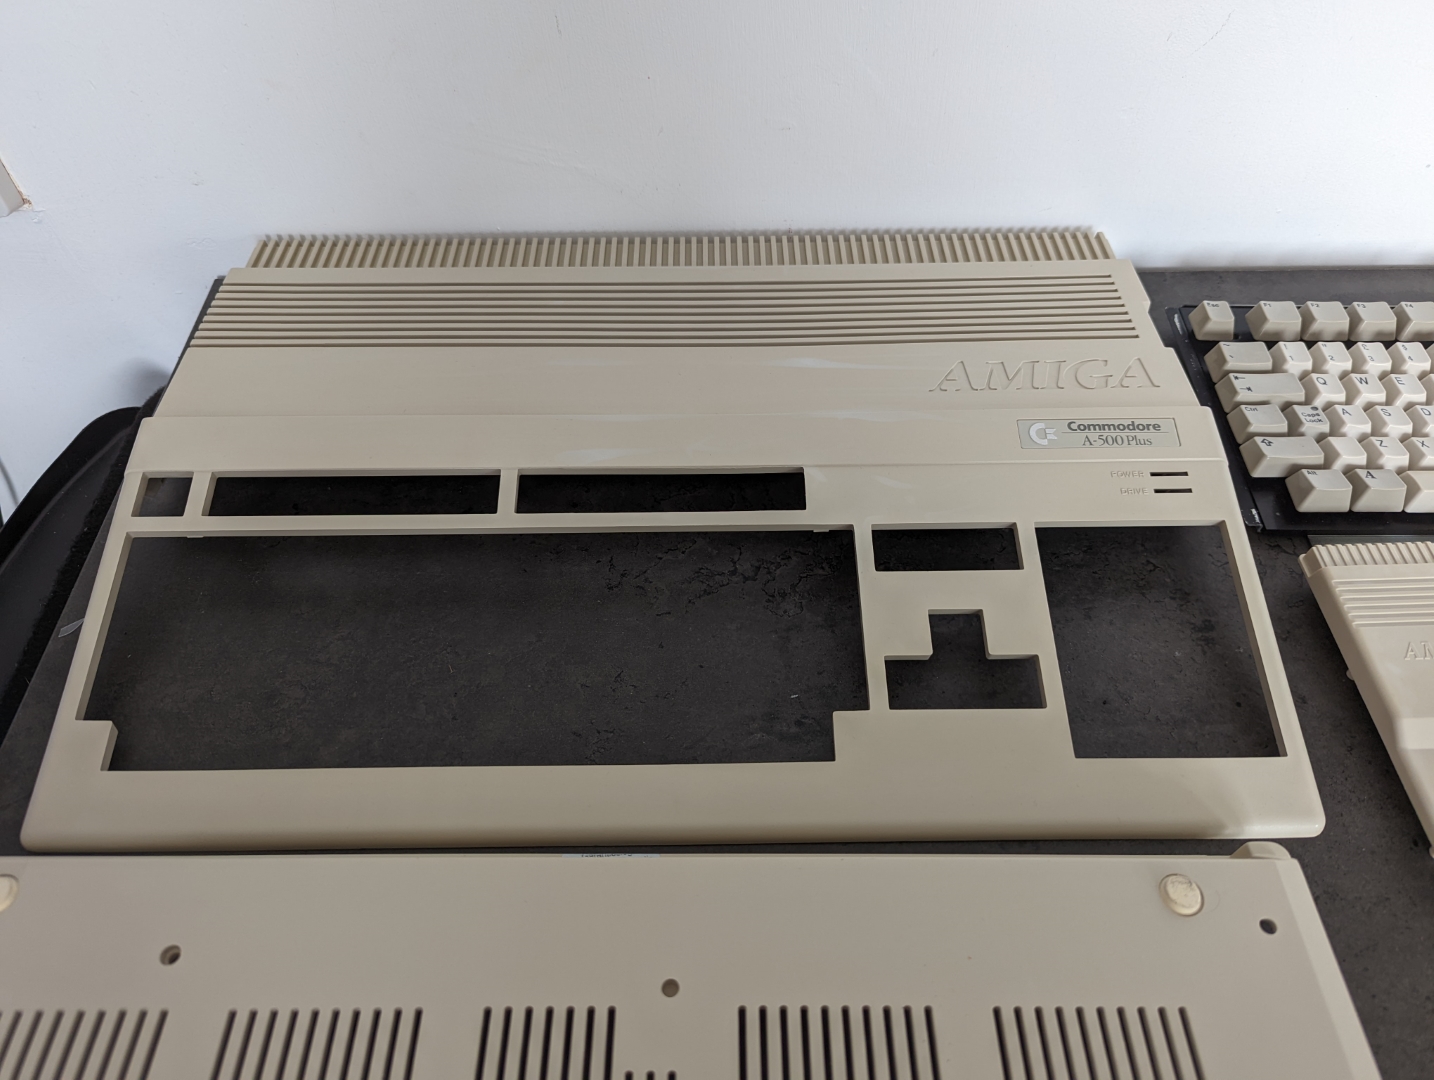
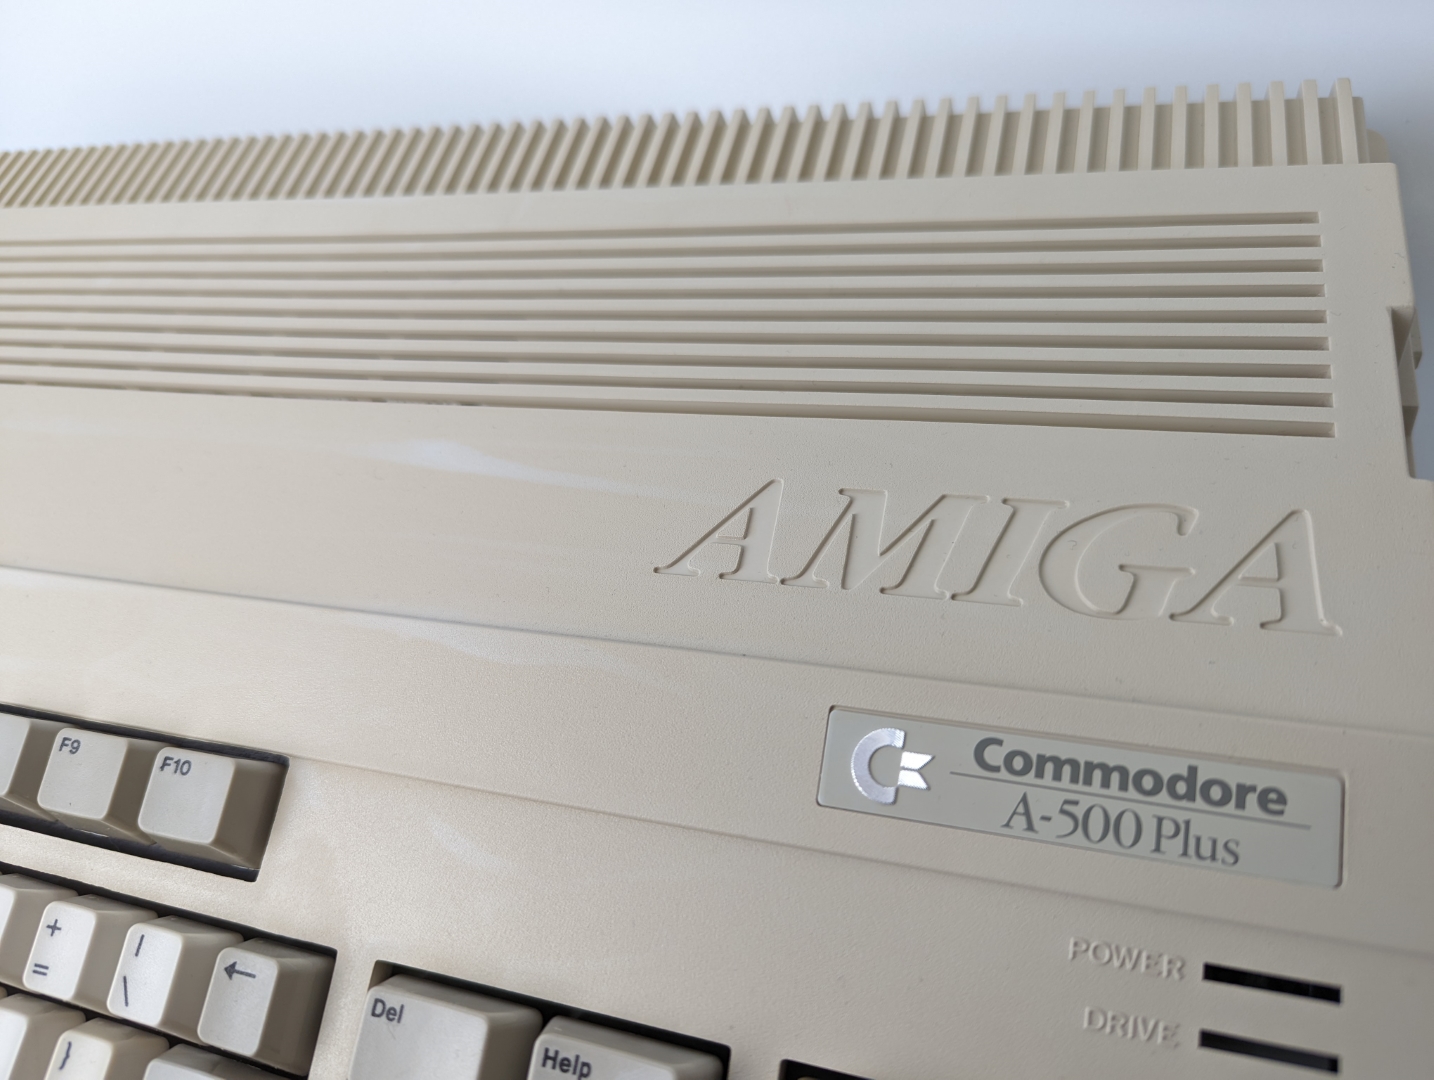
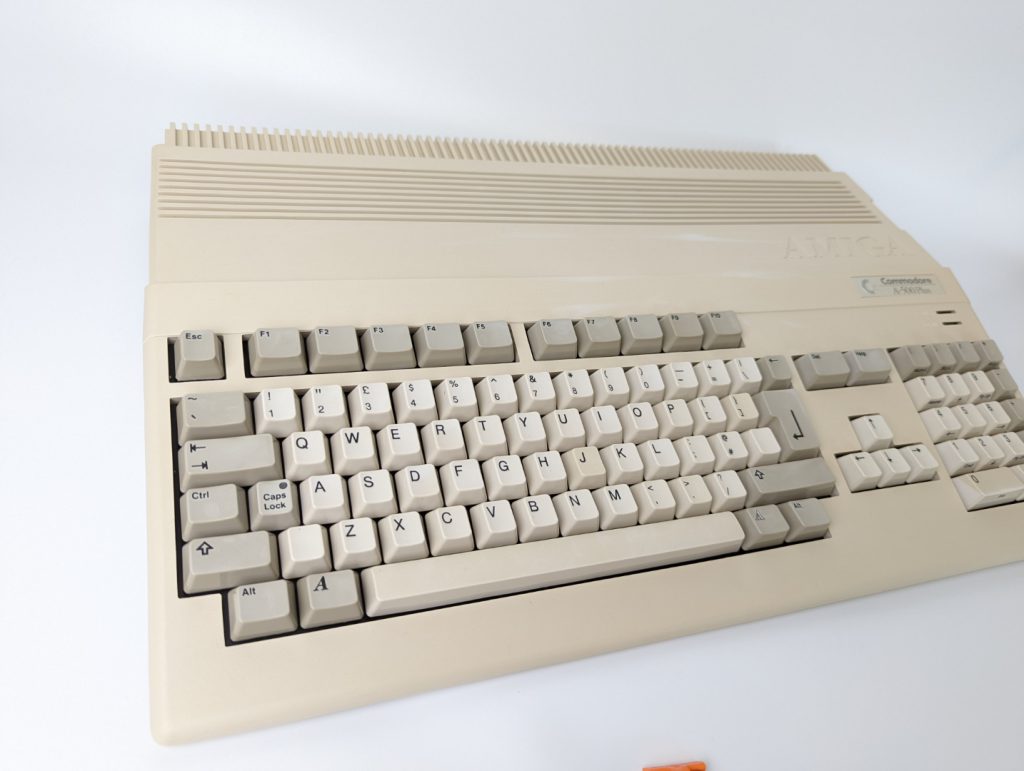
I have done a little retrobrighting before, on my Dreamcast VMU and also a Super Famicom controller (which you can read about here) I was amazed at the results, so I decided to try to fix the yellowing on my Commodore Amiga, because quite frankly, looking at it makes me want to vomit.
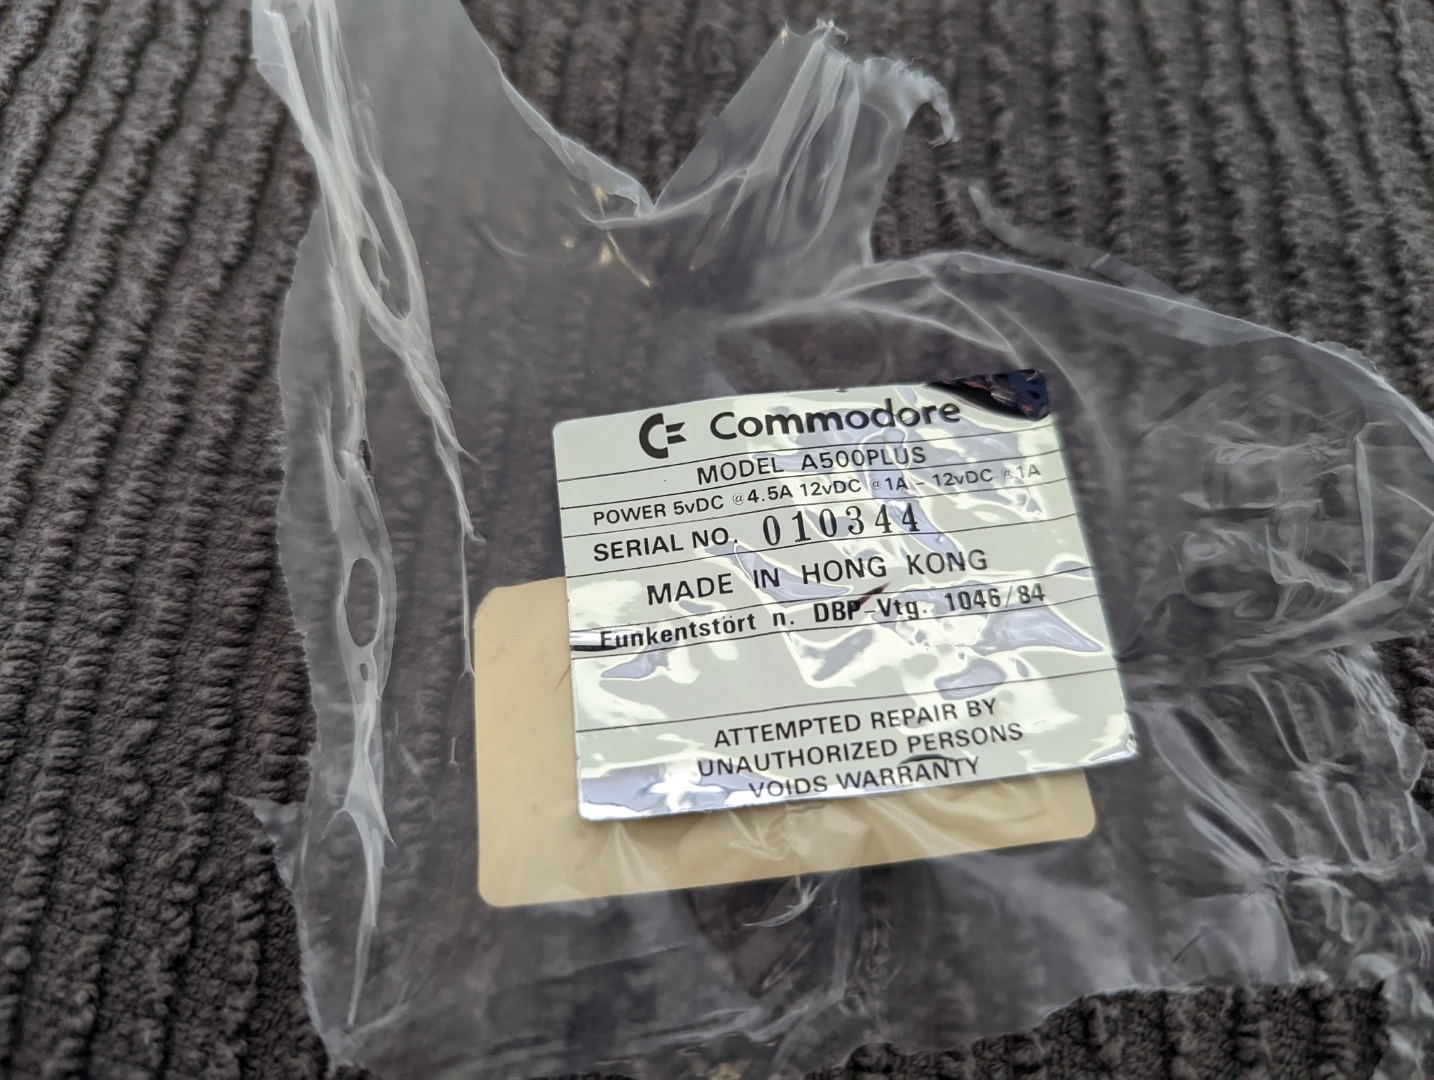
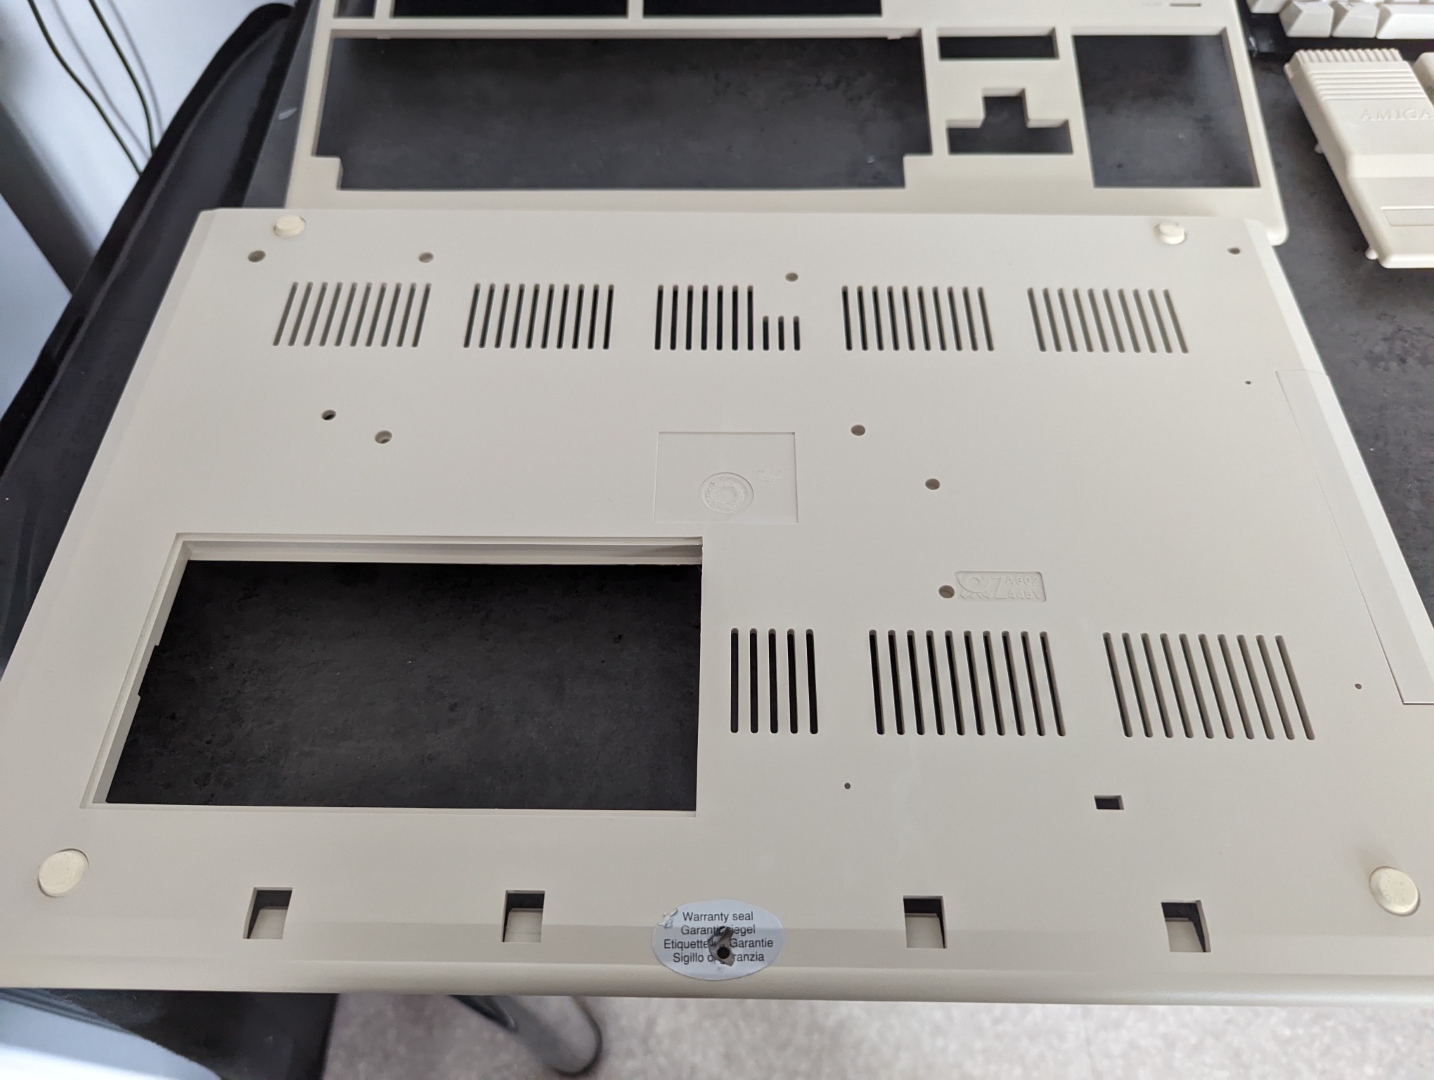
The first thing I did was to remove all the important stickers that could get damaged during this process.
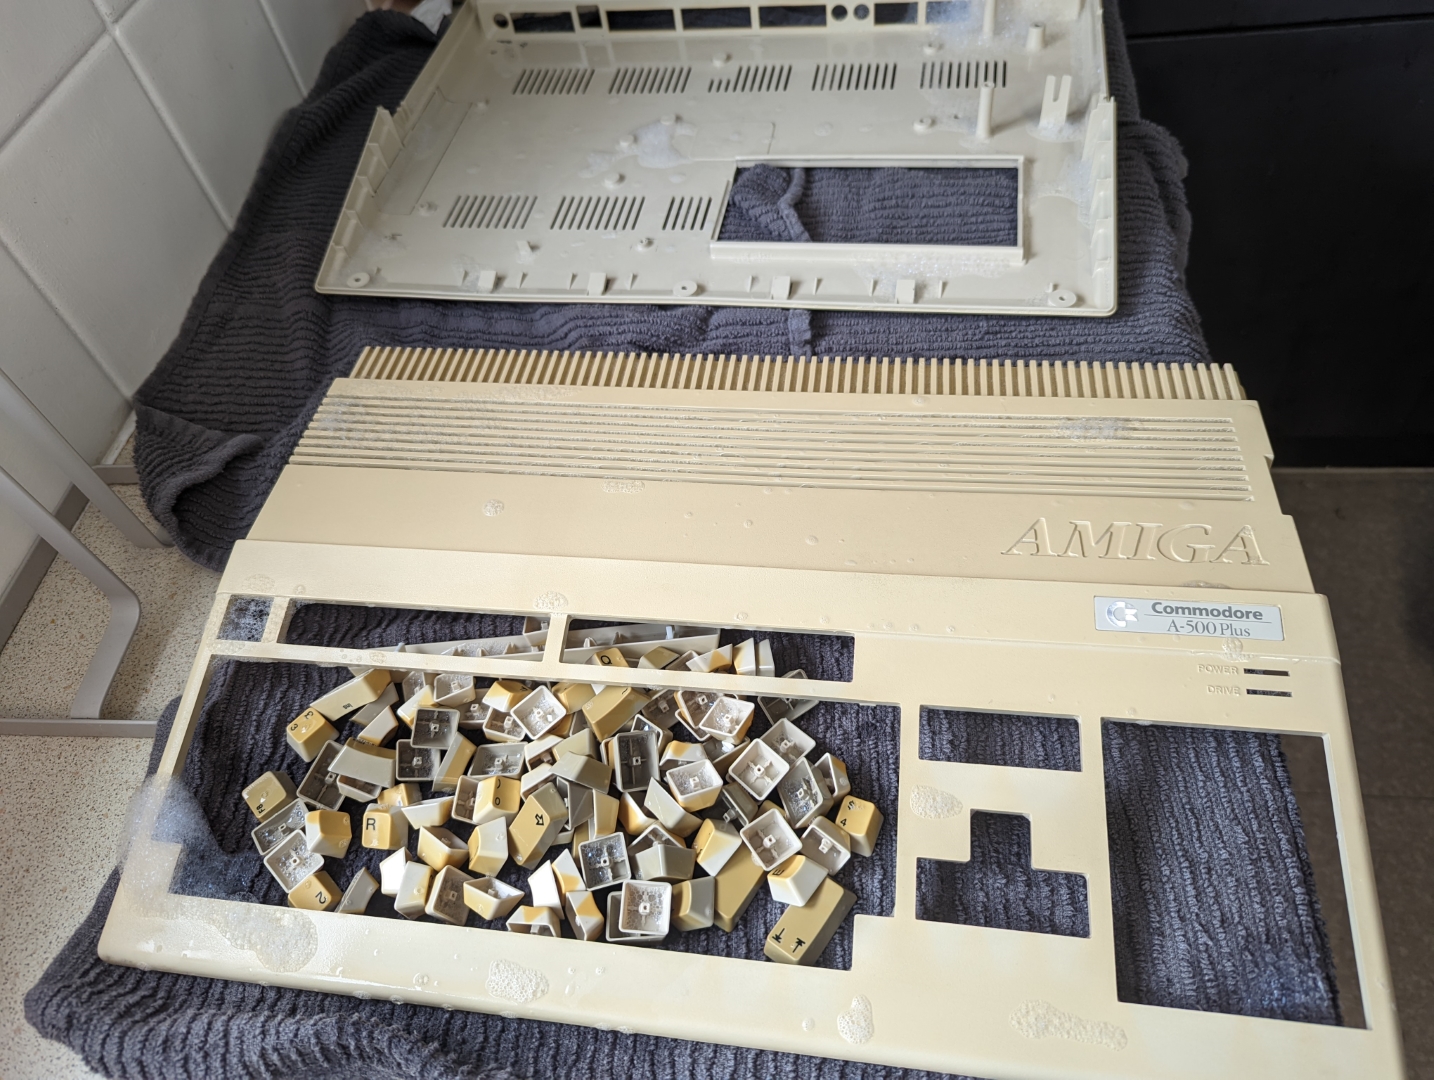
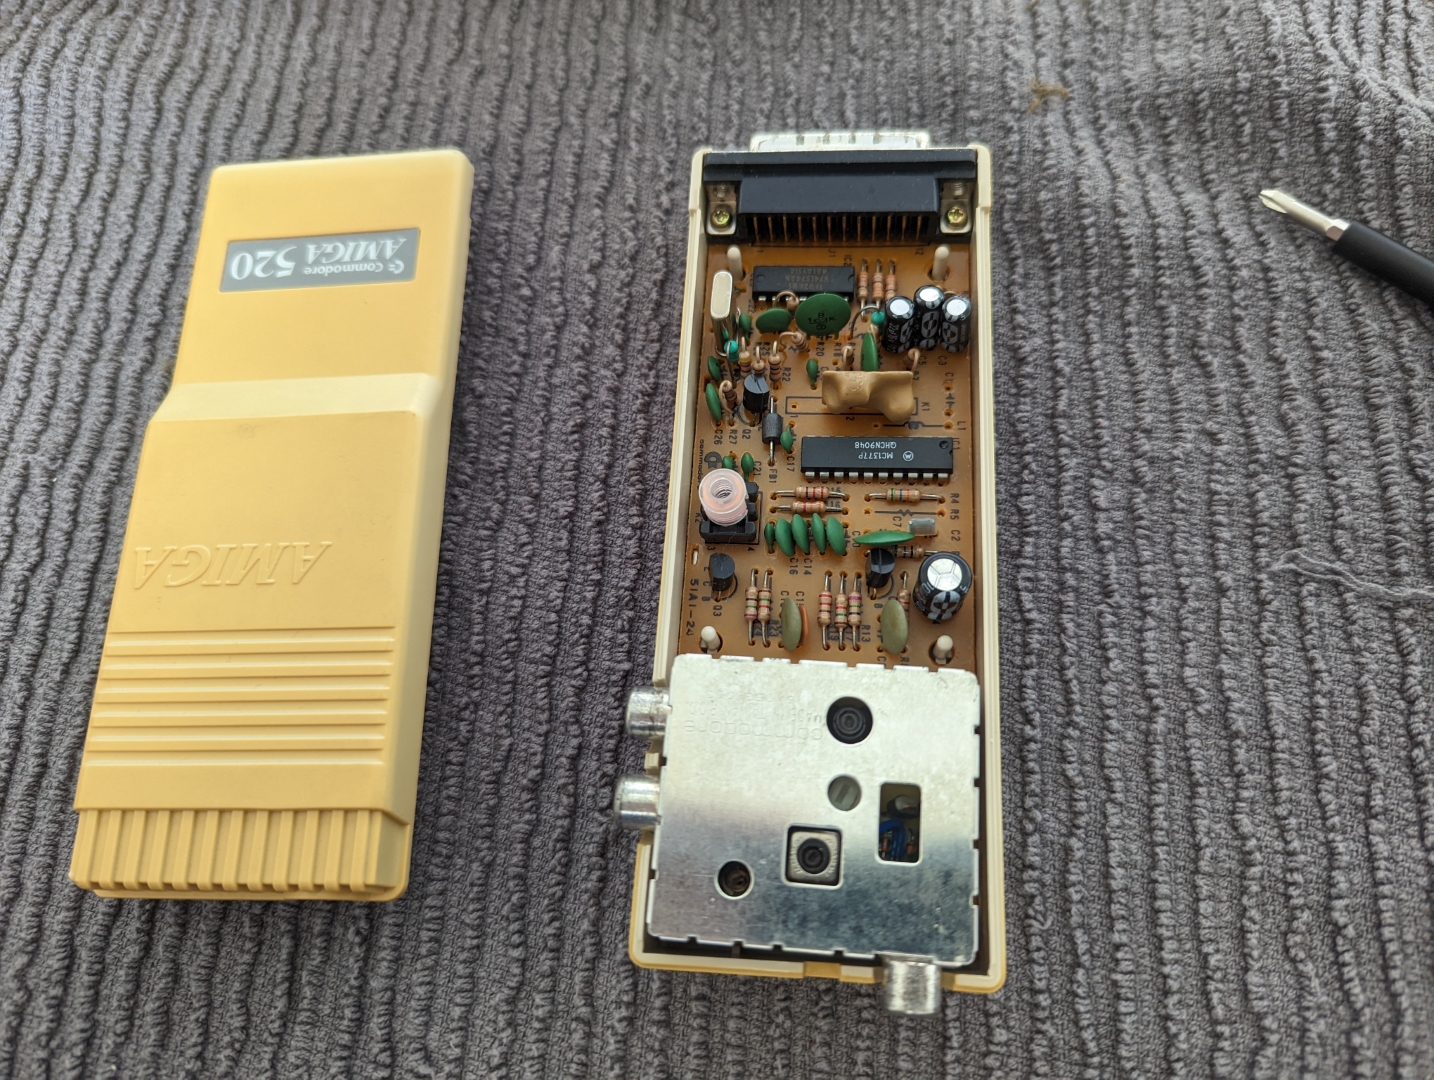
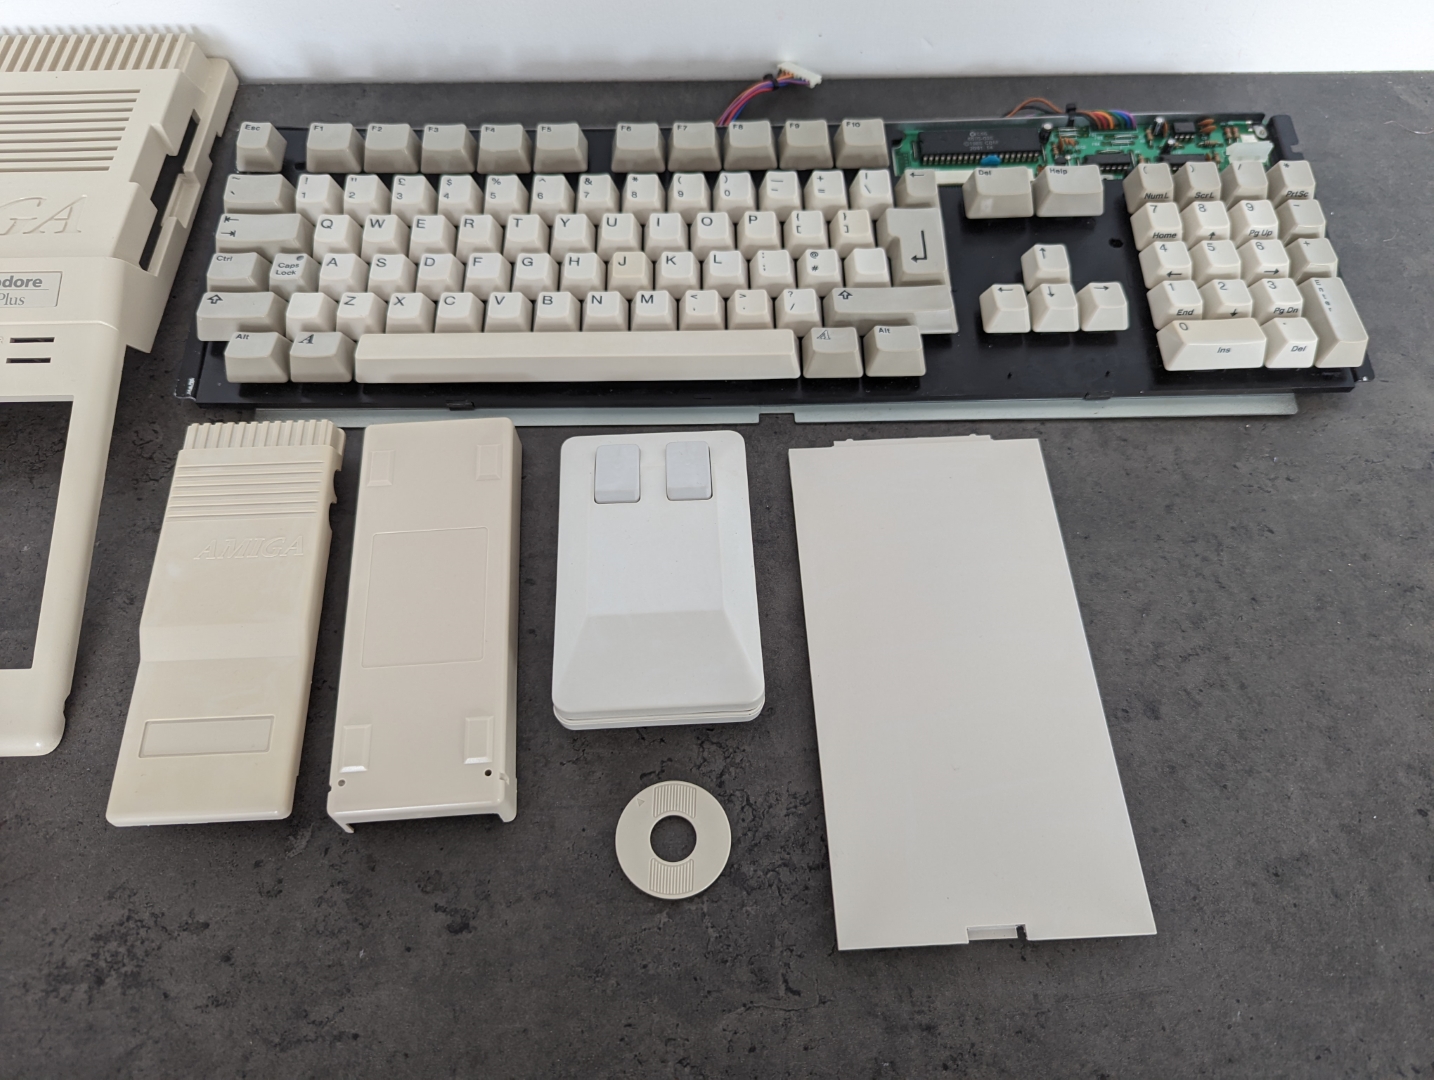
The next thing was to disassemble the computer and disconnect the keyboard and motherboard from the casing.
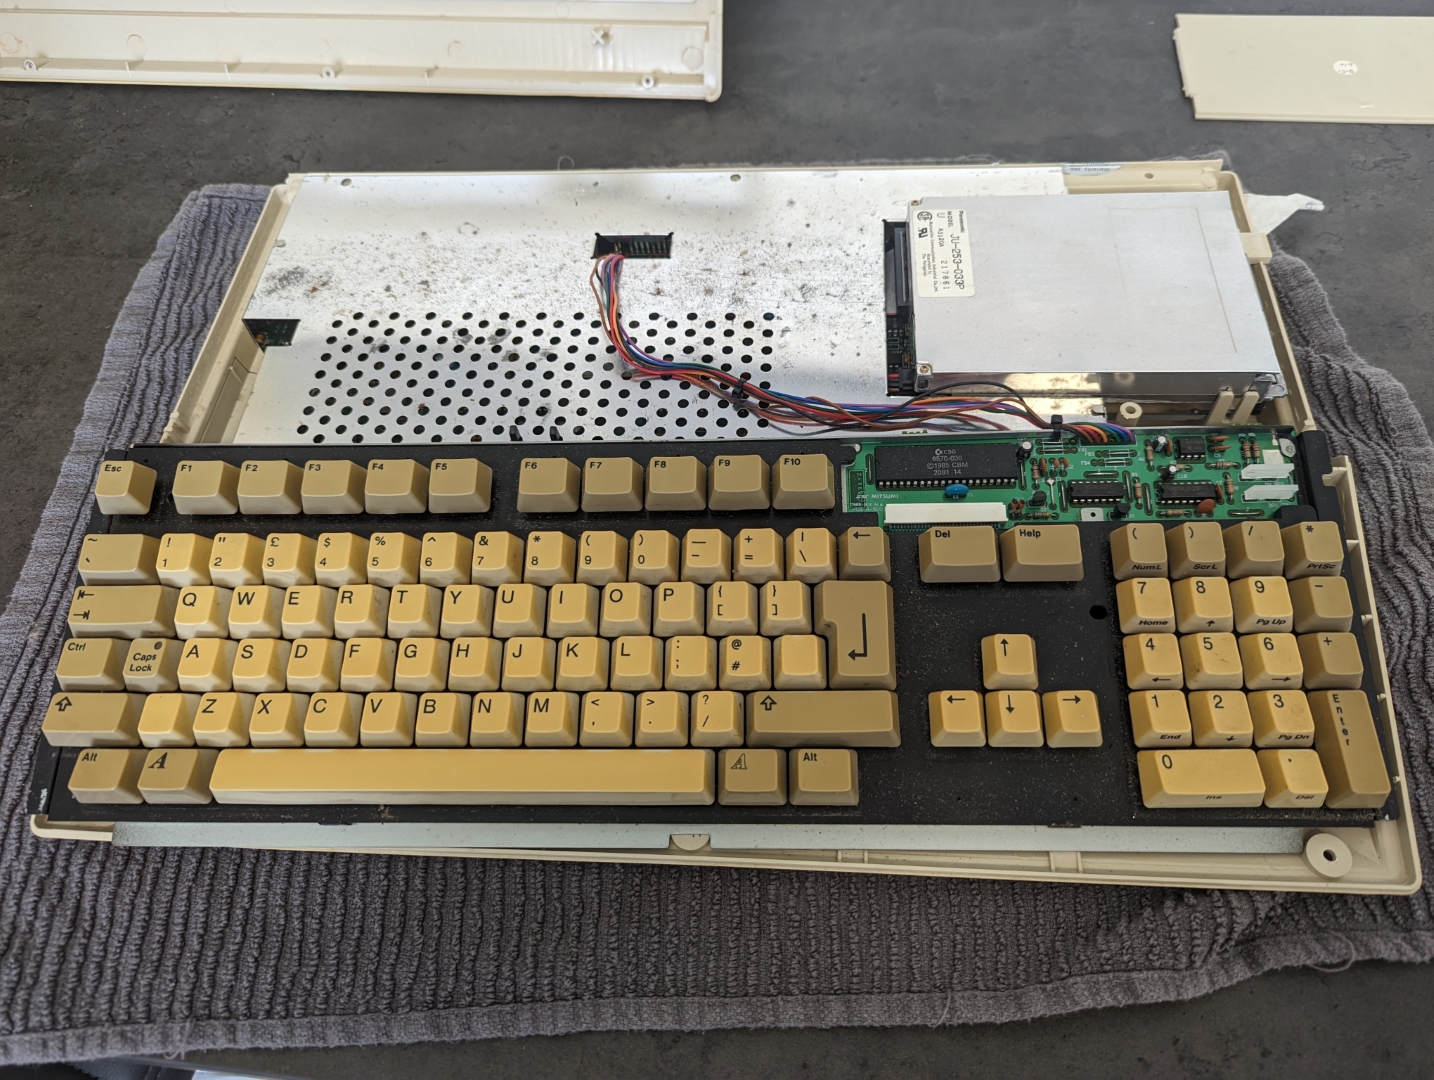
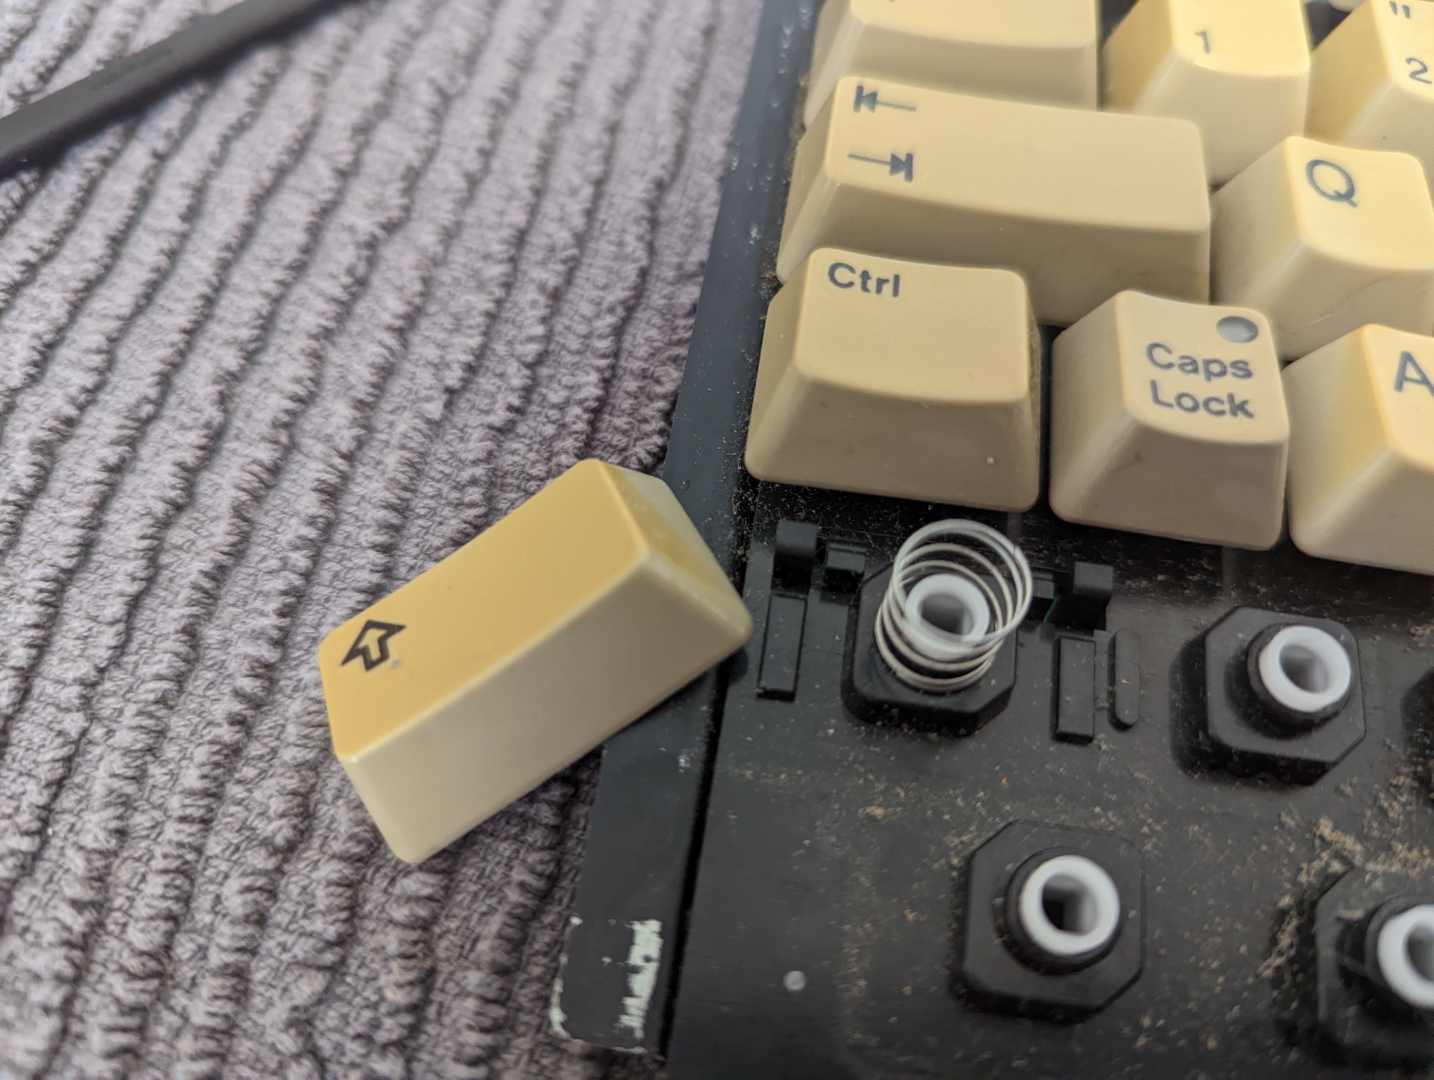
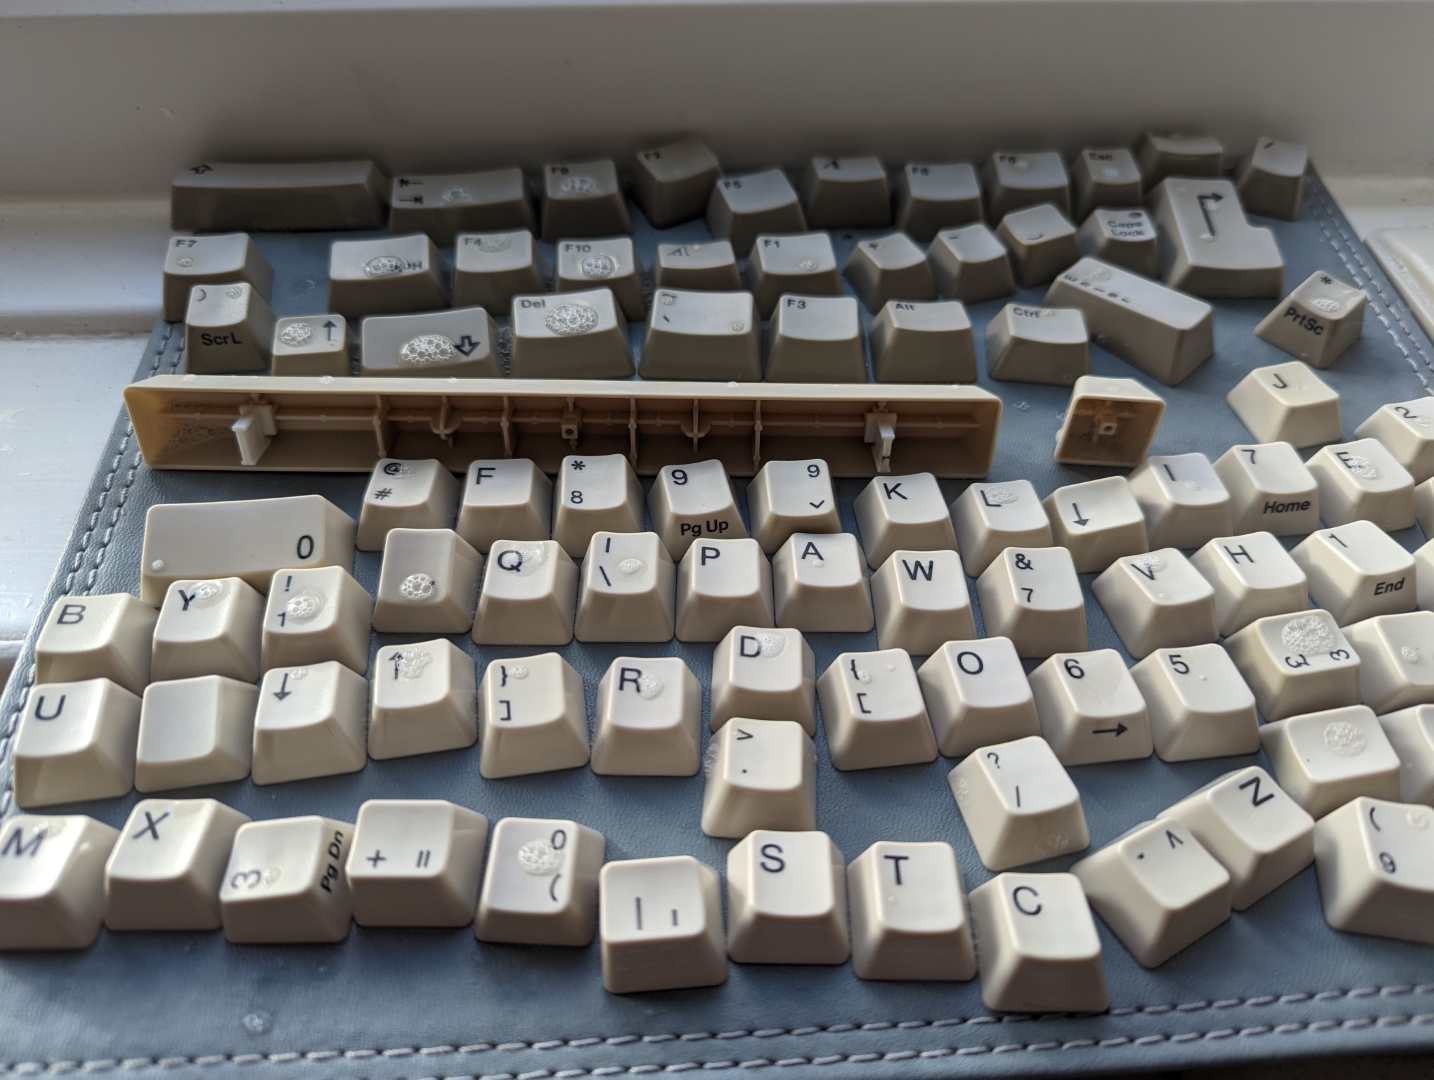
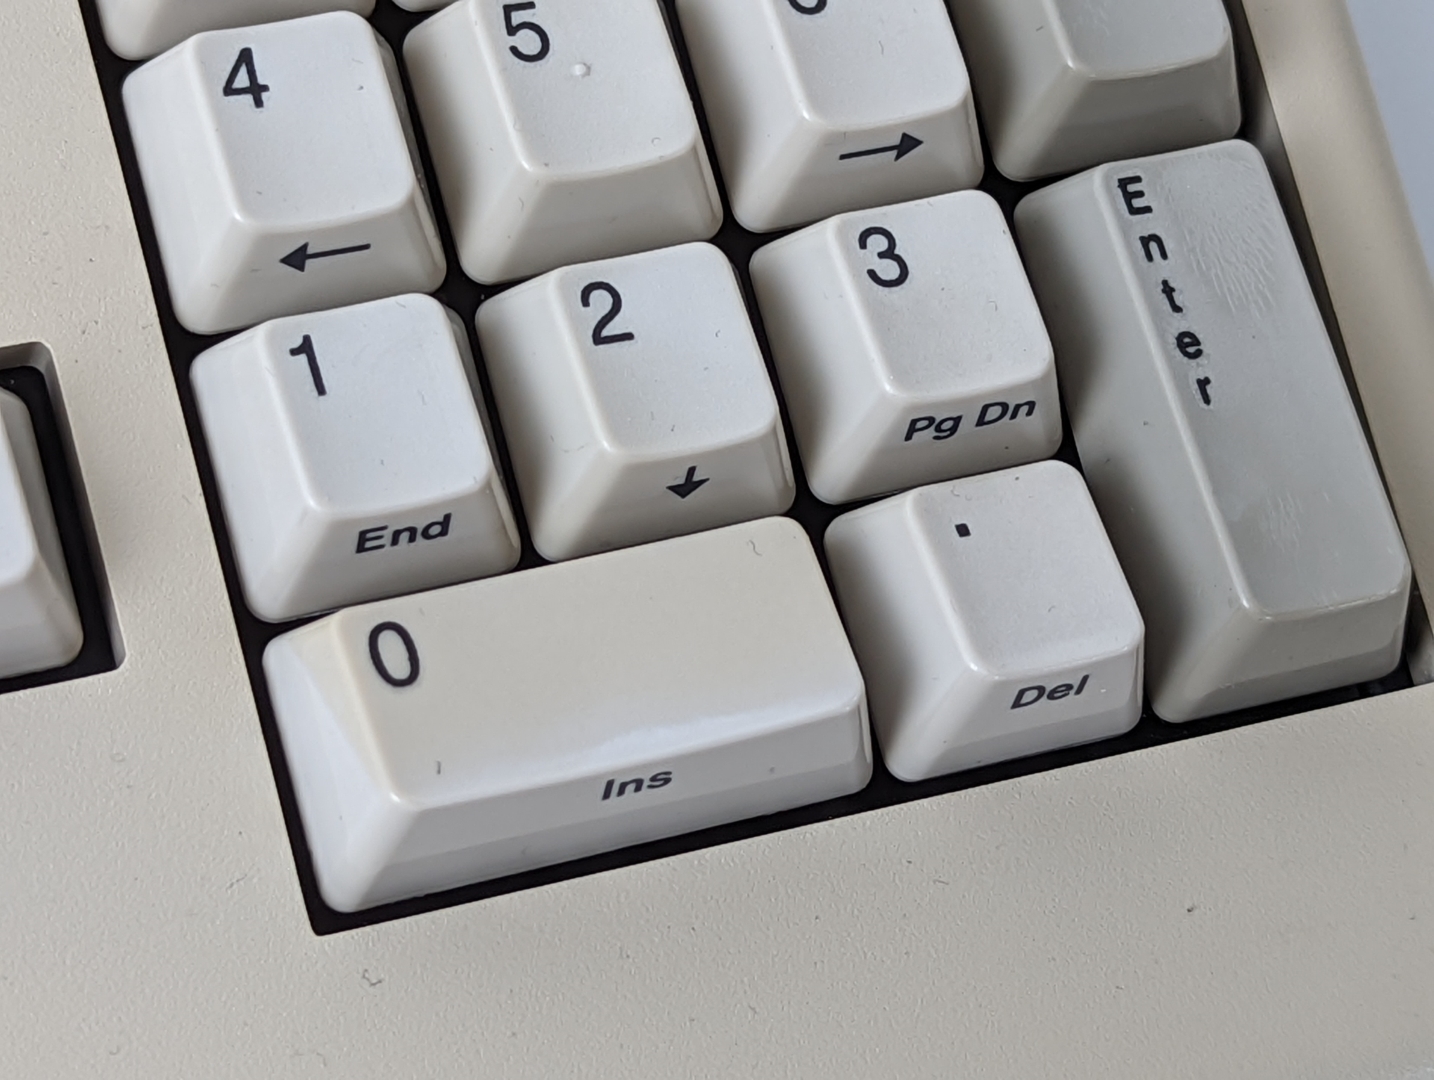
I also had to remove each key from the keyboard, In the process I lost a spring, which is standard for me.
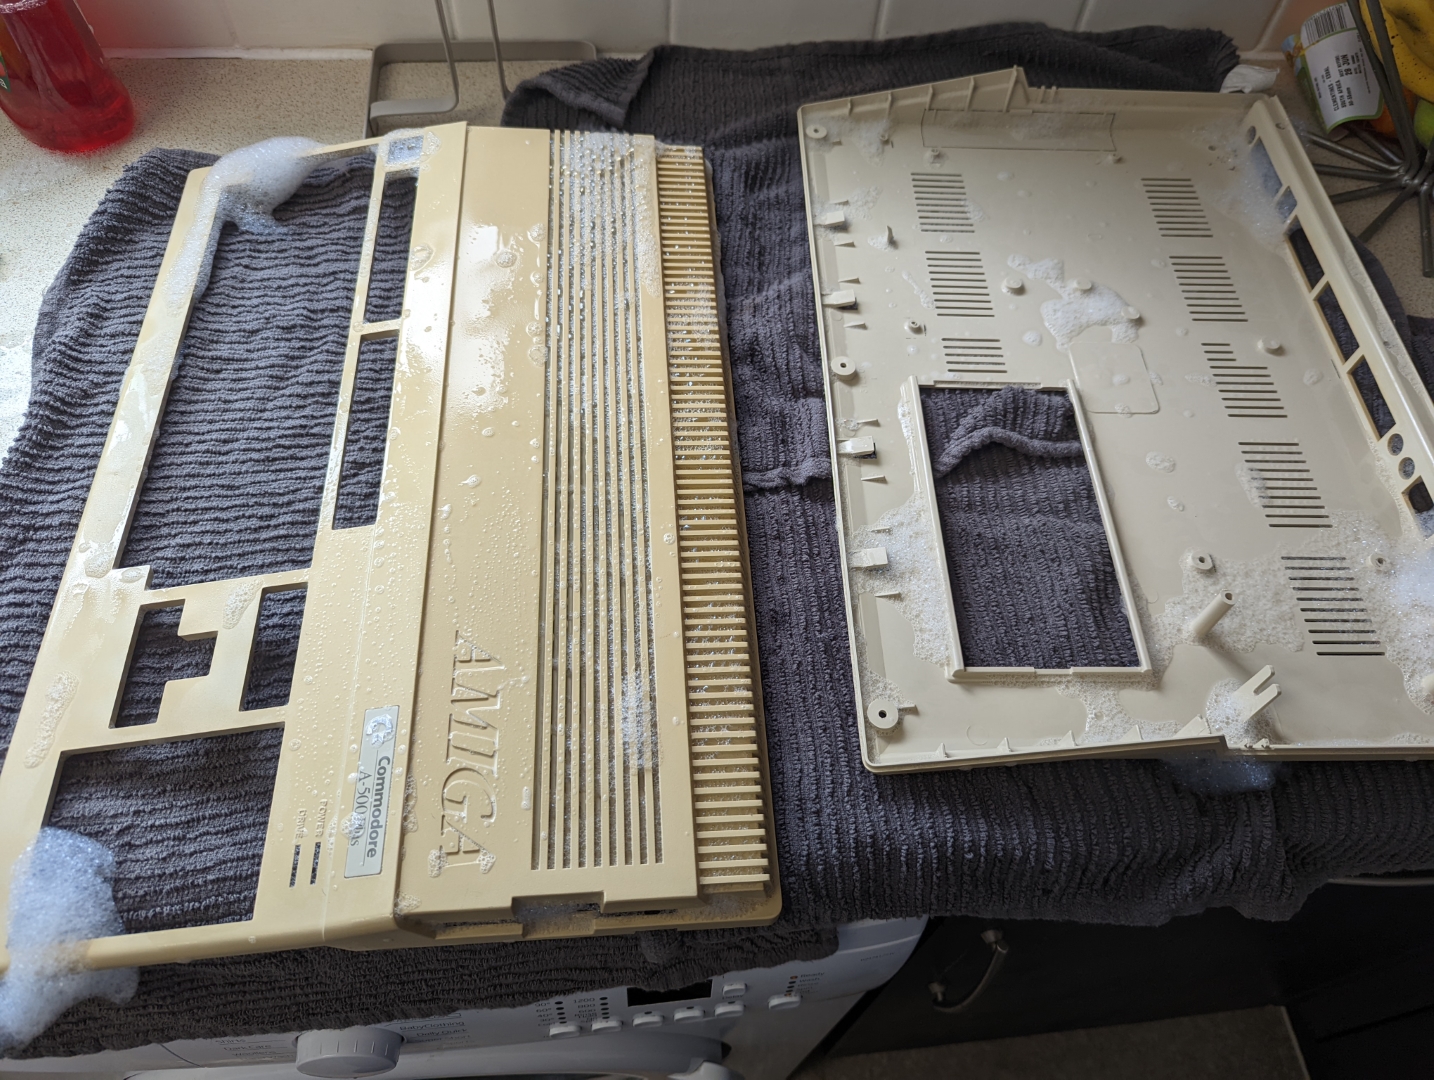
A nice bath and clean in the sink removed about 30 years of dirt buildup.
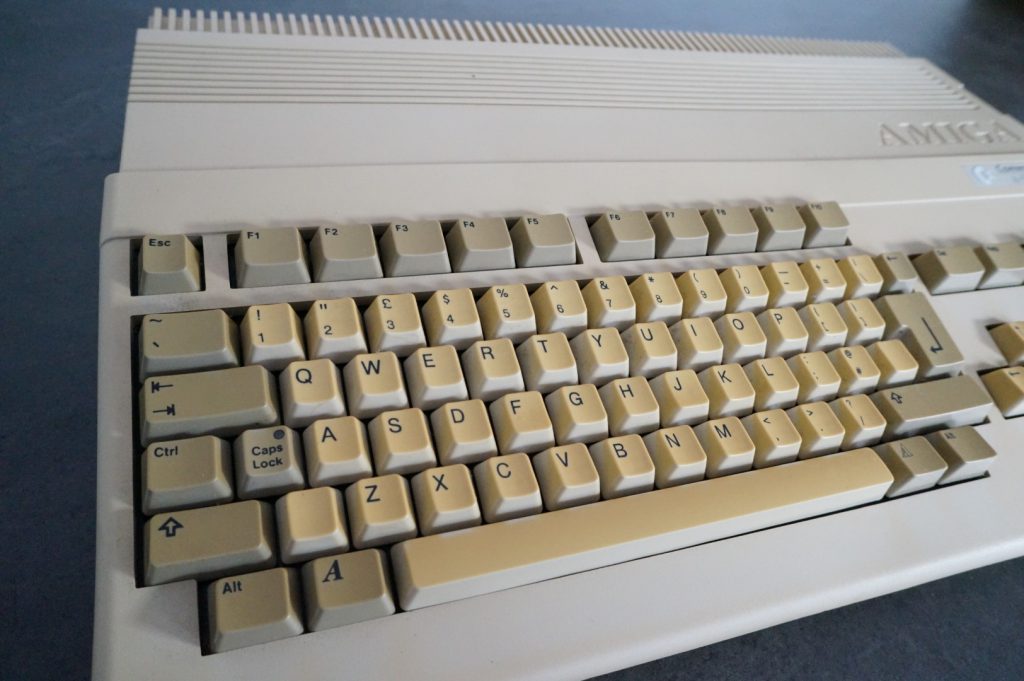
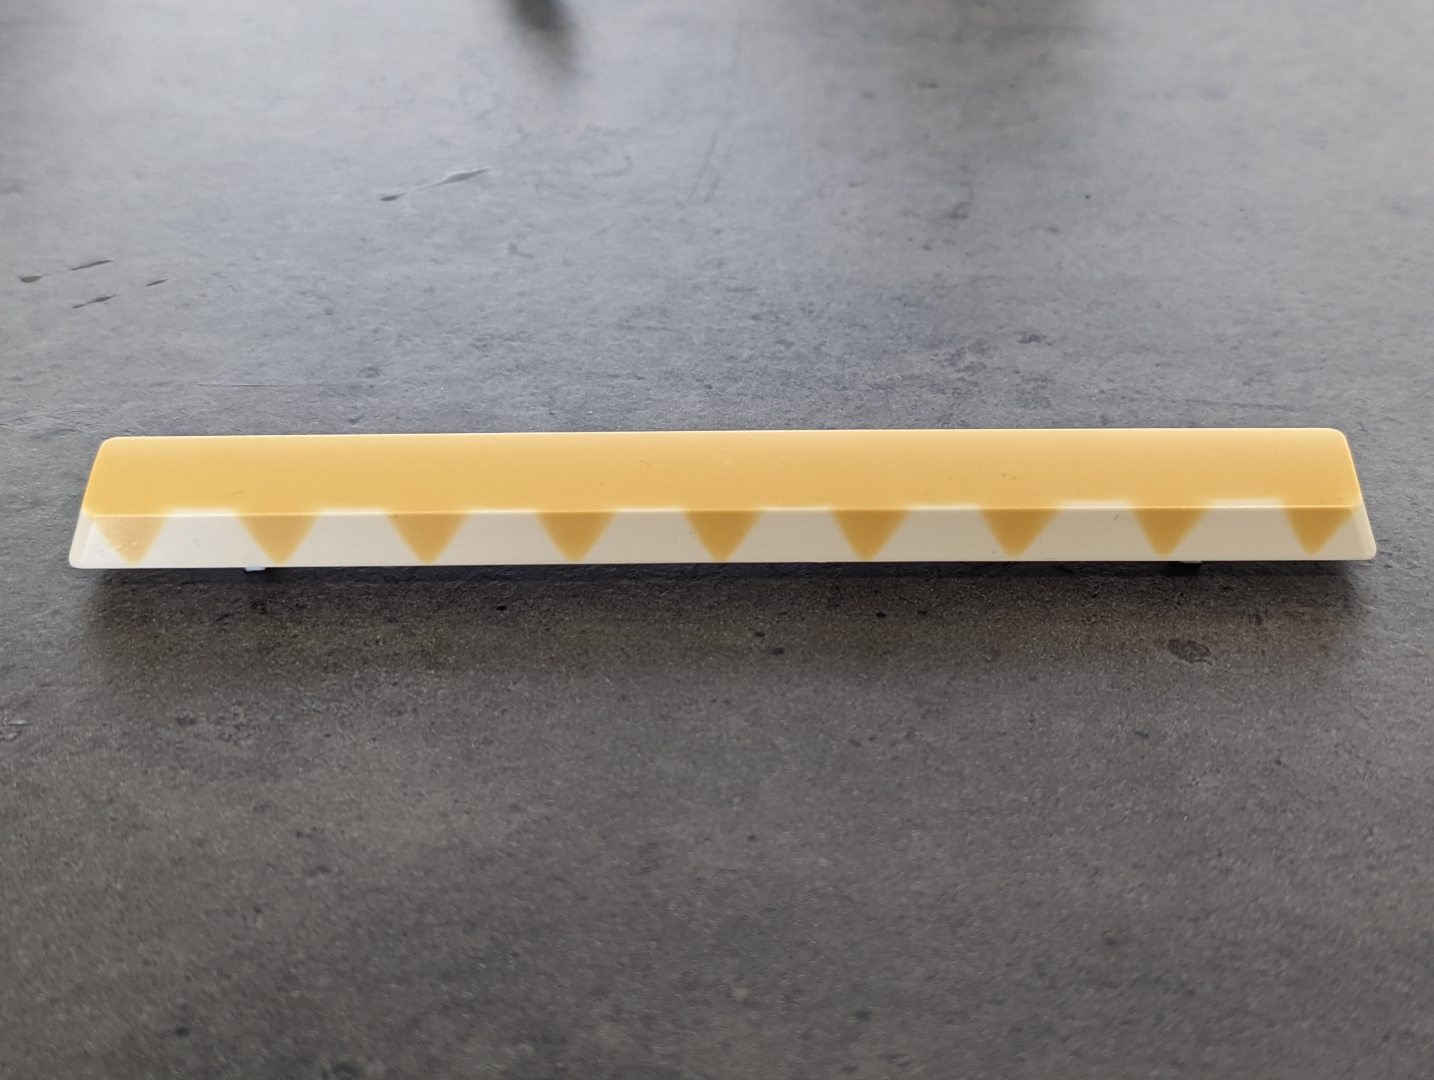
The worst yellowing was present on the space bar.
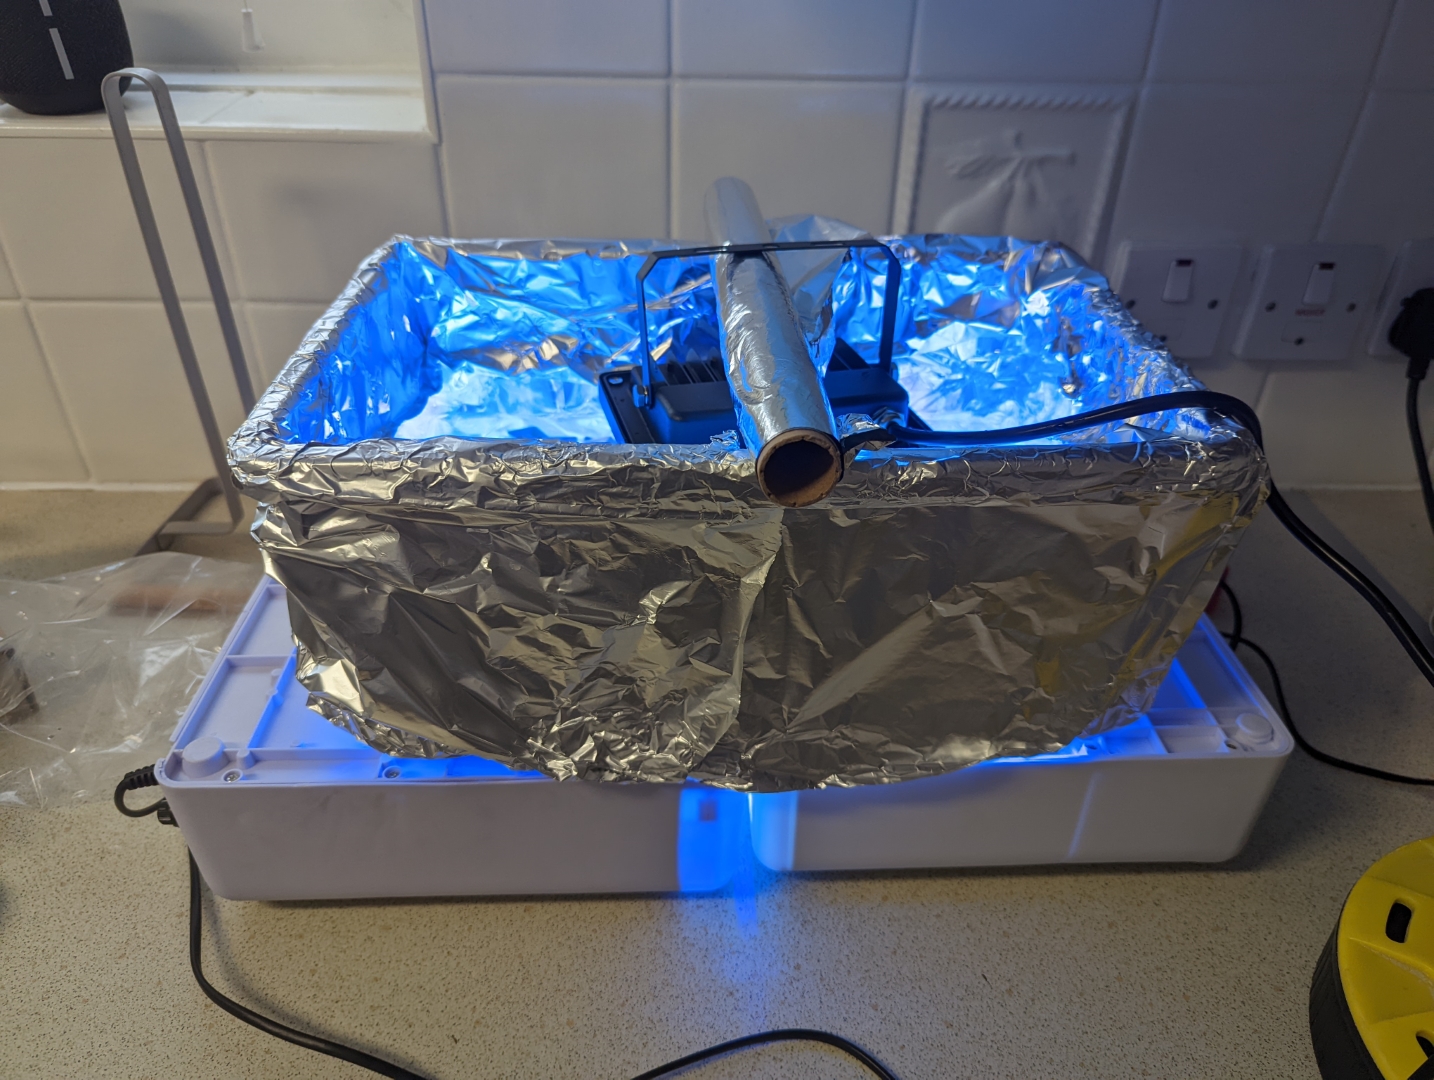
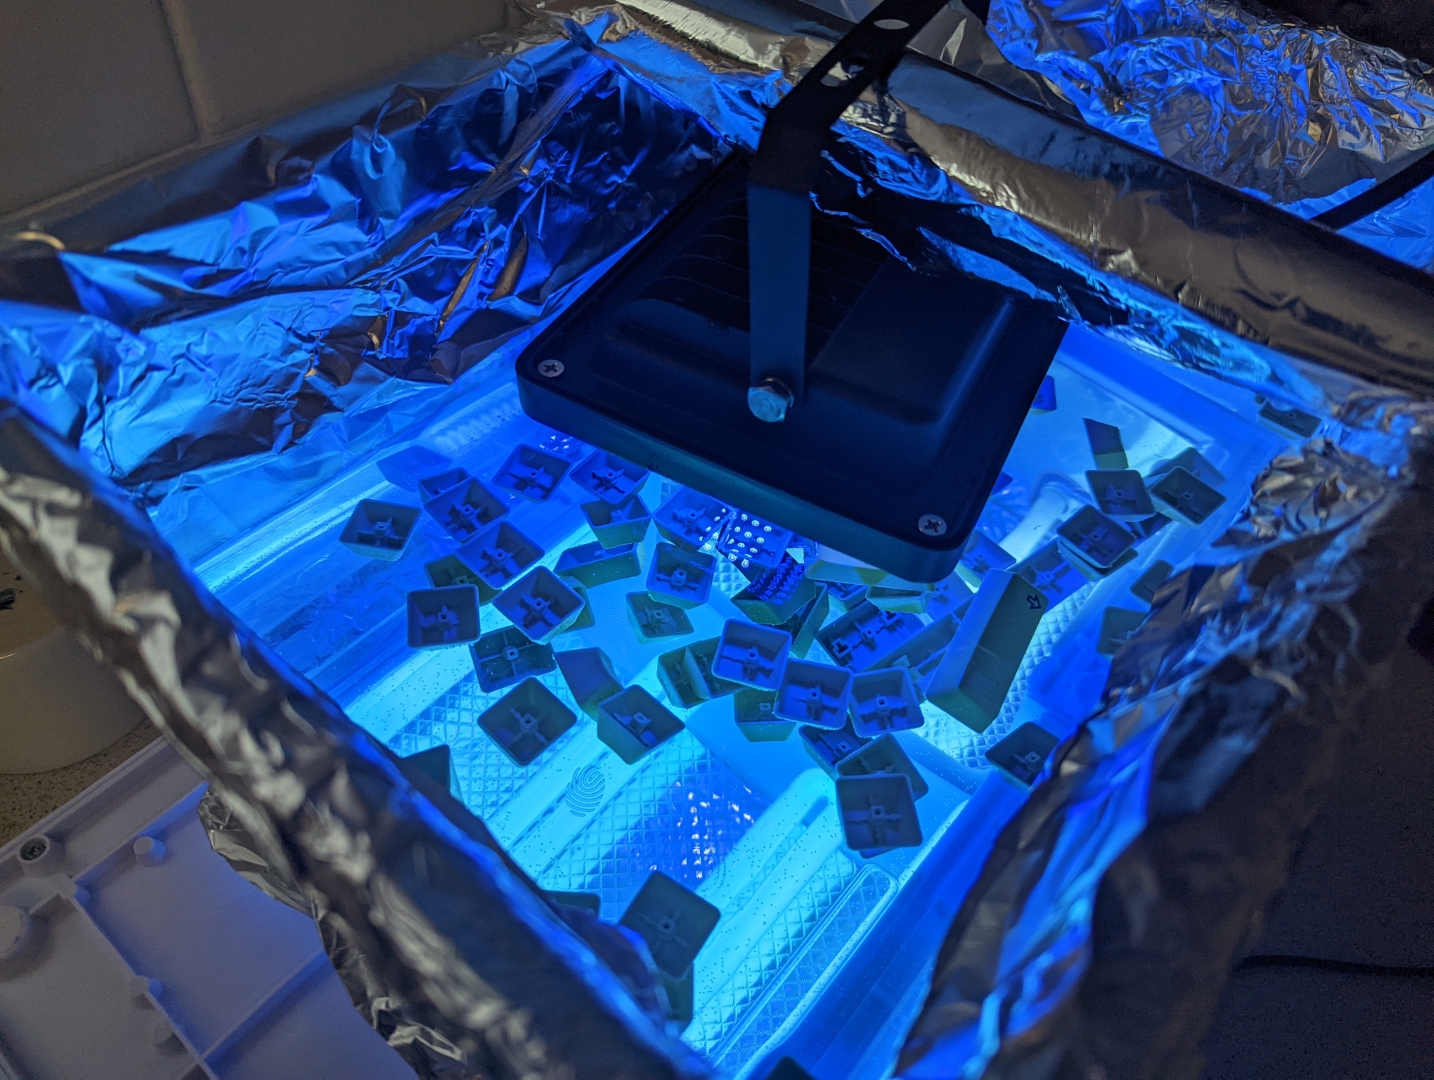
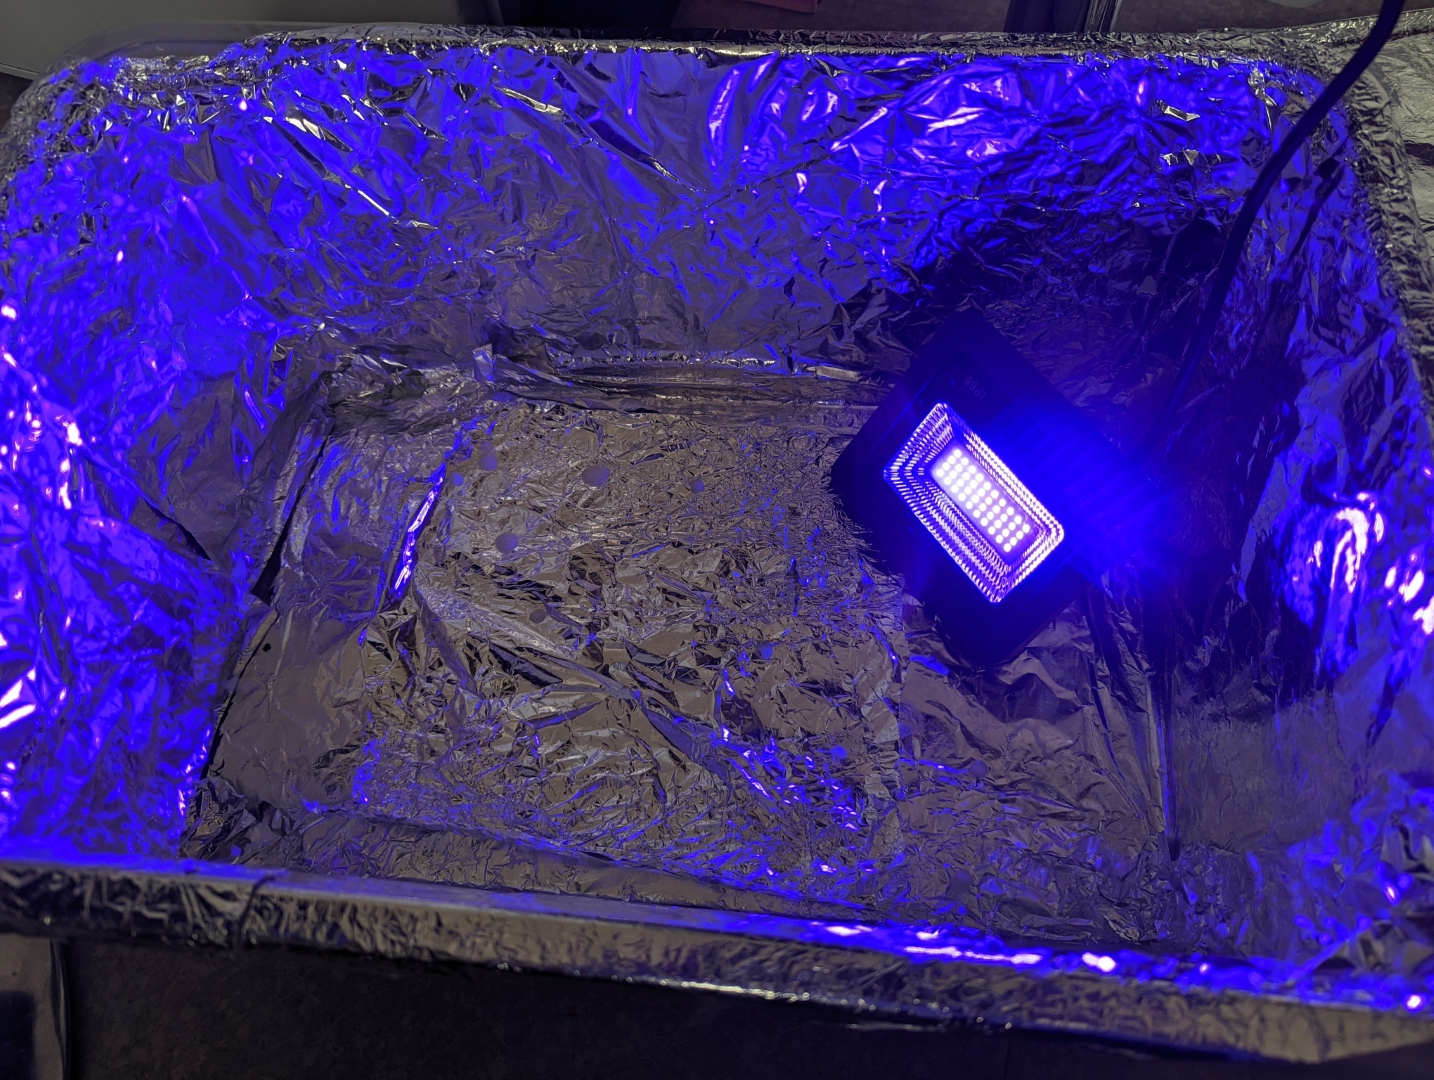
So here’s my upgraded setup from last time. I grabbed a clear tub and lined the sides with tin foil in an attempt to keep the UV light inside. I filled the tub with 11.99% food grade Hydrogen Peroxide, placed the keyboard keys inside the Peroxide, and hung a 20W waterproof Ultraviolet LED Spotlight slightly over the liquid. I placed the tub on top of the 2 UV nail lamps I have used before. The tub was then covered up to keep all the UV light inside.
The keys were in the peroxide for around 48 hours in total, I checked on them occasionally and stirred them when needed.
I wouldn’t recommend this way of doing the keys, as because they are very light, they just floated in the tub, so they weren’t fully submerged all the way all the time which caused uneven bleaching to the keys.
After the keys were treated in the peroxide I gave them a good clean in the sink.
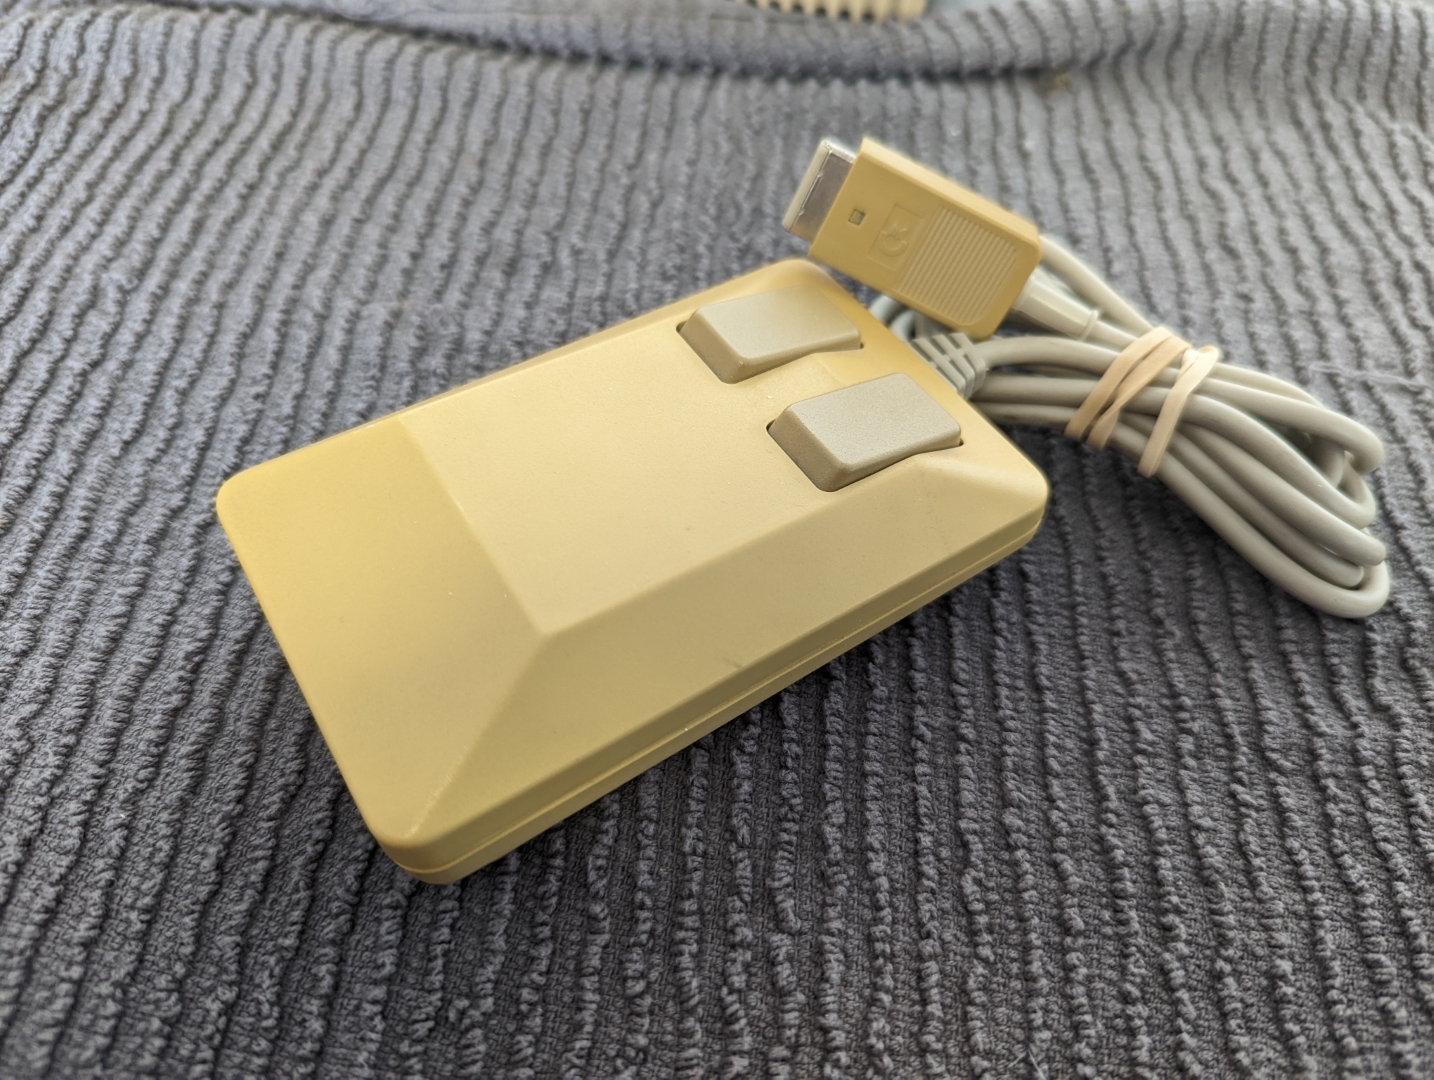
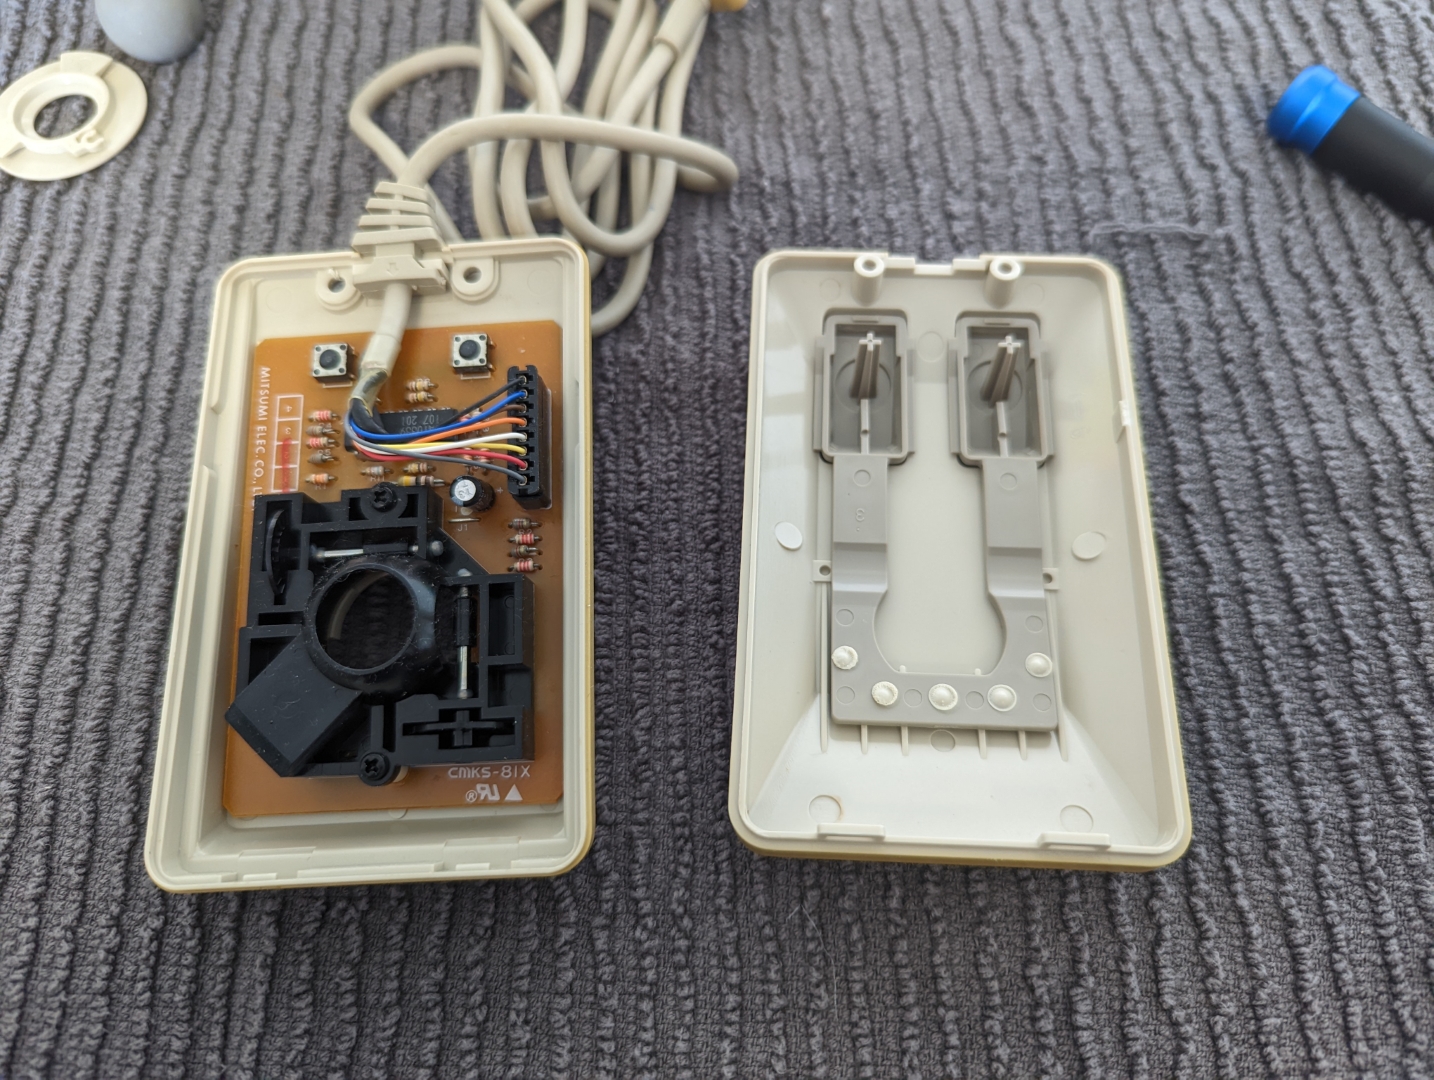
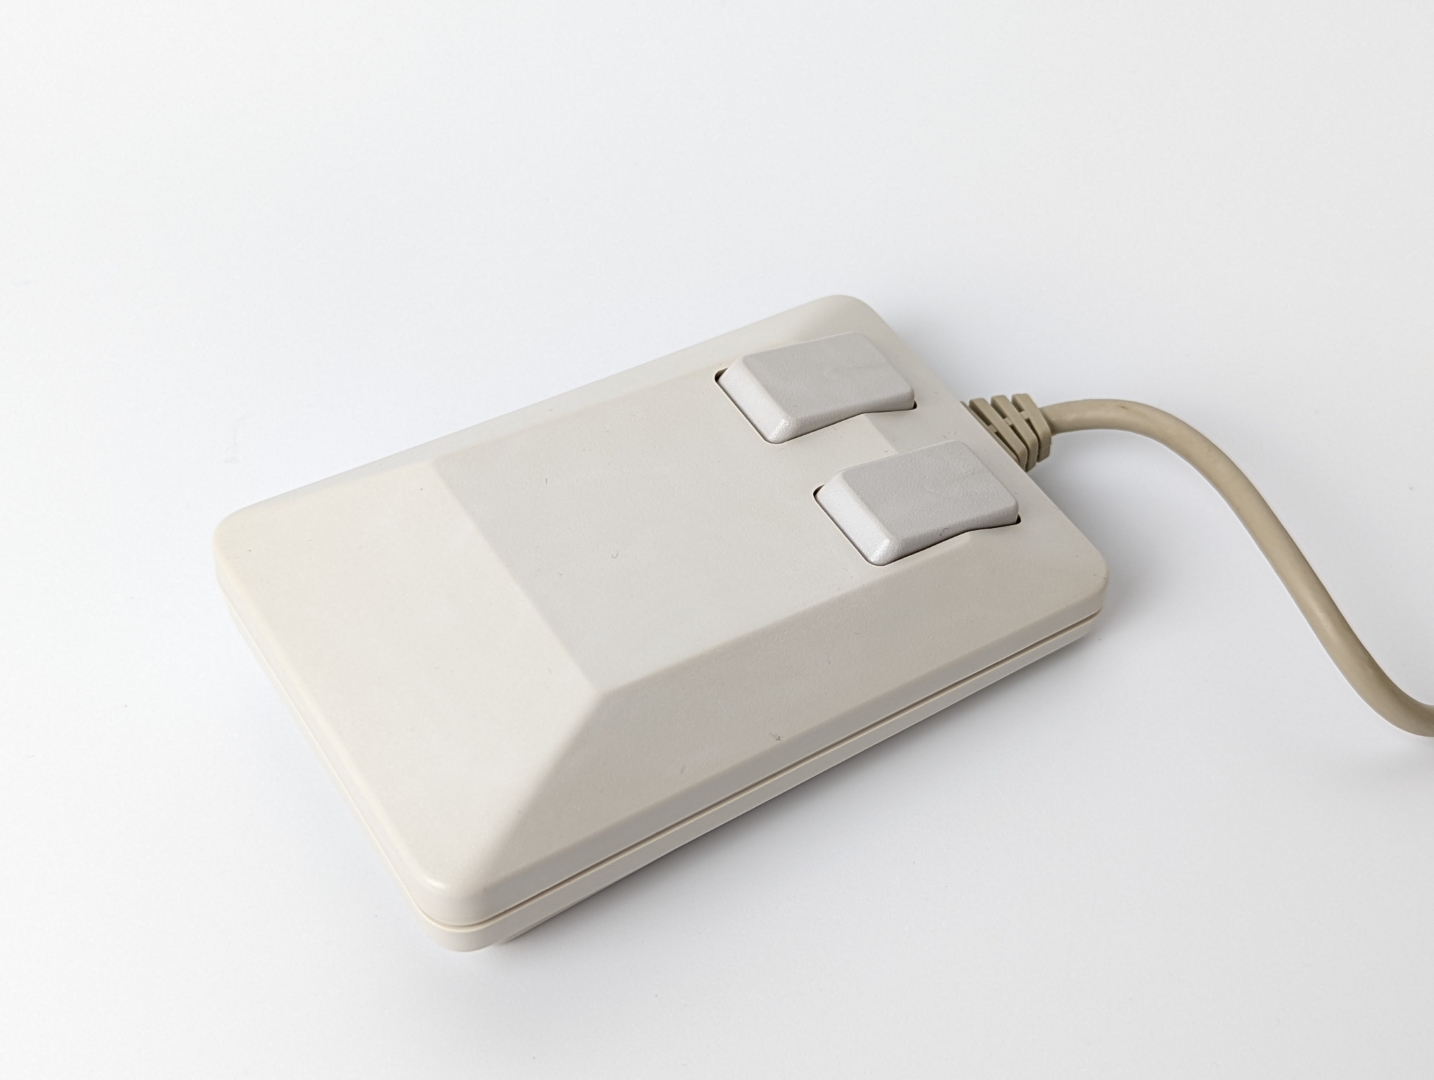
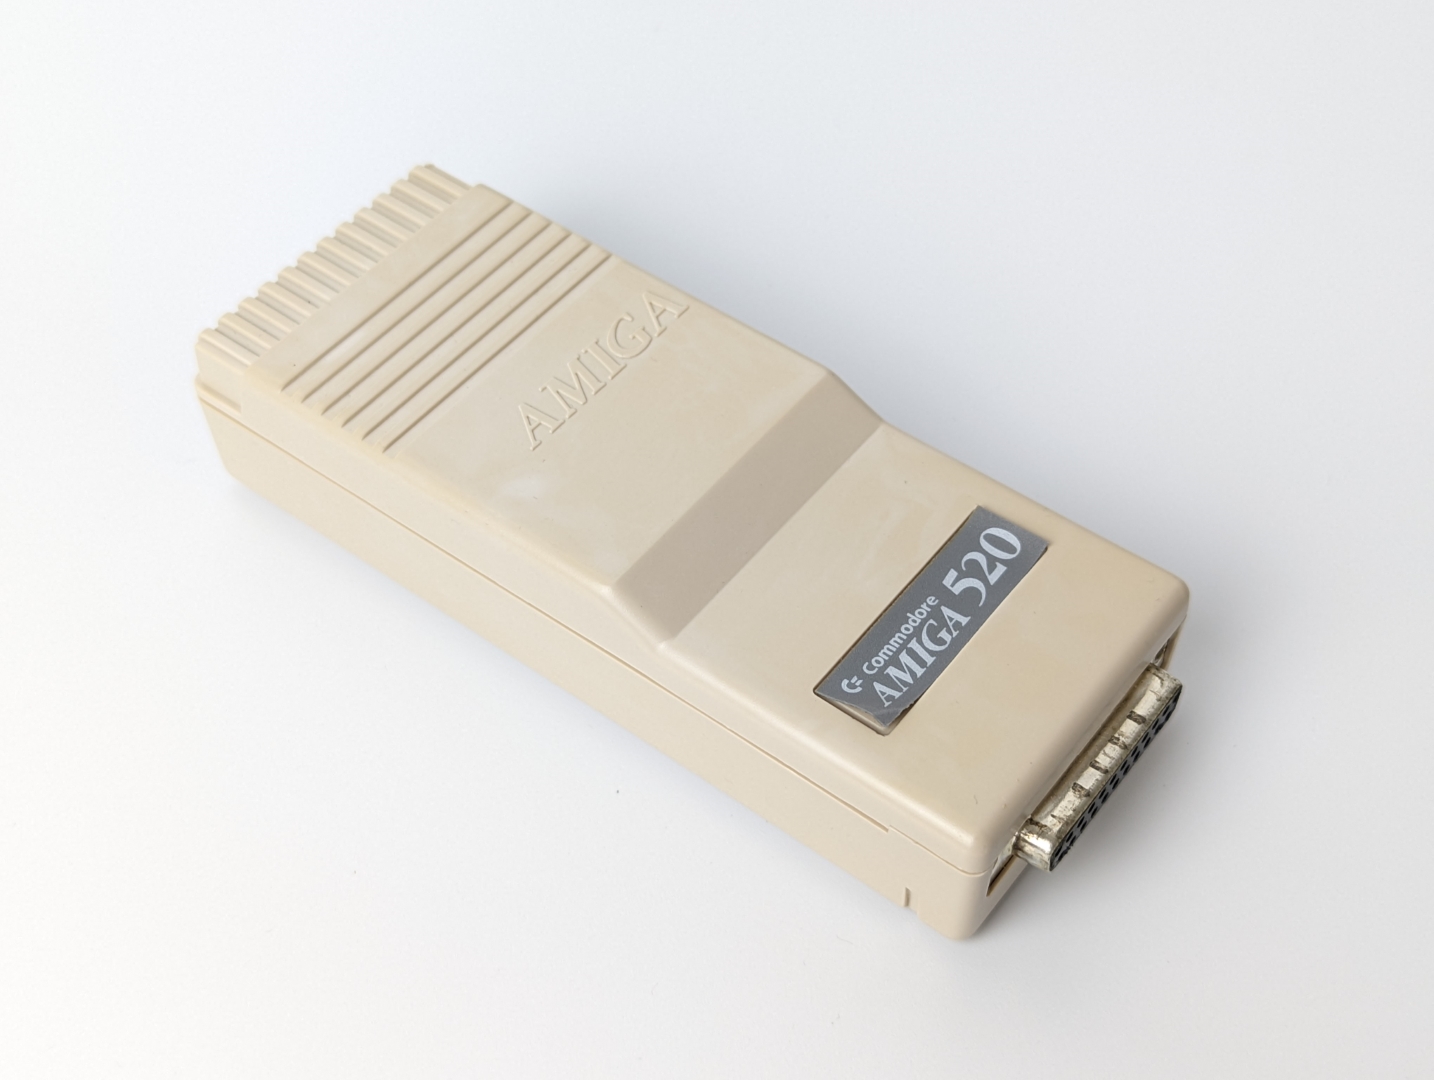
Next up was the RF Modulator and the mouse. So I dissembled and cleaned them both.
I decided to break out the old faithful salon cream for these bits
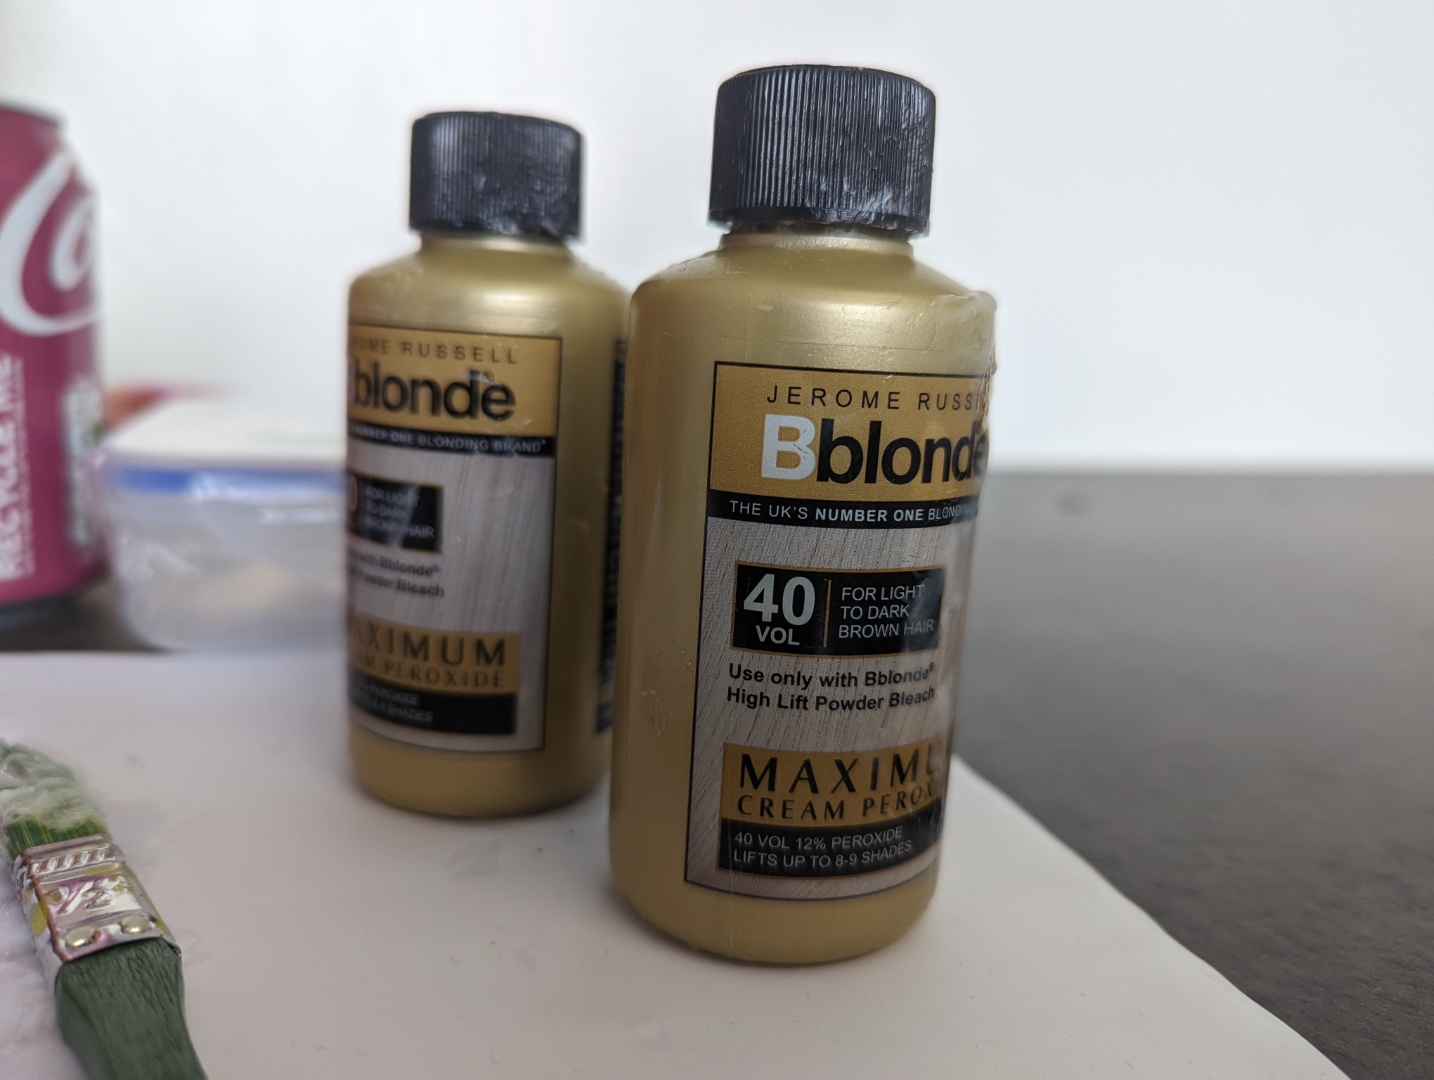
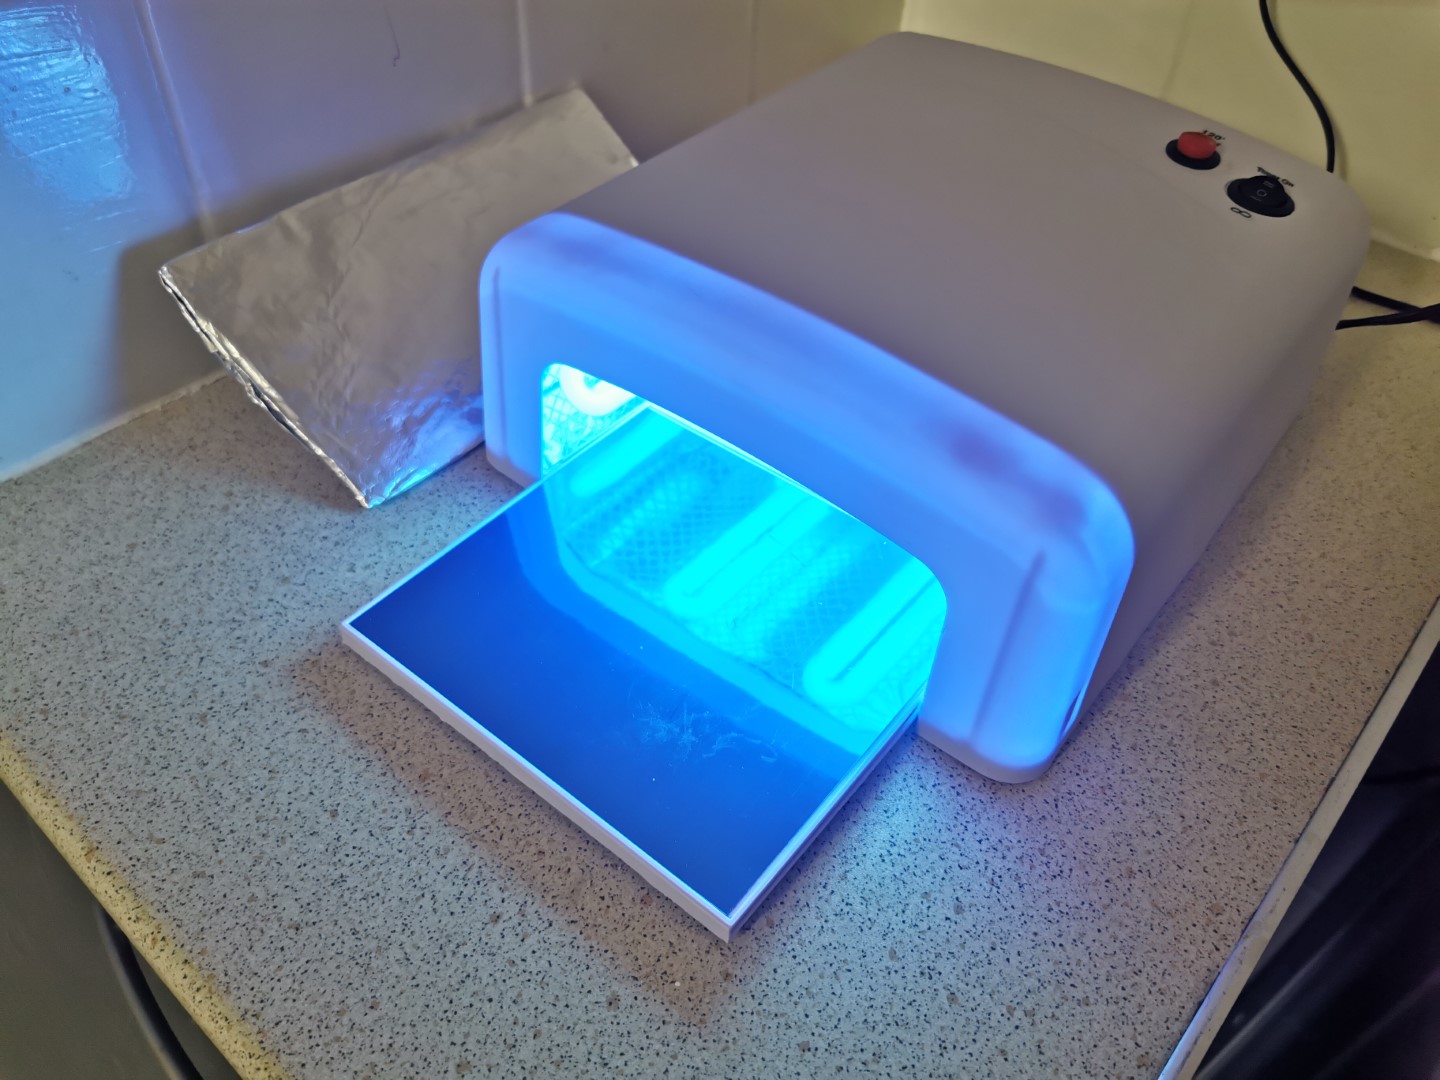
I covered the parts in the cream and put them in the nail lamp. They were inside the lamp for around 12 hours total. Around halfway through I reapplied the cream to the parts, as it is important to not let the cream sit still on the plastic too long as it can cause uneven bleaching.
While the other parts were doing their thing, I set about tackling the top and bottom of the Amiga itself. I essentialy combined both processes this time. I lined a large tub with foil and placed the spotlight inside. The Amiga parts were covered with the salon cream and placed inside the tub. The tub was covered up and left for around 12 hours. I clearly didn’t follow my own advice as I didn’t reapply the cream this time, and because of that The top of the casing has uneven colouring now.
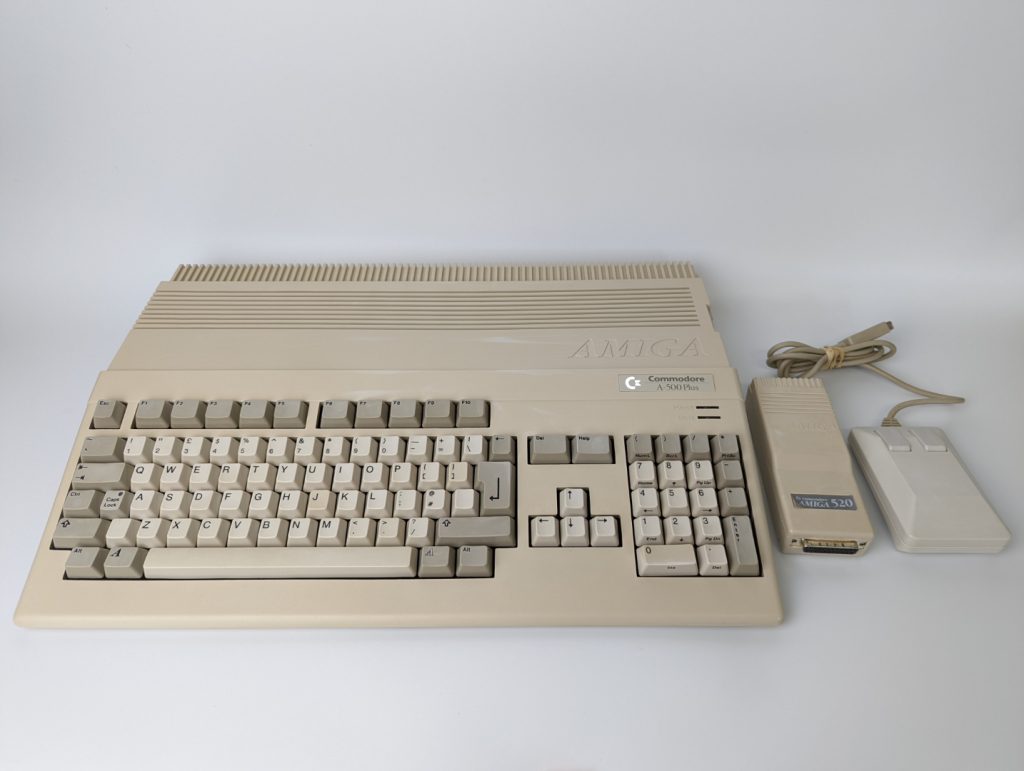
After all the parts were removed from their light boxes, it was time for another clean. When they were all dried off I could admire my work, and while certainly not perfect, they have come up a million times better than they were before.
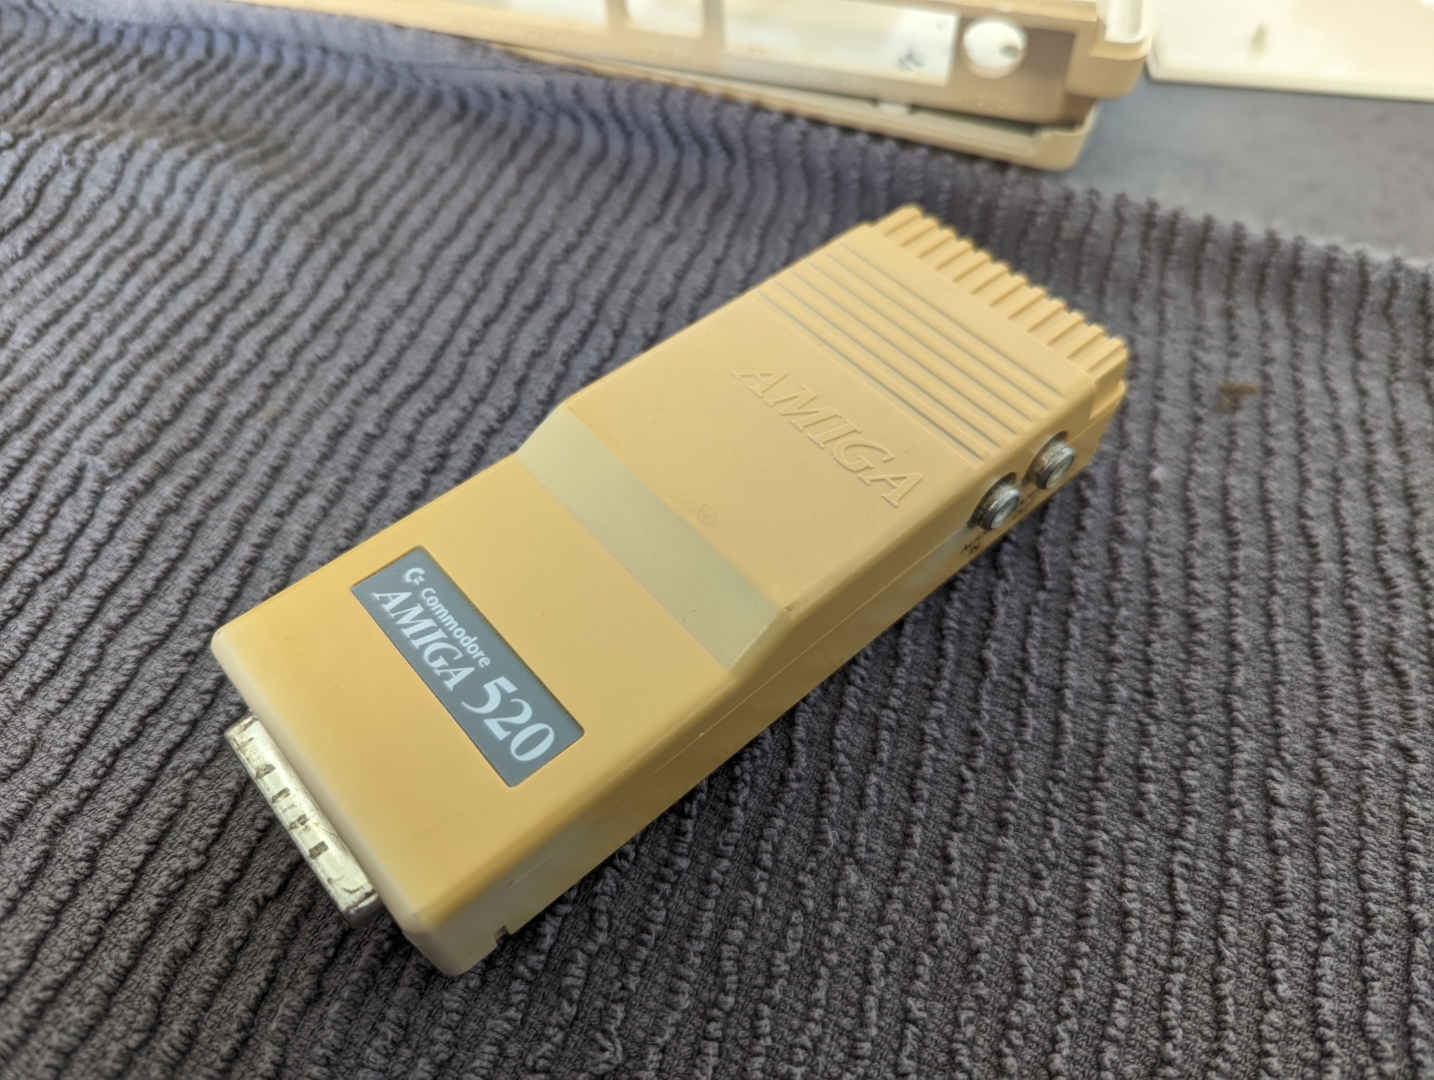
The RF Modulator was one of the worst affected bits, and it still has some yellowing to it. It could probably do with having another treatment, but I’d already spend a good few days on this project I just wanted it done. So I may come back to it in the future.
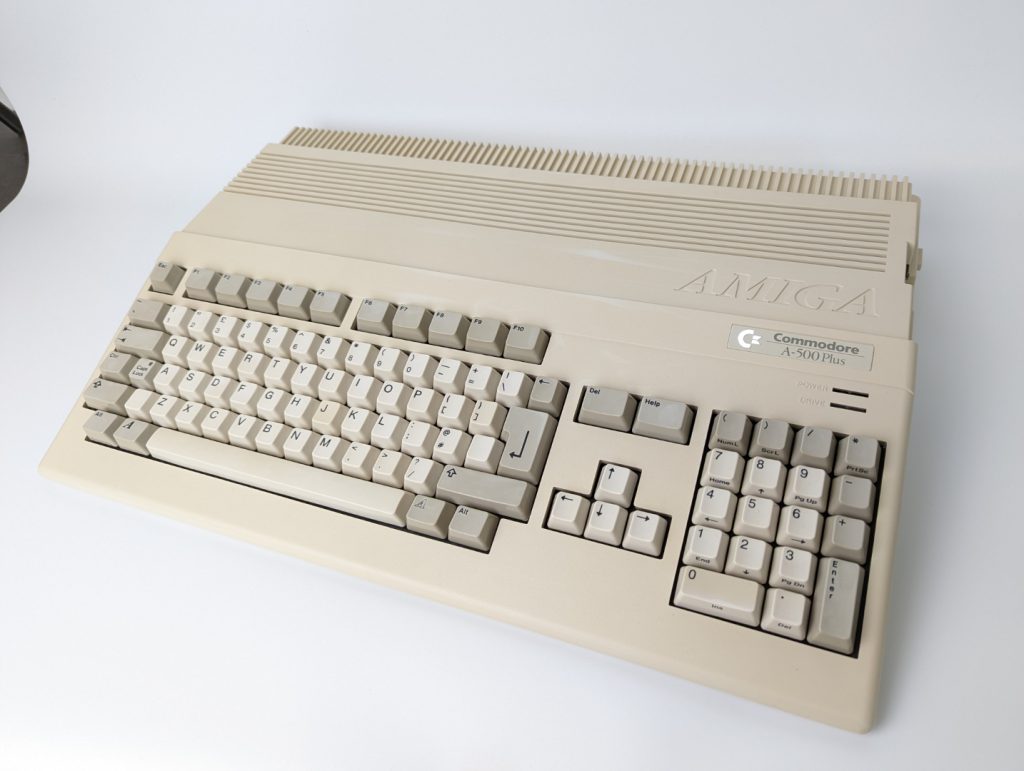
So yeah, here you can see the unevenness of the top casing as well as the keys that didn’t bleach all the way.
Here is the final product, as you can see it looks far better than how it did before this treatment.
[…] it up the best that I could, then used the same method of Retrobrighting that I used here and here, and the results were pretty good. However I ruined the whole cleaning aspect of this, as I […]
[…] then started the retrobrighting process (you can read about my process here). We will check back […]