
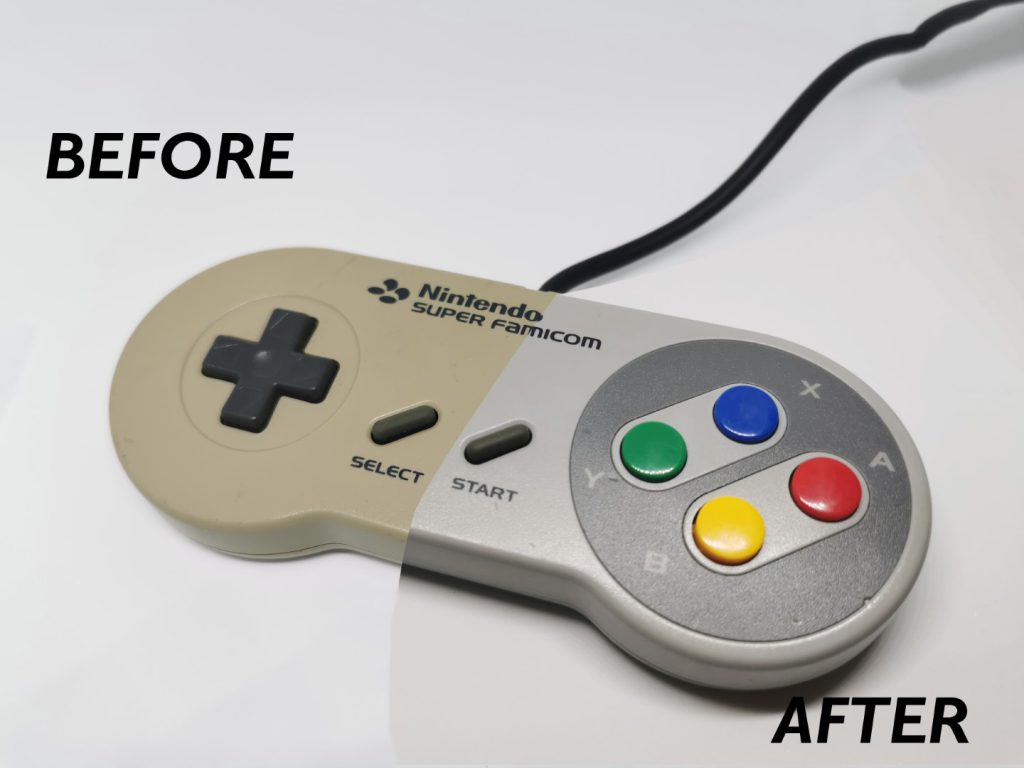
So I recently picked up a Sega Dreamcast VMU and a Nintendo Super Famicom controller that both looked like they had seen better days. They Both needed a good clean and they both have the classic yellow tinge that a lot of white game consoles suffer from. So I decided I’d try to restore them to their former glories.
")
")
")
")
")
")
")
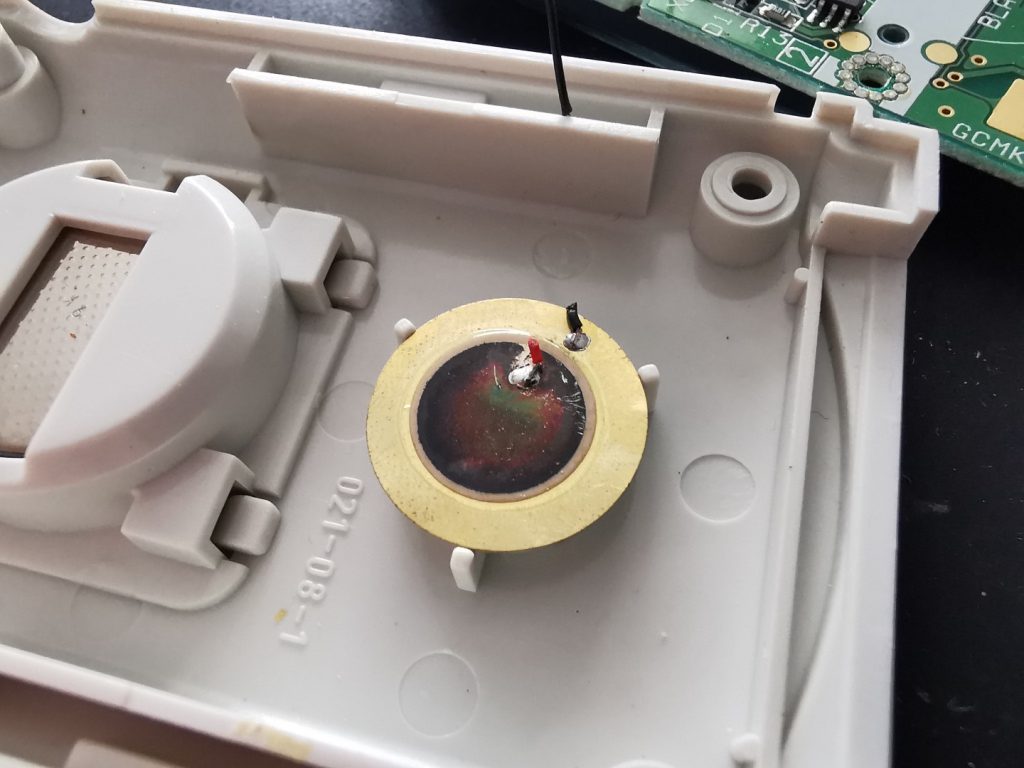
To start, both accessories needed a good clean, so I had to take them apart. I started with the VMU and after removing the screws holding it together I saw that the speaker was soldered to the motherboard.
")
")
")
")
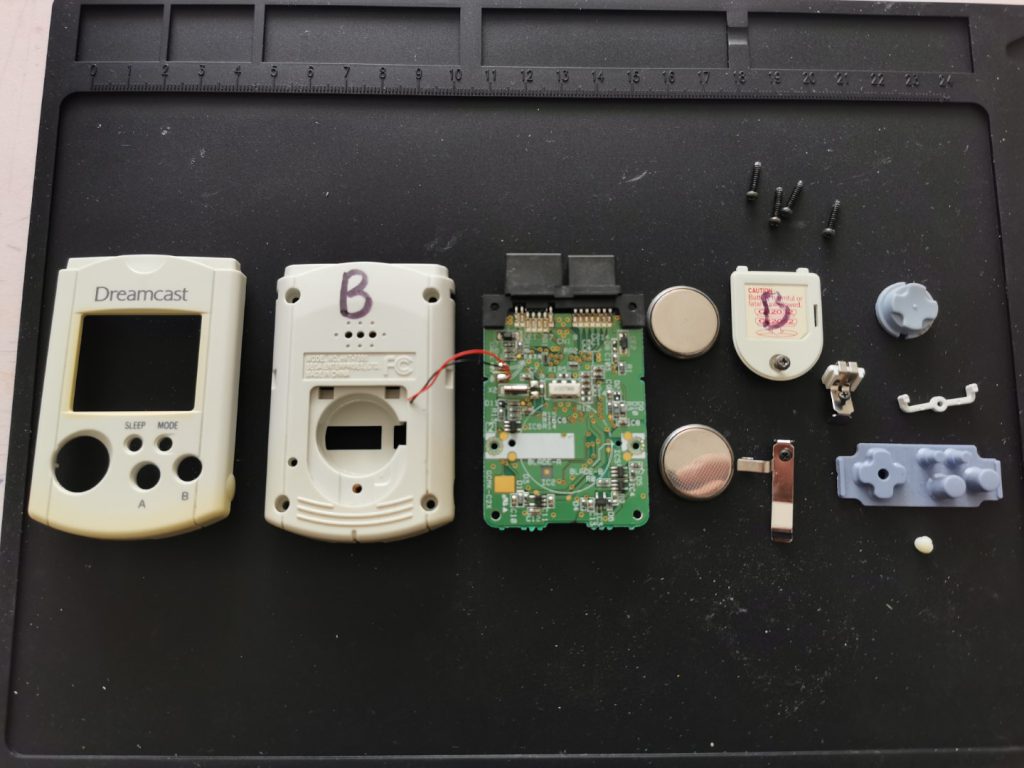
After removing the D-pad and rubber membranes from the top half of the VMU, I then took out the screen and motherboard assembly.
")
")
")
")
")
")
Next I turned my attention to the Famicom controller. After I removed all screws from the pad the bottom half lifted away and then taking the circuit board out of the top half was relatively easy to do. The controllers cable is wrapped around a few posts to ease stress when it’s in use. The shoulder buttons were just held in place with a metal rod, when removed they came out no problem at all. Then it was just a case of removing the D-pad and rubber membranes.
")
")
")
")
")

The next thing to do was to wash all the pieces and remove 20 plus years of dirt and grime.
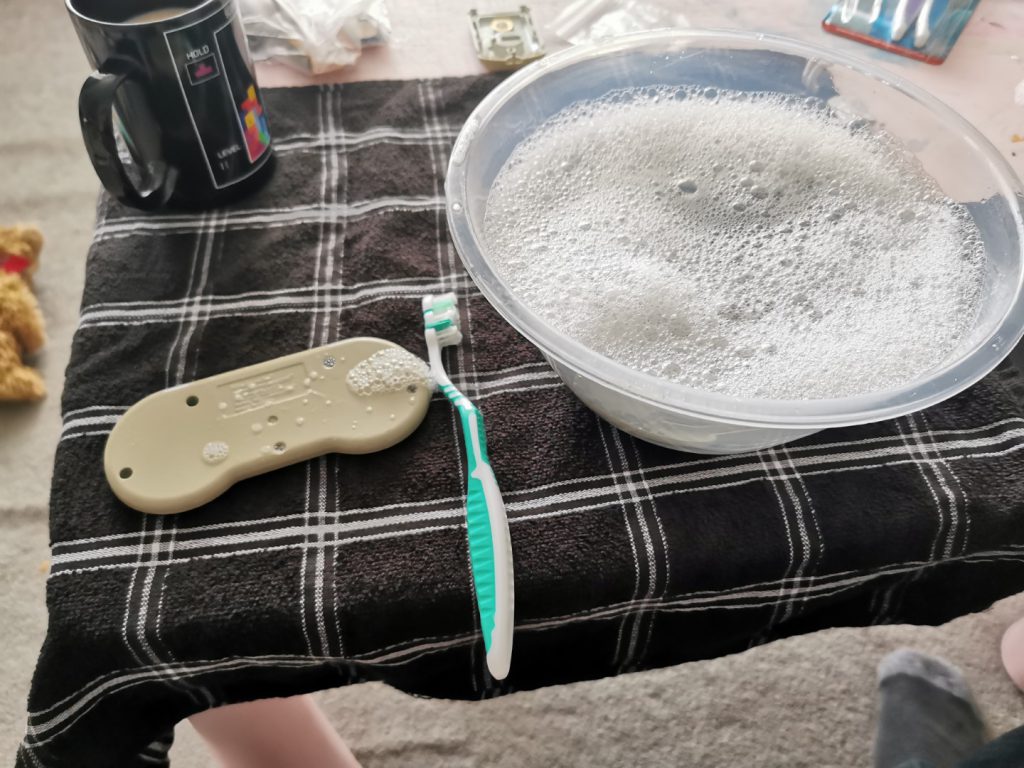
After a good scrub, all the parts came up quite well. I was able to get all the pen from the VMU which I was very happy about.
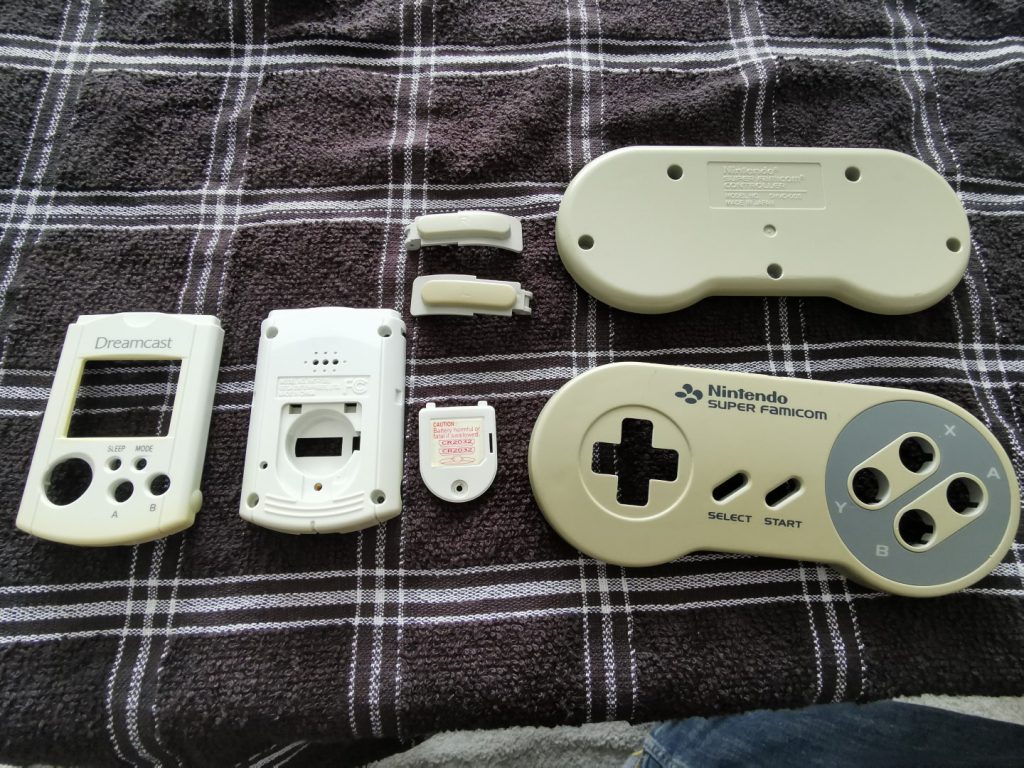
Now to try to get rid of the yellowing and restore the plastic.
According to Wikipedia:
“Yellowing is caused by both bromine and exposure to ultraviolet (UV) light. Many of the ABS plastics used in consumer electronics devices are typically “brominated”—combined with bromine as a fire retardant—to meet fire safety standards.”
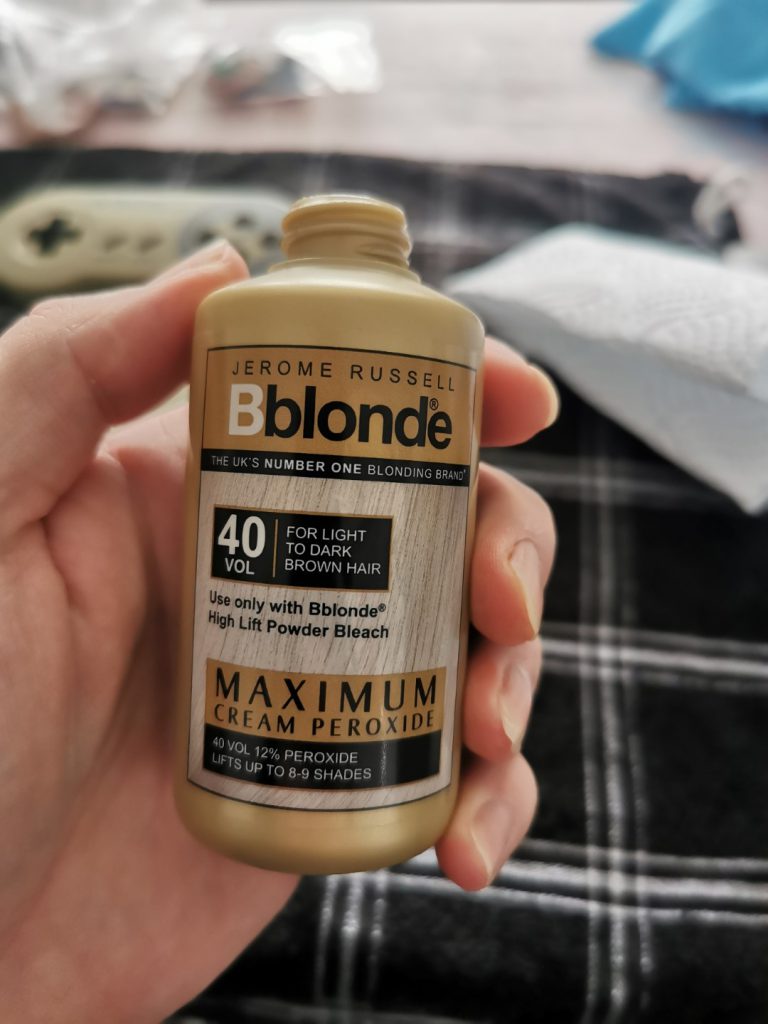
In order to reverse the yellowing and get the plastics back to where they once were I will be coating the plastics in a Peroxide cream substance and exposing them to UV light.
This particular Peroxide cream was purchased from B&M and was very cheap, it is perfect for retrobrighting.
I poured a good amount of the cream onto each part I wanted to brighten, and smothered it in using kitchen roll until there was an even layer across all of the plastic parts. Now a word of warning, don’t do as I did, PLEASE USE GLOVES! The peroxide covers your fingers and makes them go white for a few hours as well as getting inside all the minuscule cuts on the ends of your fingers making them really sore.
")
")
")
")
")
")
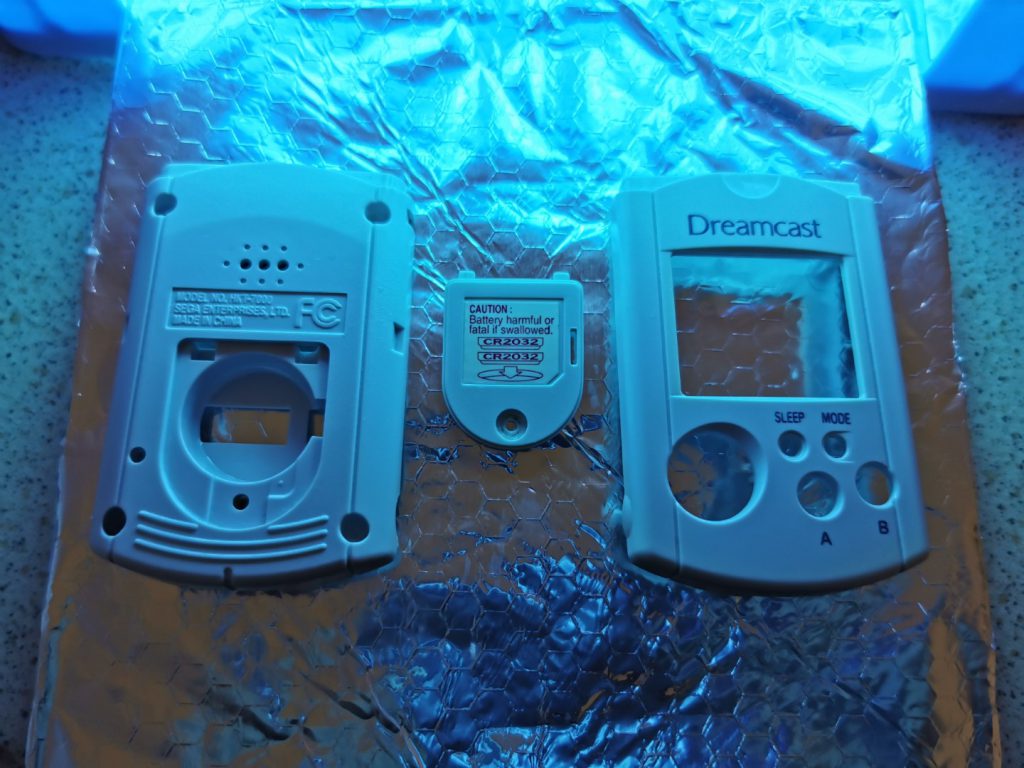
In order for the UV rays to react with the peroxide I used a 36W UV nail lamp. This is the perfect thing to use for small pieces such as these because it houses 4 UV bulbs that that spread the light evenly. I made a little door covered with tin foil to avoid any of the light escaping during the process.
")
")
")
After the plastics were suitably covered, they were placed on the tray of the nail lamp. I started with the VMU. it was placed inside the lamp for around 2 hours. After the 2 hours were up I pulled out the tray and I was floored by how good it went. To remove the Peroxide from the parts, I cleaned them using baby wipes and they did the trick.
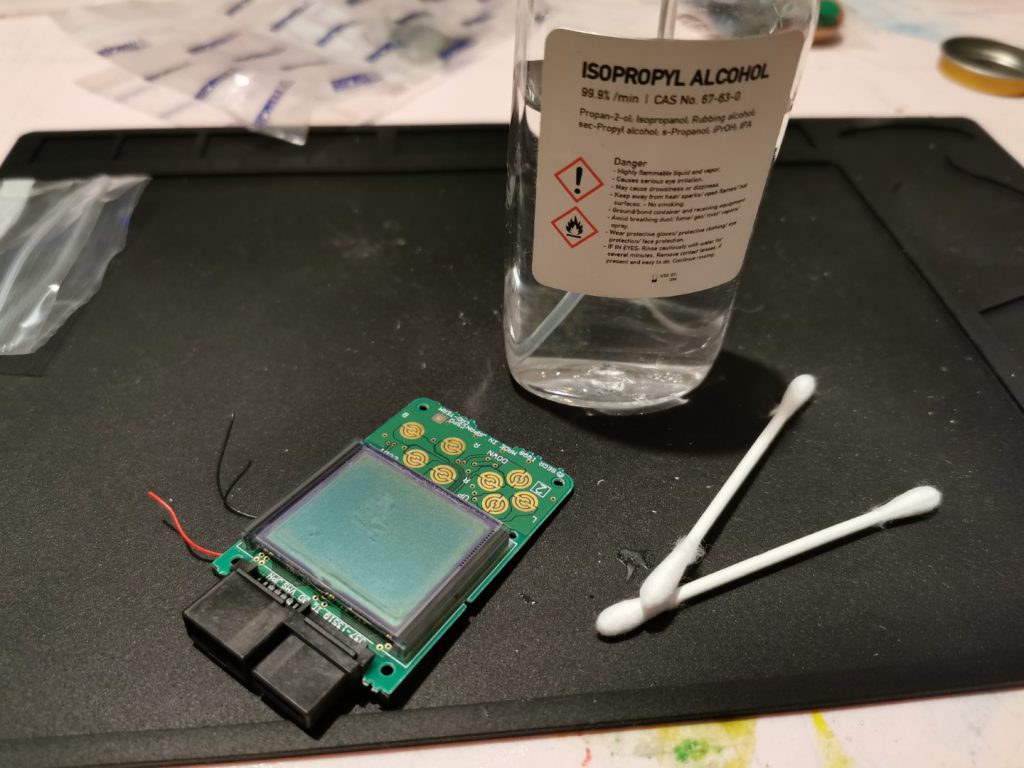
After covering the Famicom parts and placing them into the lamp, I set about reassembling the VMU. I gave the board and screen a good clean with isopropyl alcohol.
I put the D-pad and the rubber membranes back in, then screwed the battery contacts into the motherboard. I then had to reattach the speaker. I used solder wick to remove the bits of wire that were still attached to the speaker and soldered new wires in their place. Then I closed it all up and it was done.
")
")
")
")
After about 2 hours I checked on the controller and came to the realisation that it needed another coating of Peroxide as it was still showing slight yellowness, so I covered it again and put it back under the lamp.

Another 2 hours later, the controller was done. I cleaned off the remaining peroxide with baby wipes. I put all the pieces back into the pad and closed it back up.
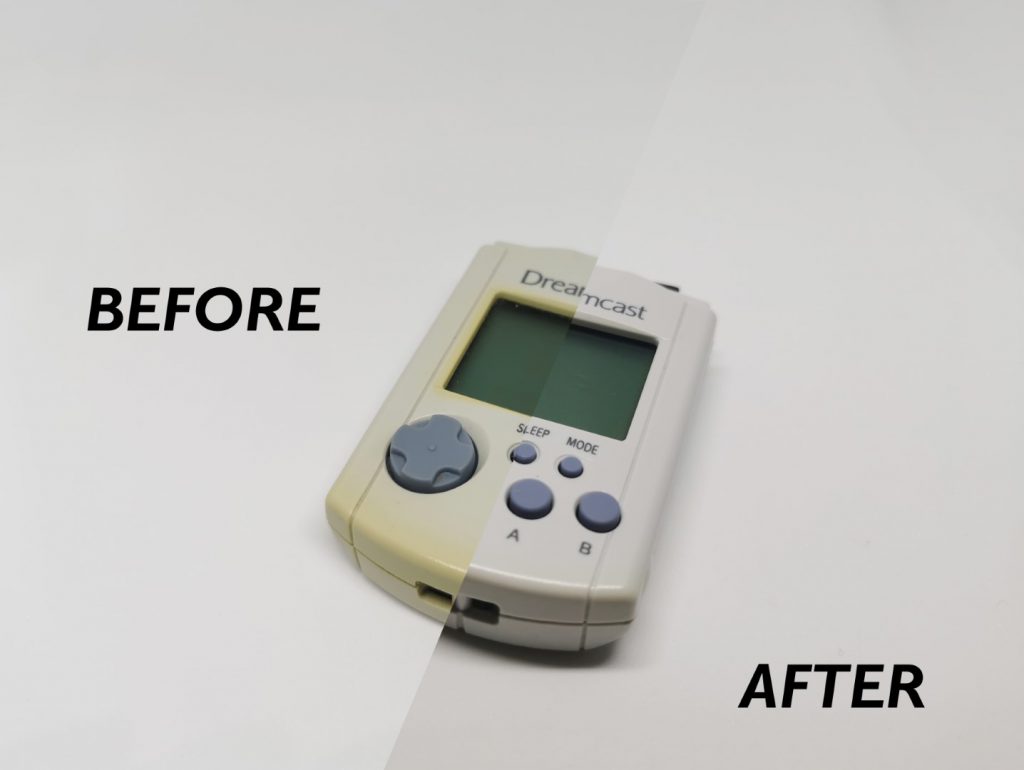
Overall this process worked fantastically. I am amazed by how good it went. It has really brought back the original colour of the accessories. They have went from looking their age, to looking like they are relatively brand new. I would recommend anyone to do this if they have yellowed consoles or parts. The Peroxide cream was inexpensive and goes a long way, the nail lamp was not expensive either. Overall this has cost me around £15 and that’s great value for money.
")
")
")
")
")
")
")
")
")
")
")
")
[…] I cleaned it up the best that I could, then used the same method of Retrobrighting that I used here and here, and the results were pretty good. However I ruined the whole cleaning aspect of this, as […]