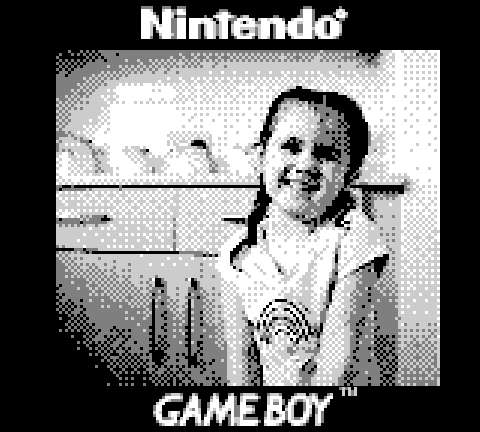


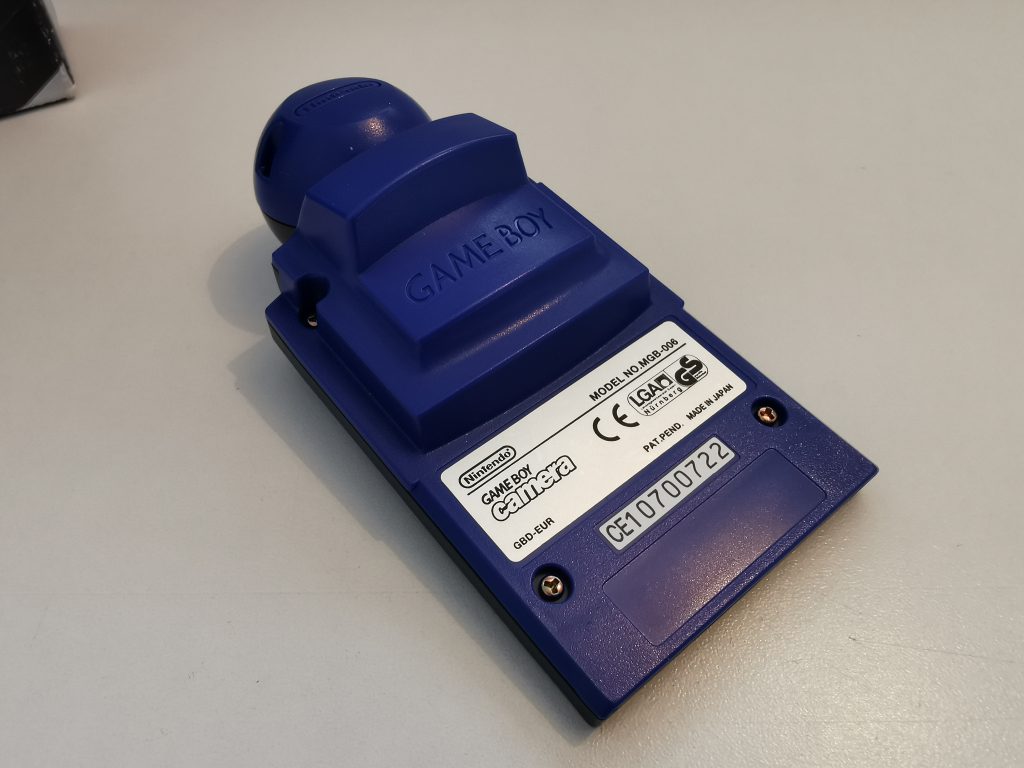
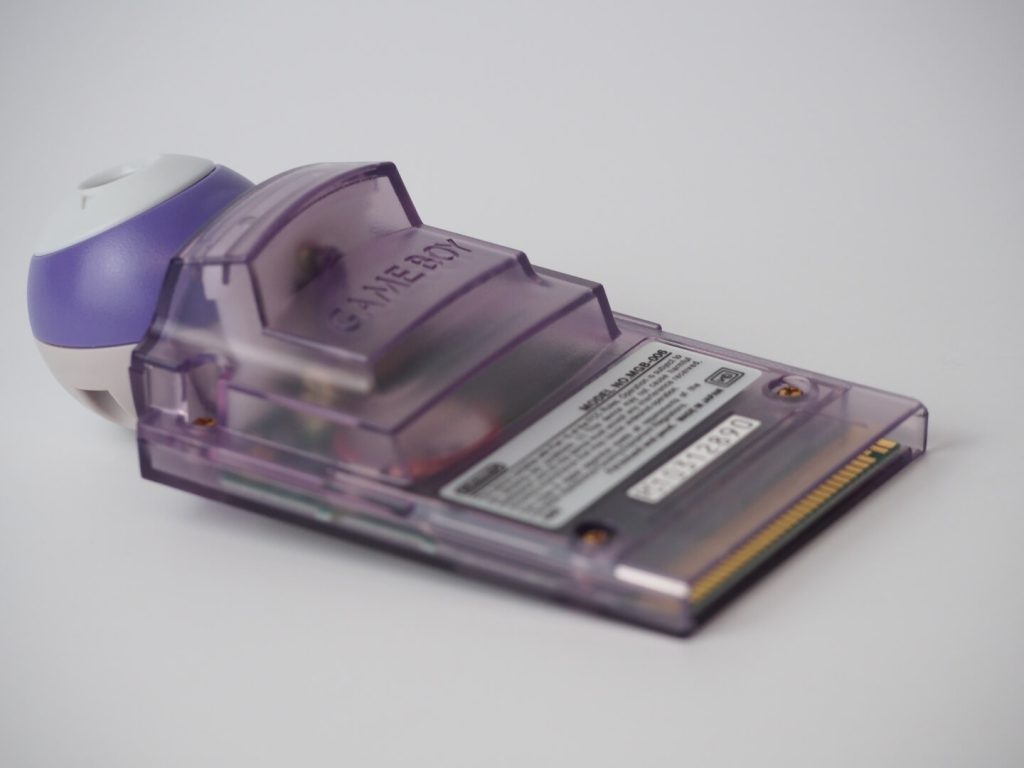
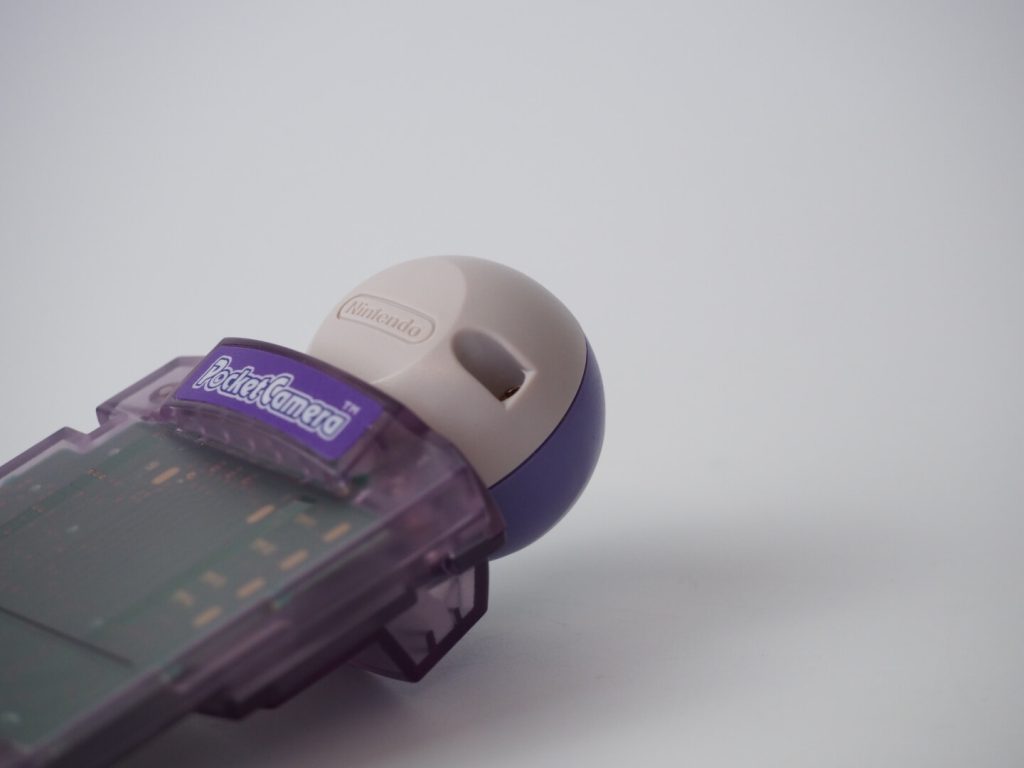
The Game Boy camera (Pocket Camera in Japan) is an accessory that is used with the Nintendo Game Boy console and was released in 1998 in Japan. The camera, has a 128×128 pixel CMOS sensor, and can store 128×112, grayscale digital images using the 4-colour palette of the Game Boy system. The camera is also compatible with the Game Boy Colour, Game Boy Pocket, Game boy Advance and the Game Boy Advance SP. Game Boy software
In addition to basic images Individual photographs can be taken and edited with features including a delay timer, time lapse, trick lenses like mirroring and scaling, montage, and panorama for stitching together component photos into one large image. Images can also be combined as frames of an animation.
I started using the Game Boy camera with the original DMG Game Boy at first and it was not a pleasurable experience because of the screen on the console. It was difficult to see what I was actually taking a picture of because of the lack of a backlight. It would be a lot better to use on a modded Game Boy fitted with a backlight.
I then began using the camera with my Game Boy Advance SP but because of where the cart slot is on the SP, everything was upside down. So I had to use the camera upside down which took a lot of getting used to. All of this however is not a fault of the camera.
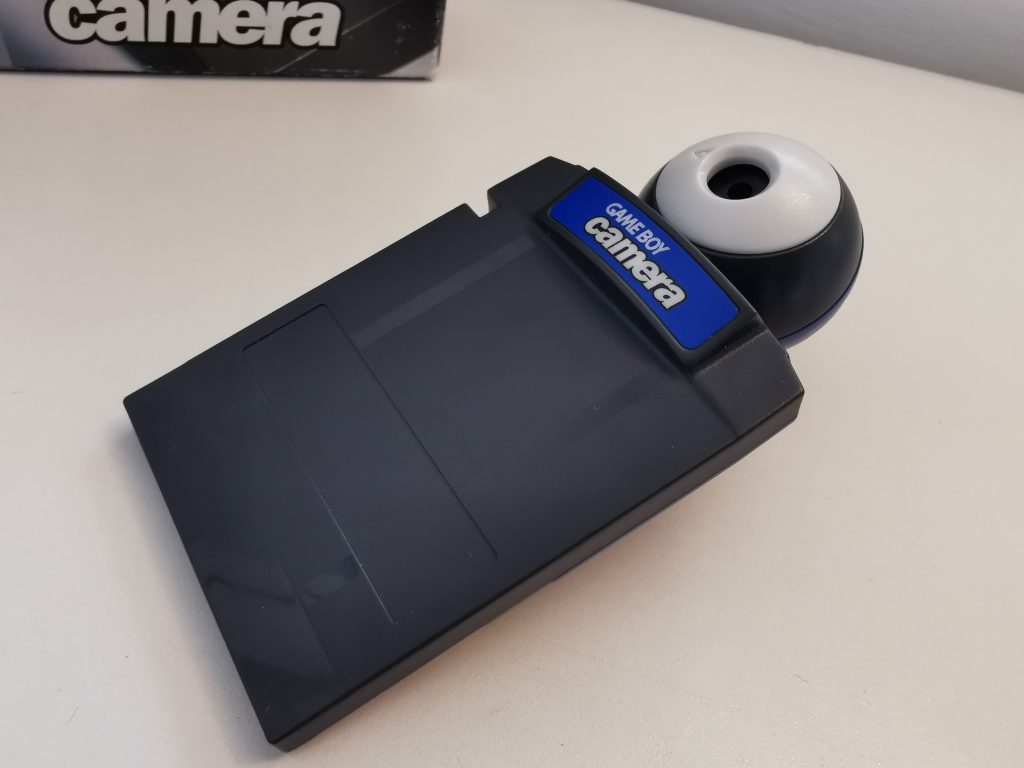
The camera itself slips into where a standard game cartridge would go and when turned on you are greeted with a dancing Mario followed by a very basic menu comprising of just 3 items shoot, view and play. Pressing the ‘shoot’ option takes you to an RPG like menu where you can select various different shooting modes as well as effects to add to your photos.
If you choose the ‘view’ option you can select weather or not to view all the photos you have taken and stored in the memory 1 by 1, or as a slideshow. The album option takes you to a scrapbook layout where you can view thumbnails of your images, if you select one you can view it large and this is where you can add stamps or frames to your images prior to printing. You cannot scroll through the photographs when you are viewing them large, you have to back out to the scrapbook view then select the next image. It is very counter-intuitive. The quicker and easier way to scroll through all images captured is to use the ‘shoot’ menu then select ‘check’ This then lets you view large images of all the photos you have taken, you can directly edit or print the photos from this screen.
The next option ‘Play’ takes you to a selection of mini games an arcade video game Space Fever, a Game & Watch handheld game called ‘Ball’, and a chiptune music sequencer. There is also a bonus mini game called ‘Run! Run! Run!’ where the player races against a mole and a bird for the finish line. These games are fun for all of 2 seconds but they’re nice to have.
Game Boy camera menu functions


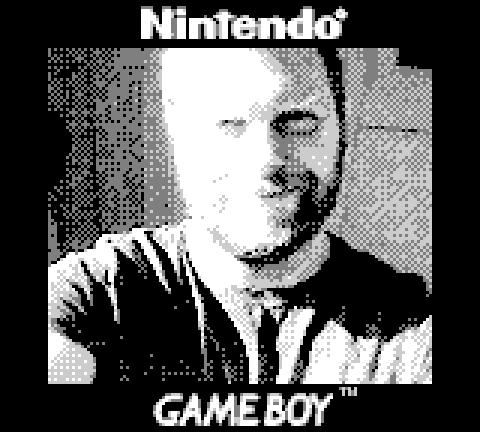
Actually taking photos with this thing is actually really fun. The limitations of the device force you to think about the photos you are taking and it inspires you to think of creative solutions to get around its flaws. Shooting high-contrast subjects is the name of the game here, anything taken is low light situations will result in dark indistinguishable images. There is little in the way of manual controls when shooting, only being able to adjust the brightness and contrast which does help to get slightly better photos out of the camera.
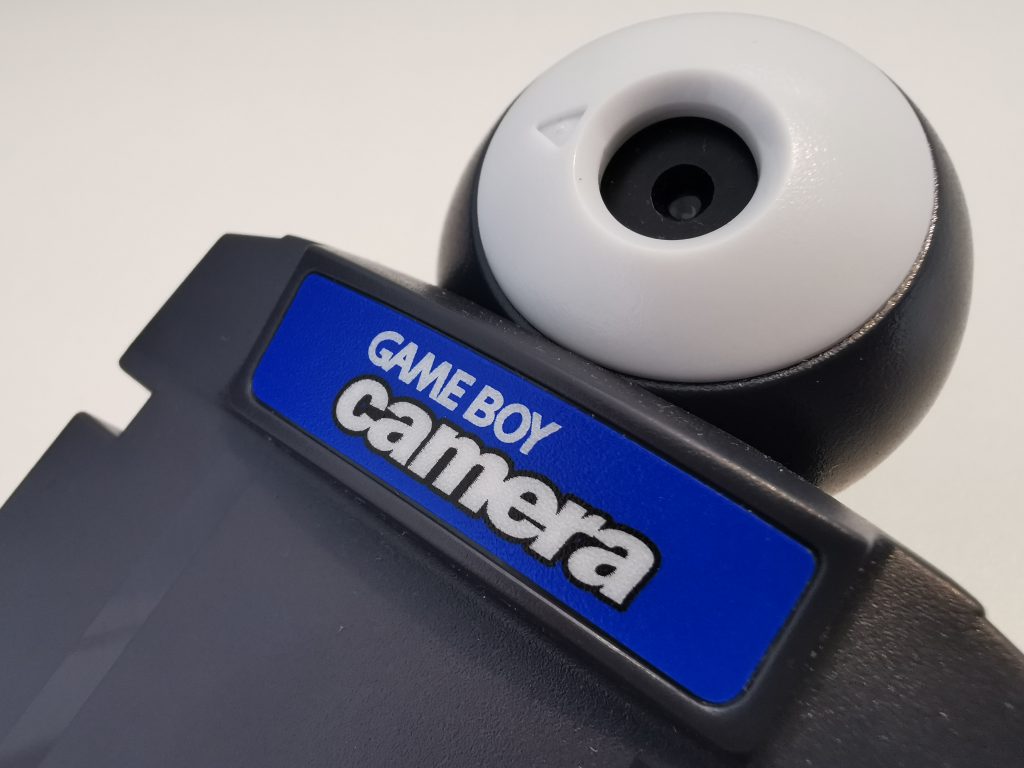
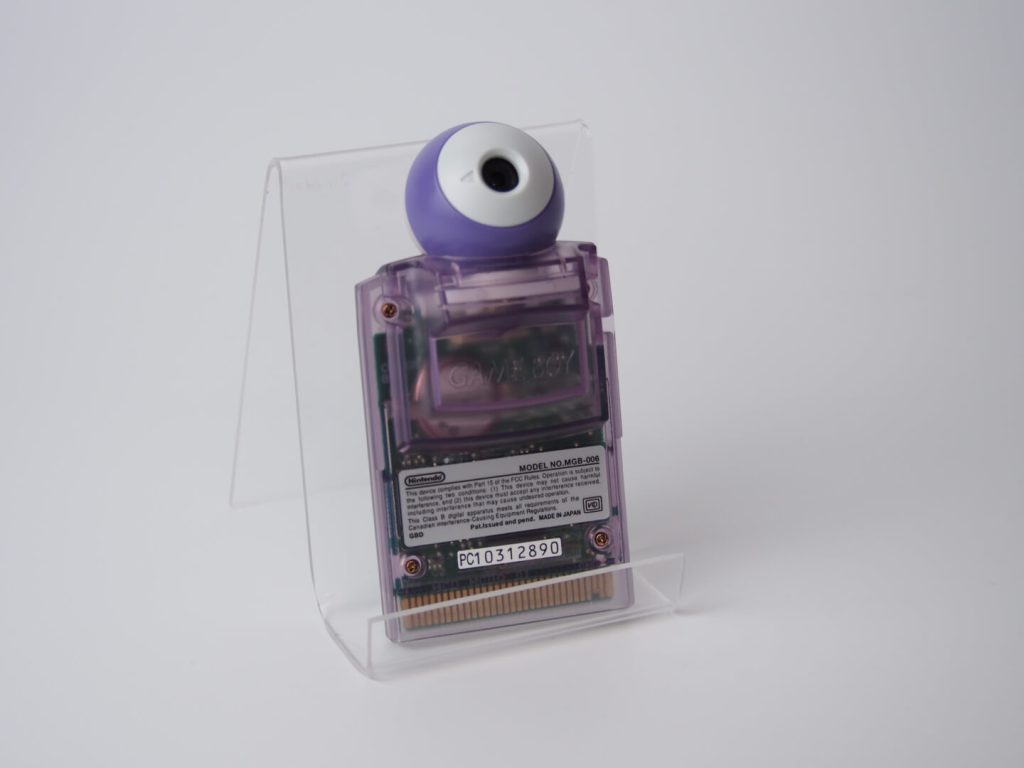
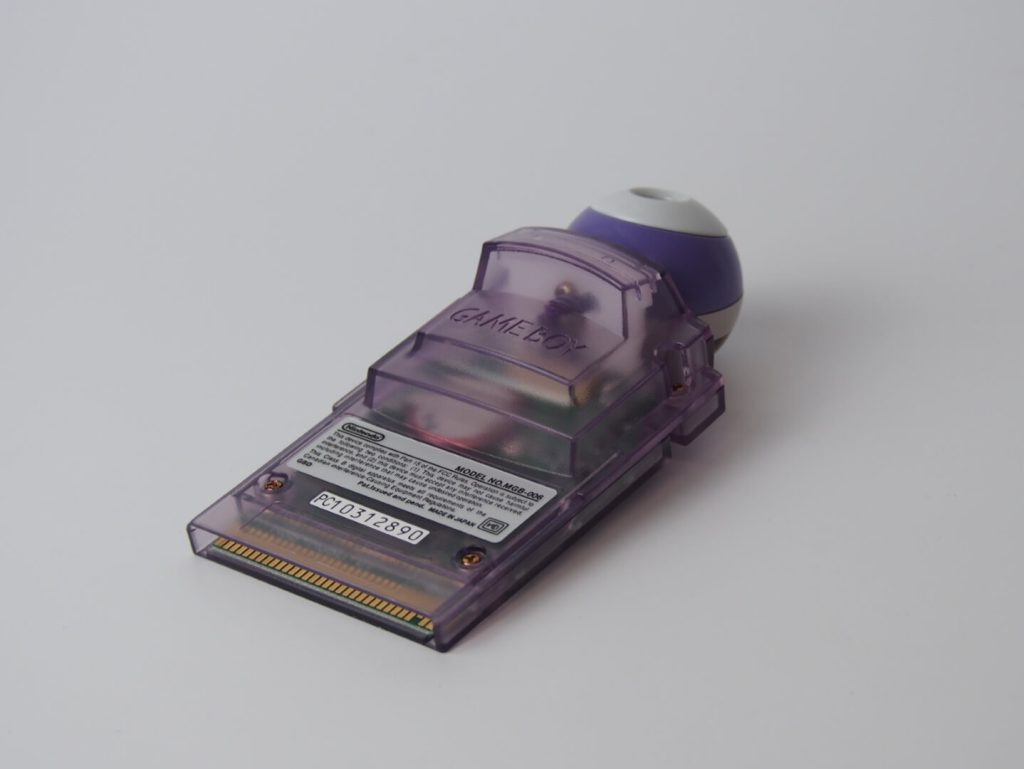
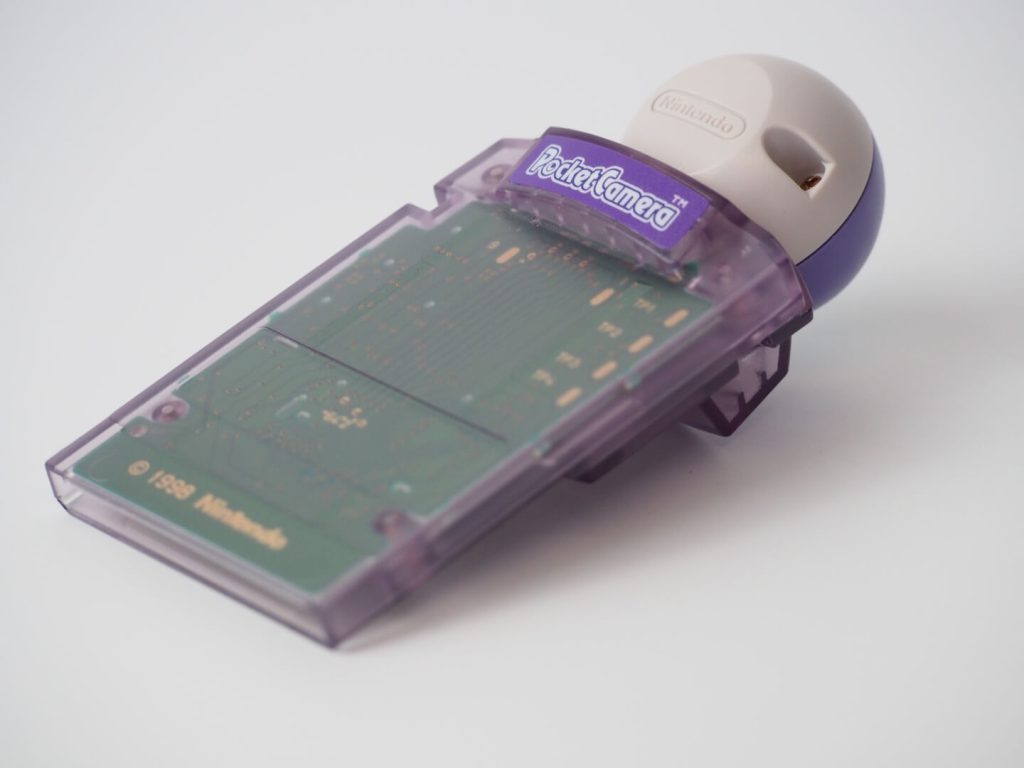
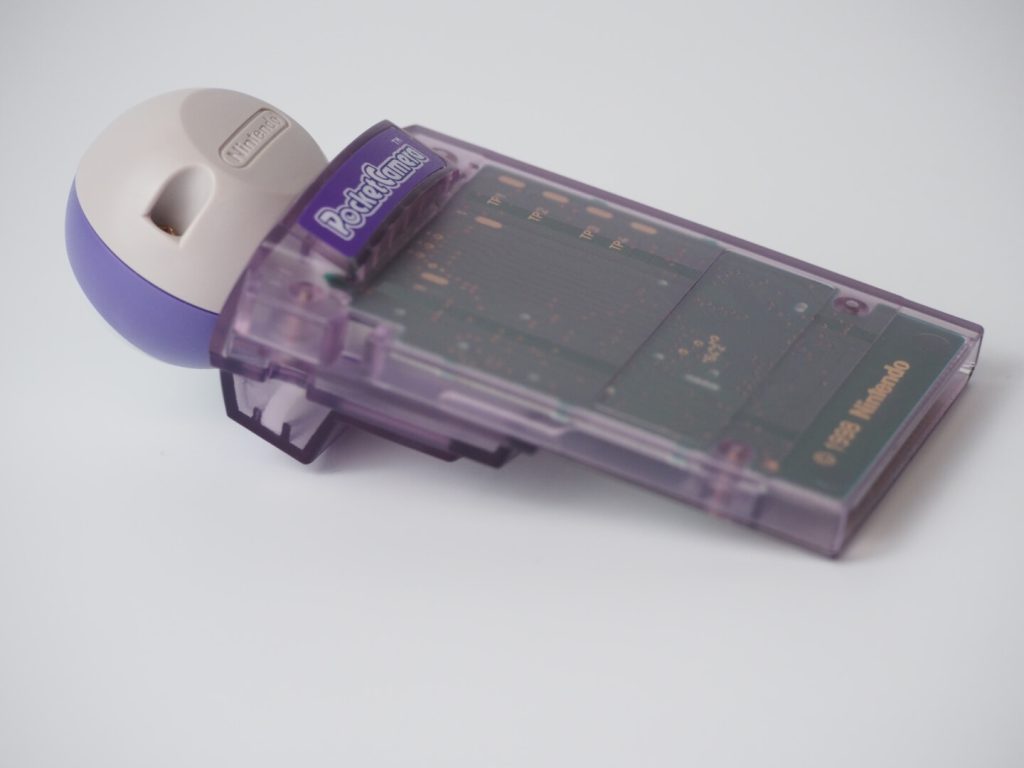
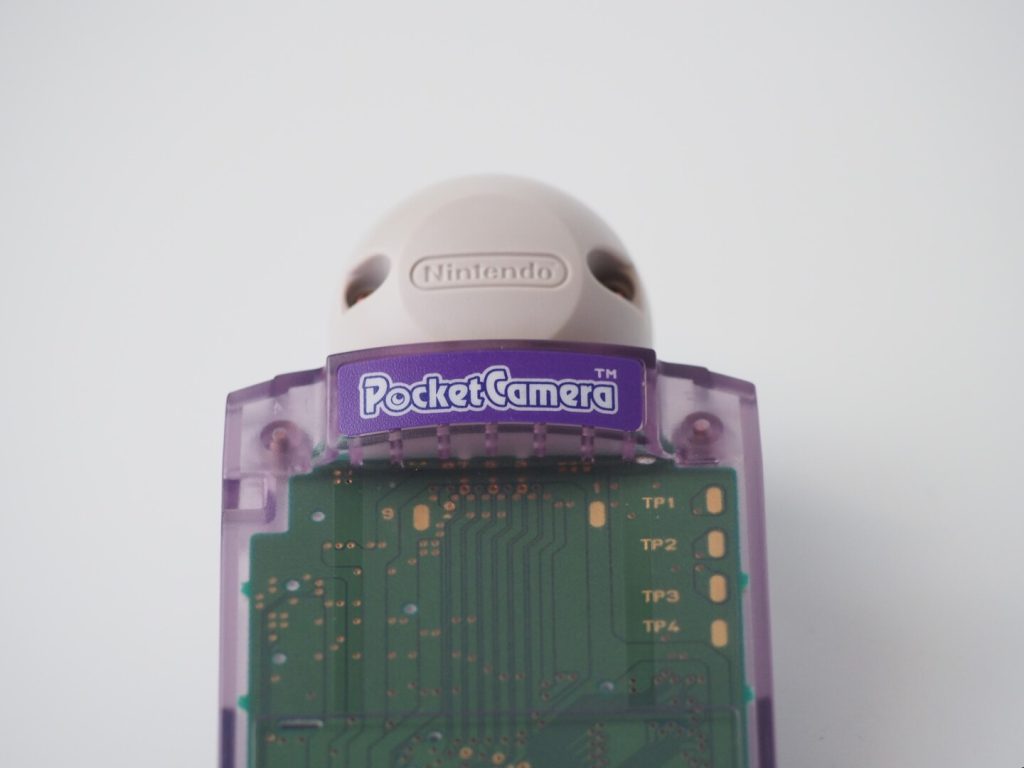
The eyeball lens camera unit itself can swivel 180-degrees to face forward or backward so you could argue that the Game Boy camera was one of the first products designed with easily taken selfies in mind.
Storage capacity is a maximum 30 images and due to the nature of this camera requiring a vast amount of trial and error, the storage space soon runs out. That is where the Game Boy printer comes in.
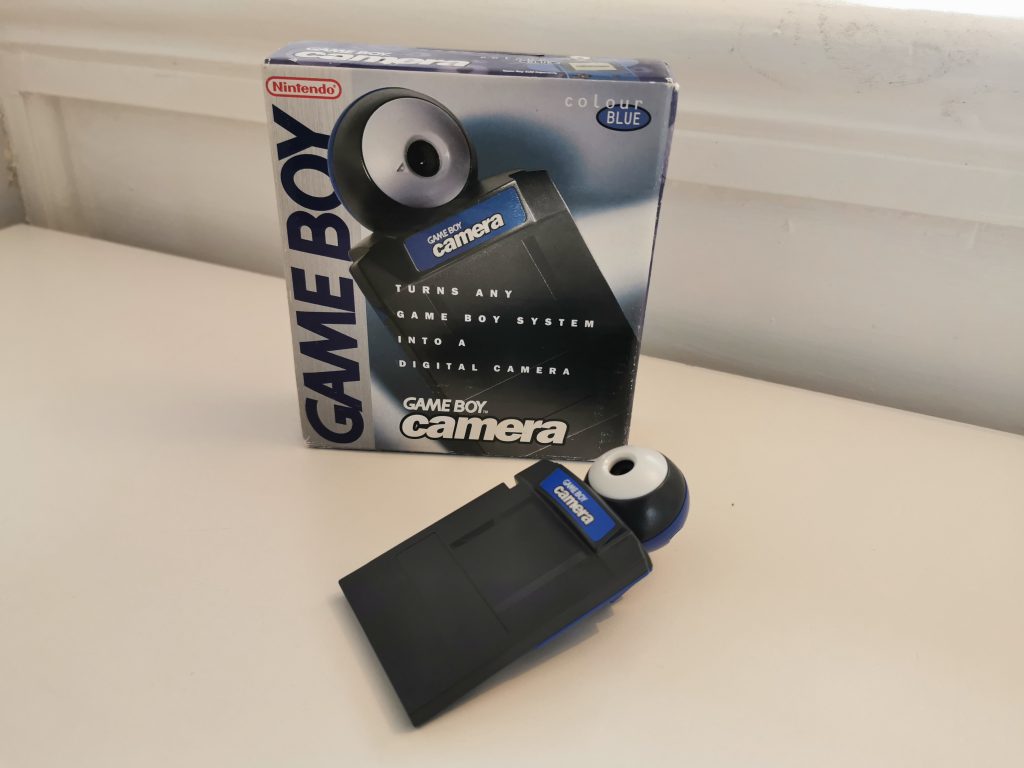
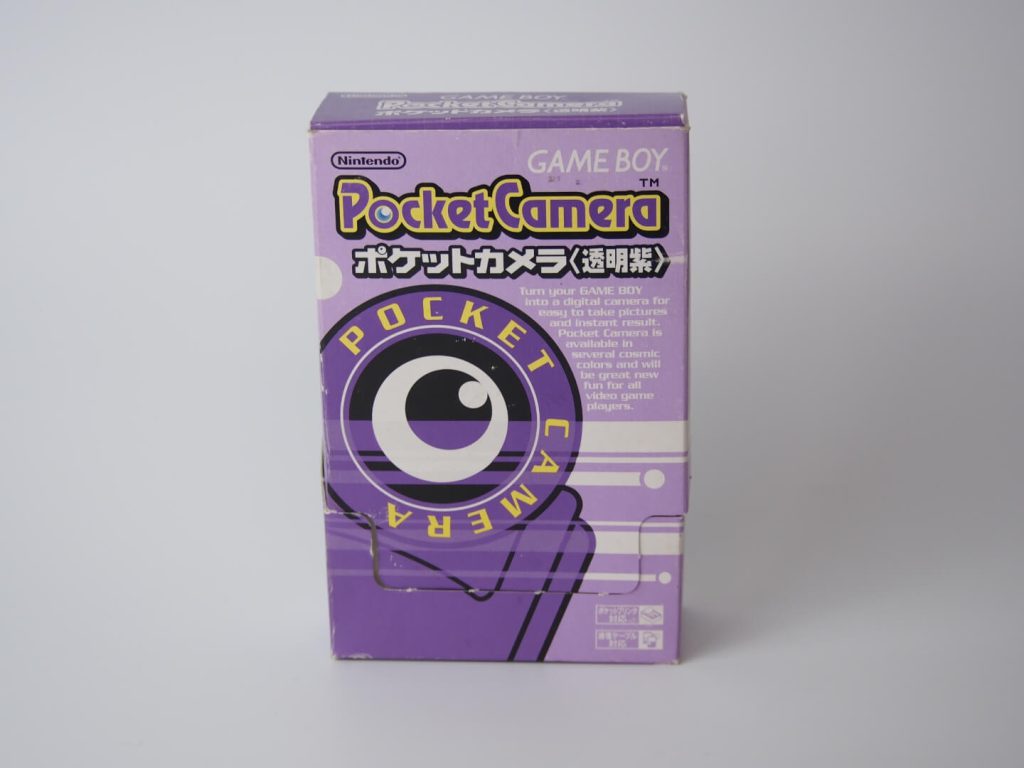
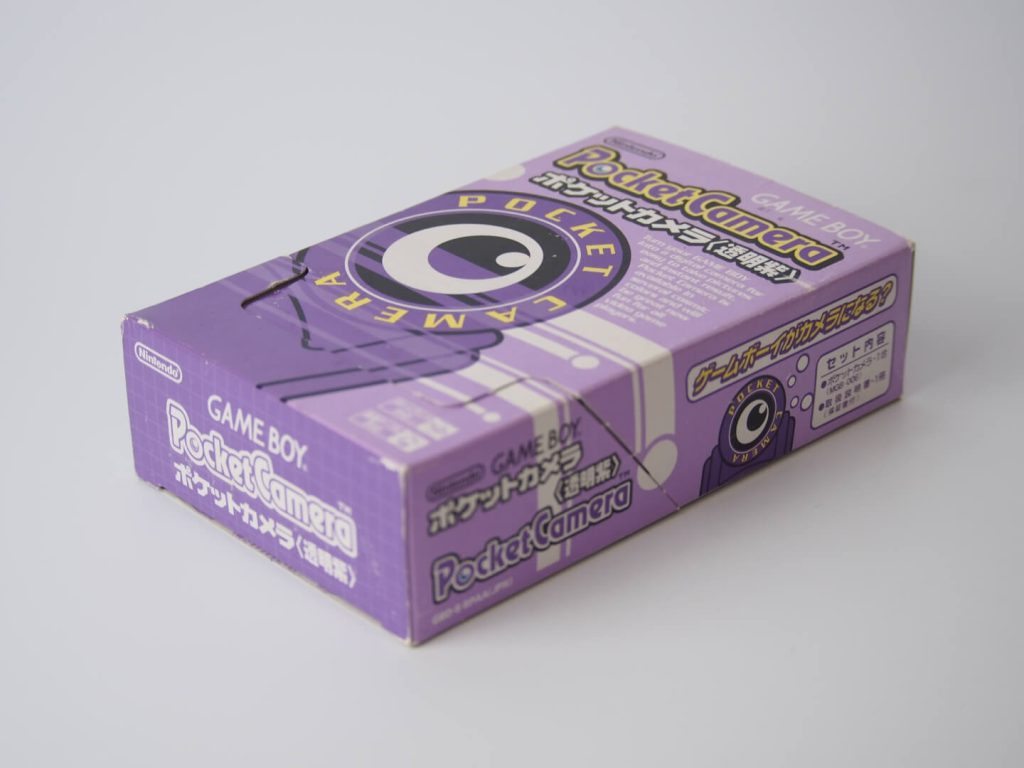
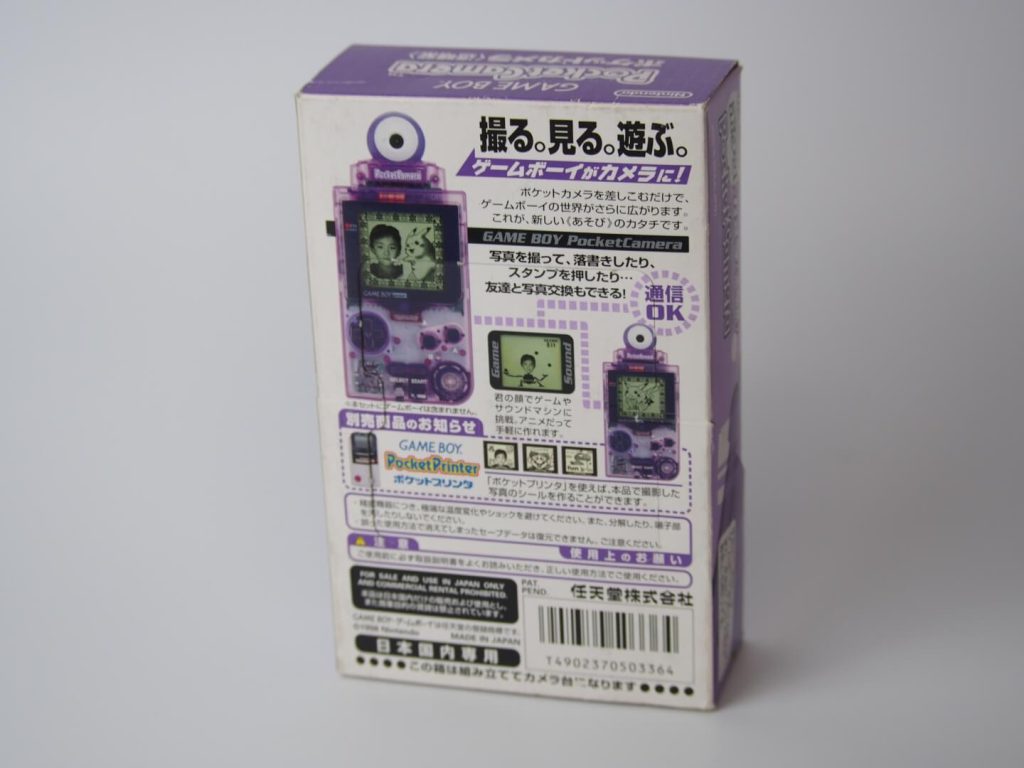
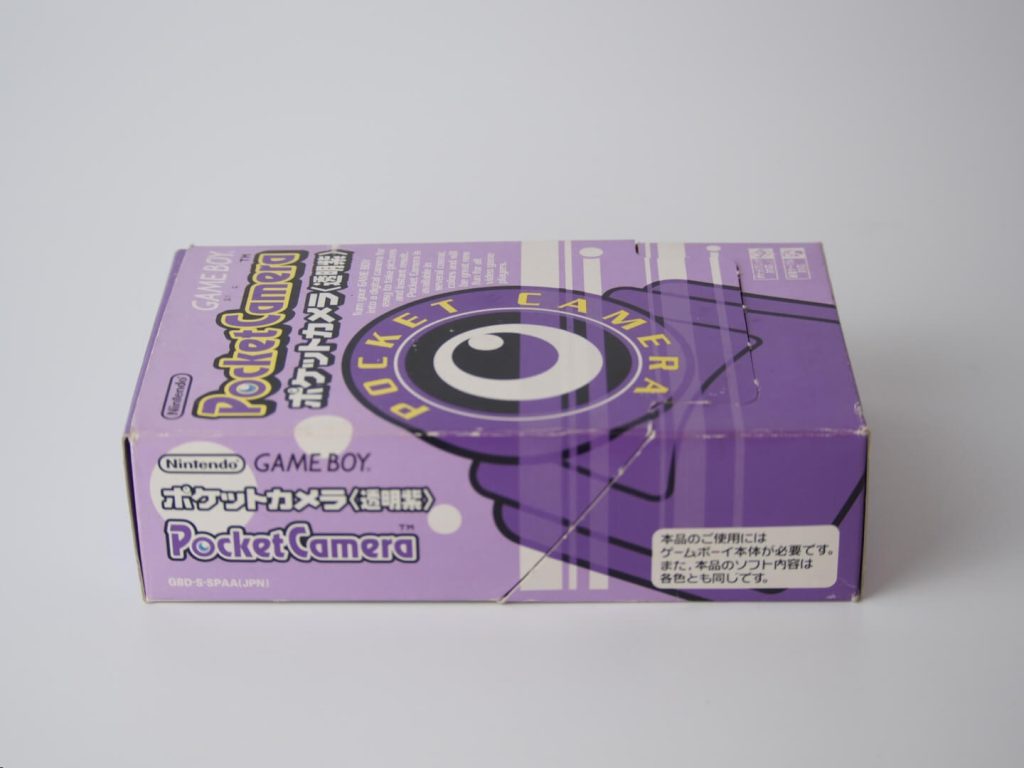
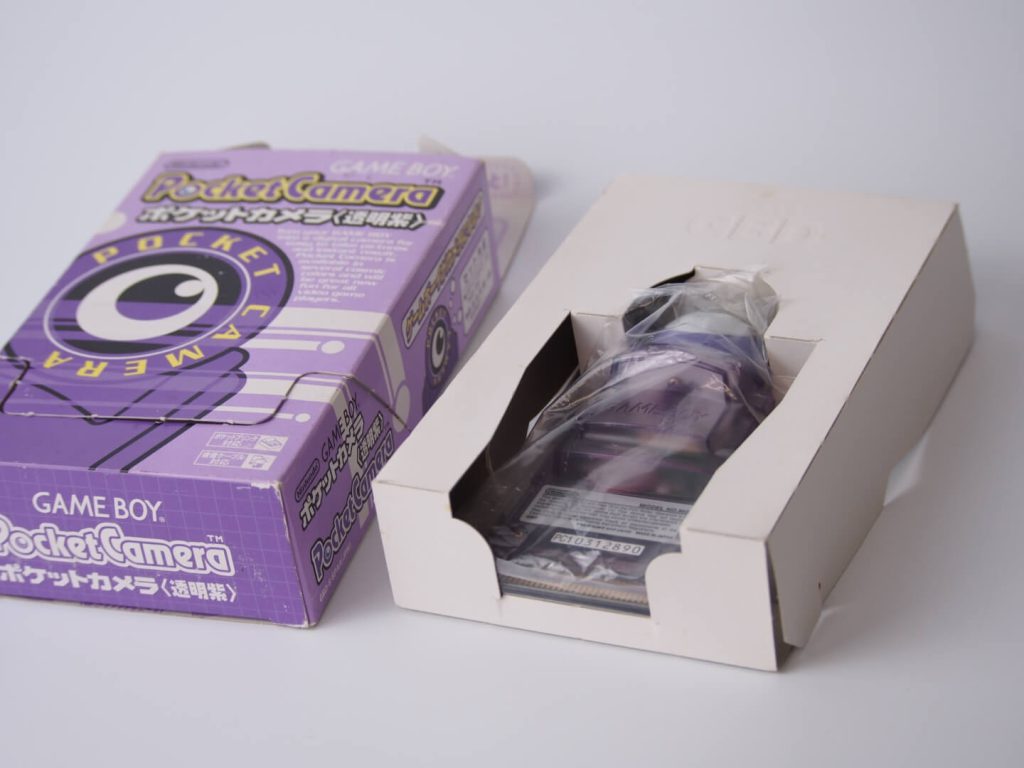
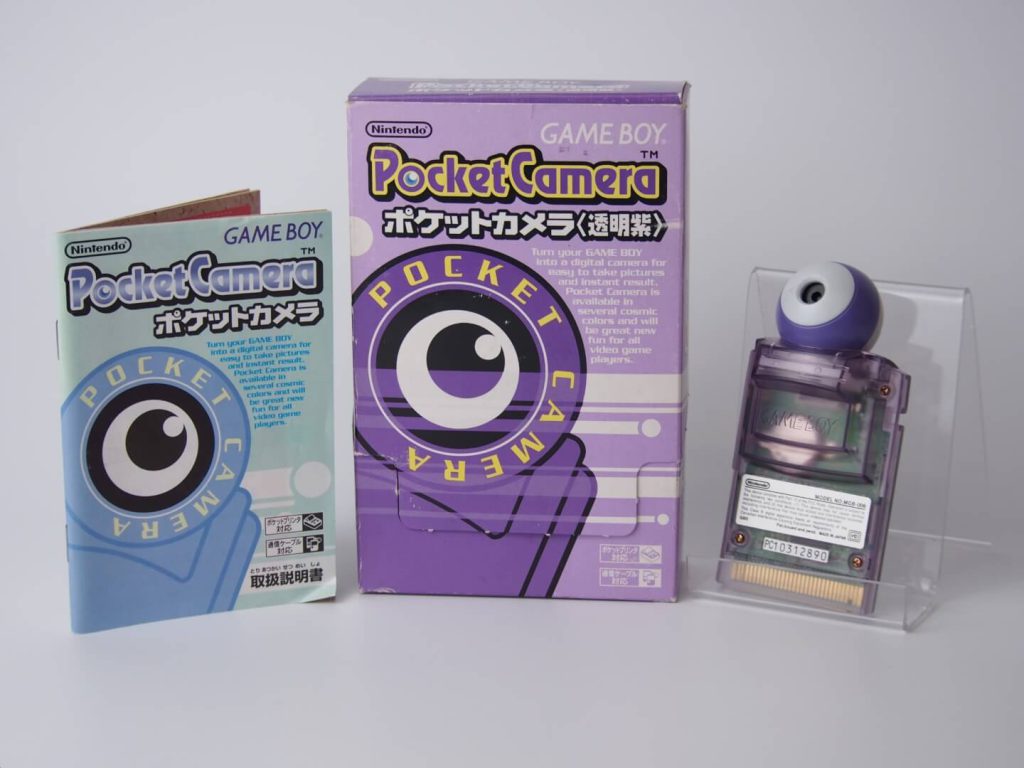
I also have a sealed yellow Japanese Game Boy Camera as well as a complete purple one.


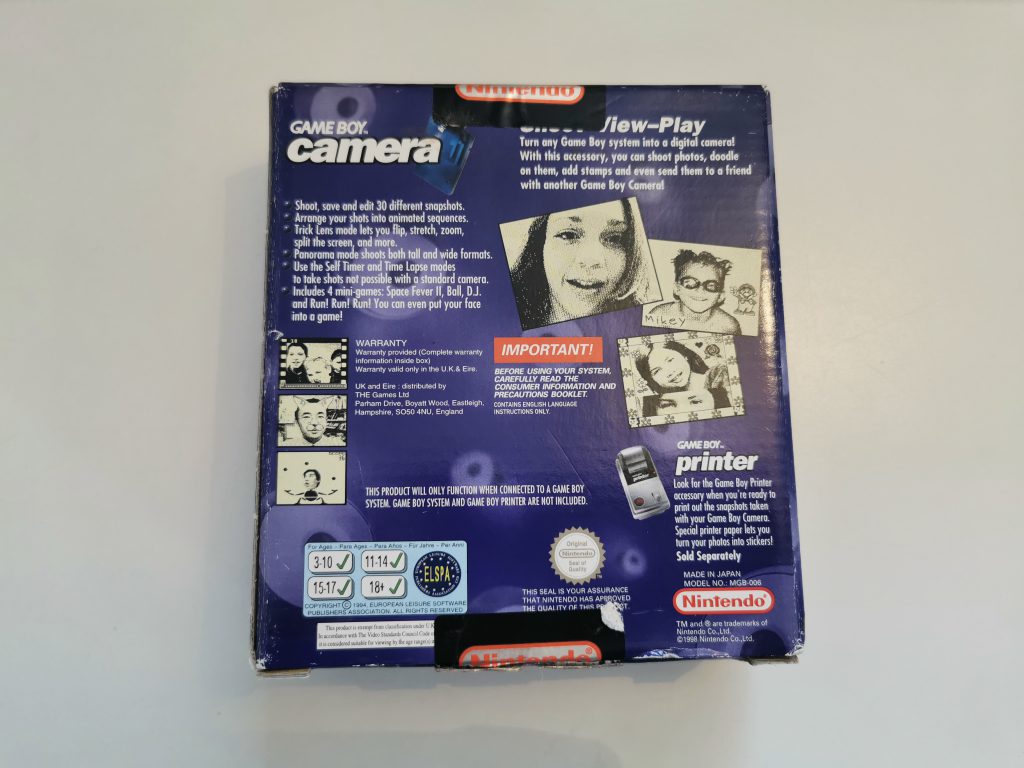
The Game Boy Printer, known as the Pocket Printer in Japan, is a thermal printer accessory and is designed to be used in conjunction with the Game Boy Camera. It uses 3.8cm wide thermal paper and it prints with a 0.5 cm margin above and below the picture and prints the picture at a 2.3 cm height. This gives the total of 3.3 cm height per picture. This means that a typical roll of Nintendo branded paper for this printer can take 118 pictures.
Due to how a thermal printer works whereby the paper darkens when heated by a thermal print head, the Game Boy printer does not need any ink and as such the number of prints is only limited by the length of the roll of paper.


The Game Boy printer is very easy to use, you insert a roll of thermal paper, feed the end into the machine, turn it on then select print on the Game Boy and after a few seconds transferring time, the photo starts to print. It only takes a short while for the image to be printed. The actual prints from my printer came out OK. There seems to be lines going across the image where the paper advances during printing. I’m not too sure if that is a problem that will get better over time or if it’s a problem with the printer or the paper itself.
Scans from Game Boy printouts


Shooting and printing using the Game Boy camera and printer is a really enjoyable experience. Learning to work within its confides can really be rewarding and when you manage to snap a successful photo that actually looks like what you wanted to take, it feels like an amazing accomplishment.
My goal in the future is to instead of using the printer to print the images, then using a scanner to scan those images to create a digital image, I am looking to purchase the BitBoy which is a device that allows ultra-fast data transfer straight from Game Boy Camera to SD-Card.
EDIT:
Around a year later I became aware of a Gameboy Camera Wifi Printer Photo Saver.
")
")
")
")
")
This nifty little device allows you to get digital images from your Nintendo Game Boy camera. Essentially it acts as the Game Boy printer, you take your photos as normal on the Game Boy camera and then you use the link cable to digitally send those images to this device. Then by connecting to its ip address you can then access all the saved photos that have been sent.
This is a much easier way of getting digital copies of the photos than the previous way I did it. I originally had to use the Game Boy printer to print the photos, then I was scanning them in by hand which was quite laborious. Not to mention the printouts often leave a lot to be desired with some photos looking very washed out due to the quality of the thermal paper used by the printer.