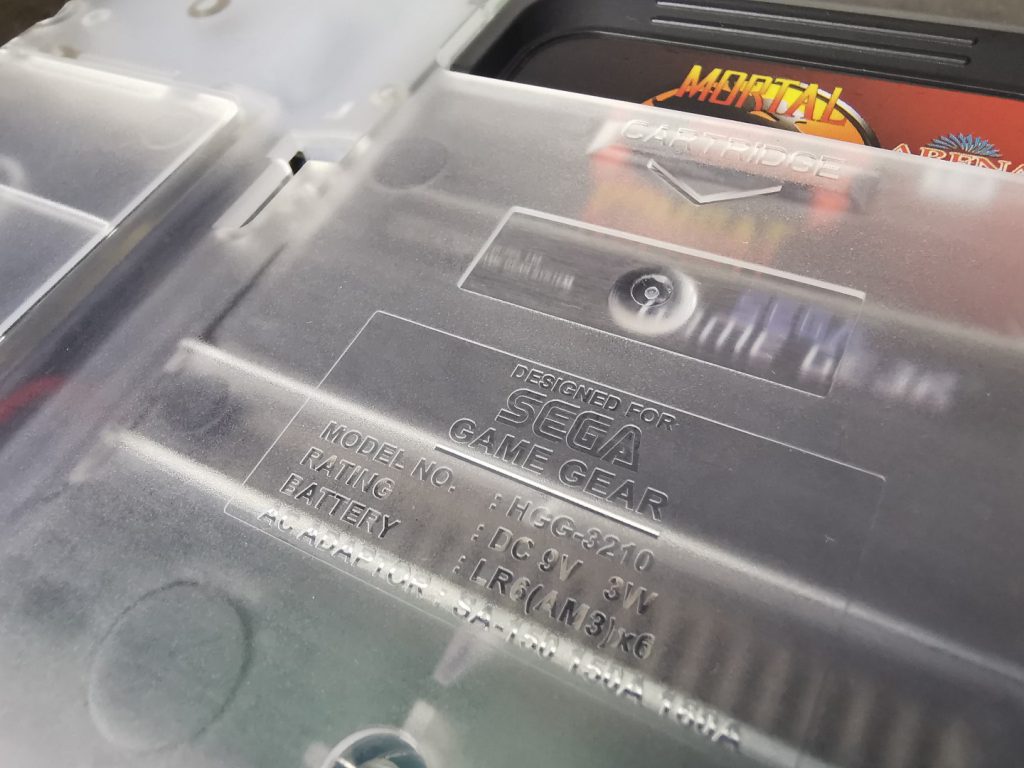
An old beaten up broken Sega Game Gear came into work recently, and just looking at the poor guy made me sad. It was heavily scratched and scuffed, along with a garbled screen. I couldn’t let this go to landfill so an idea was formed. Could I rebuild it and make it better than it was before? and could I bring this into the 21st century?
I was pretty confident that the main innards of the Game Gear could be fixed by a simple capacitor change. 90% of broken Game Gears can be fixed by changing the capacitors, which after decades of use, tend to fail.
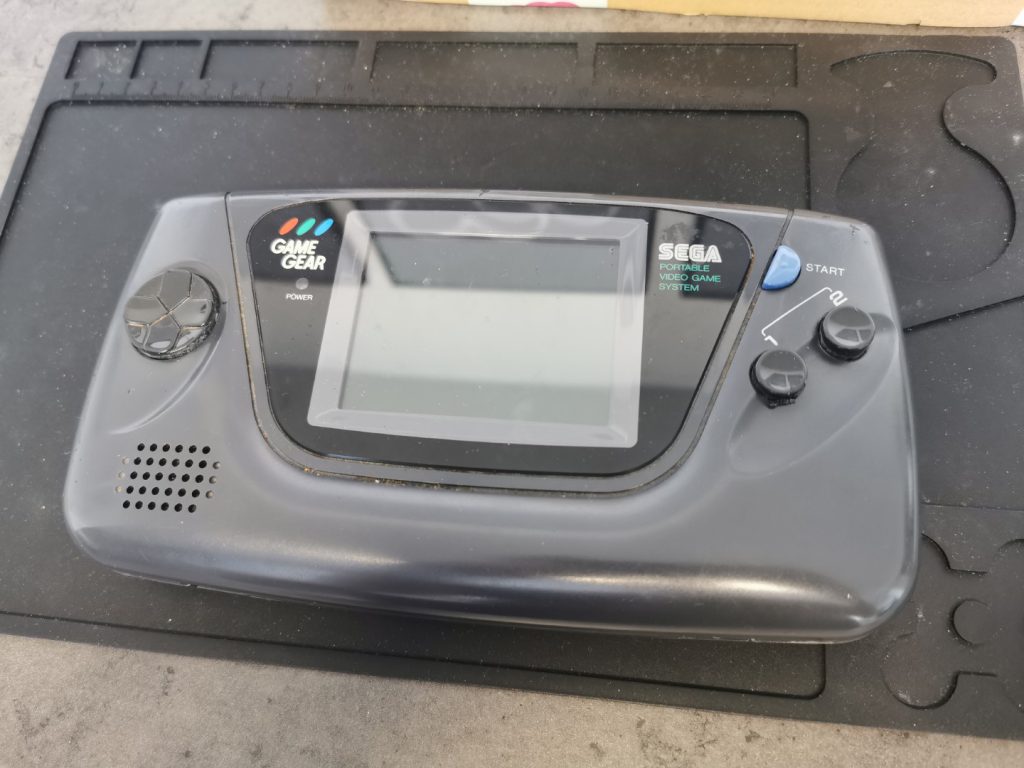
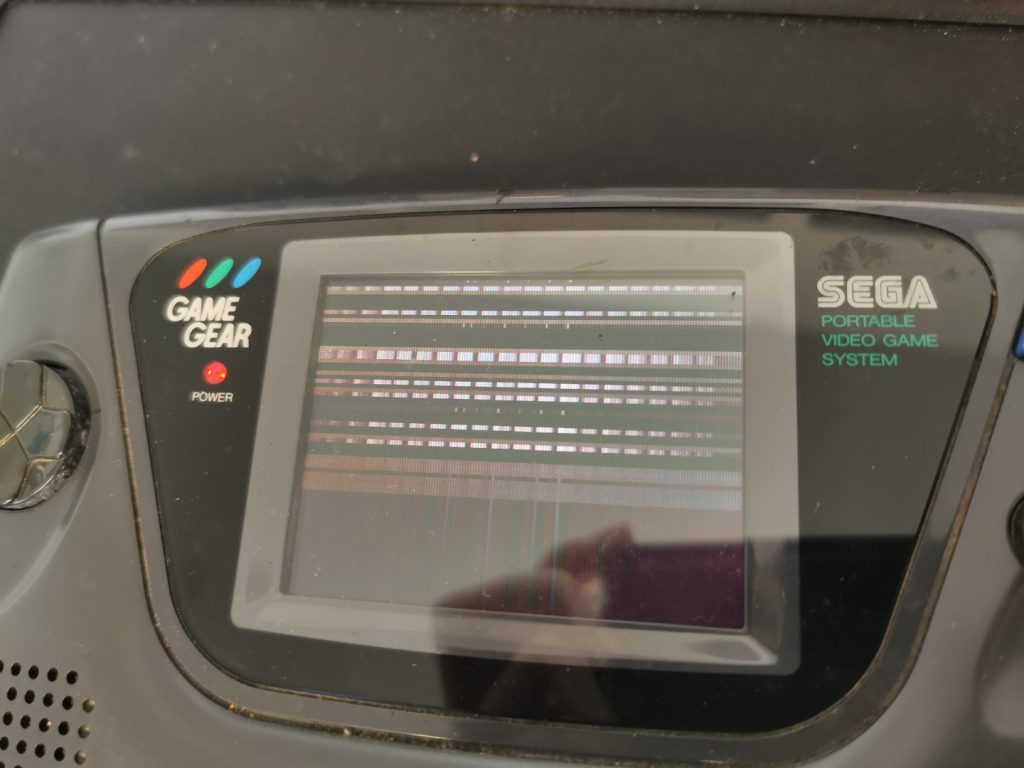
The Game Gear was in need of some TLC
So with an idea in mind I headed to my go-to website to order parts and console upgrades Retrosix. I went all out on this build, I ordered a new shell, new screen, cap kit, new power board, new sound board, new speaker, new buttons and membranes and a new screen lens. These were not cheap, suddenly my £5 buy has turned into a £135 purchase.
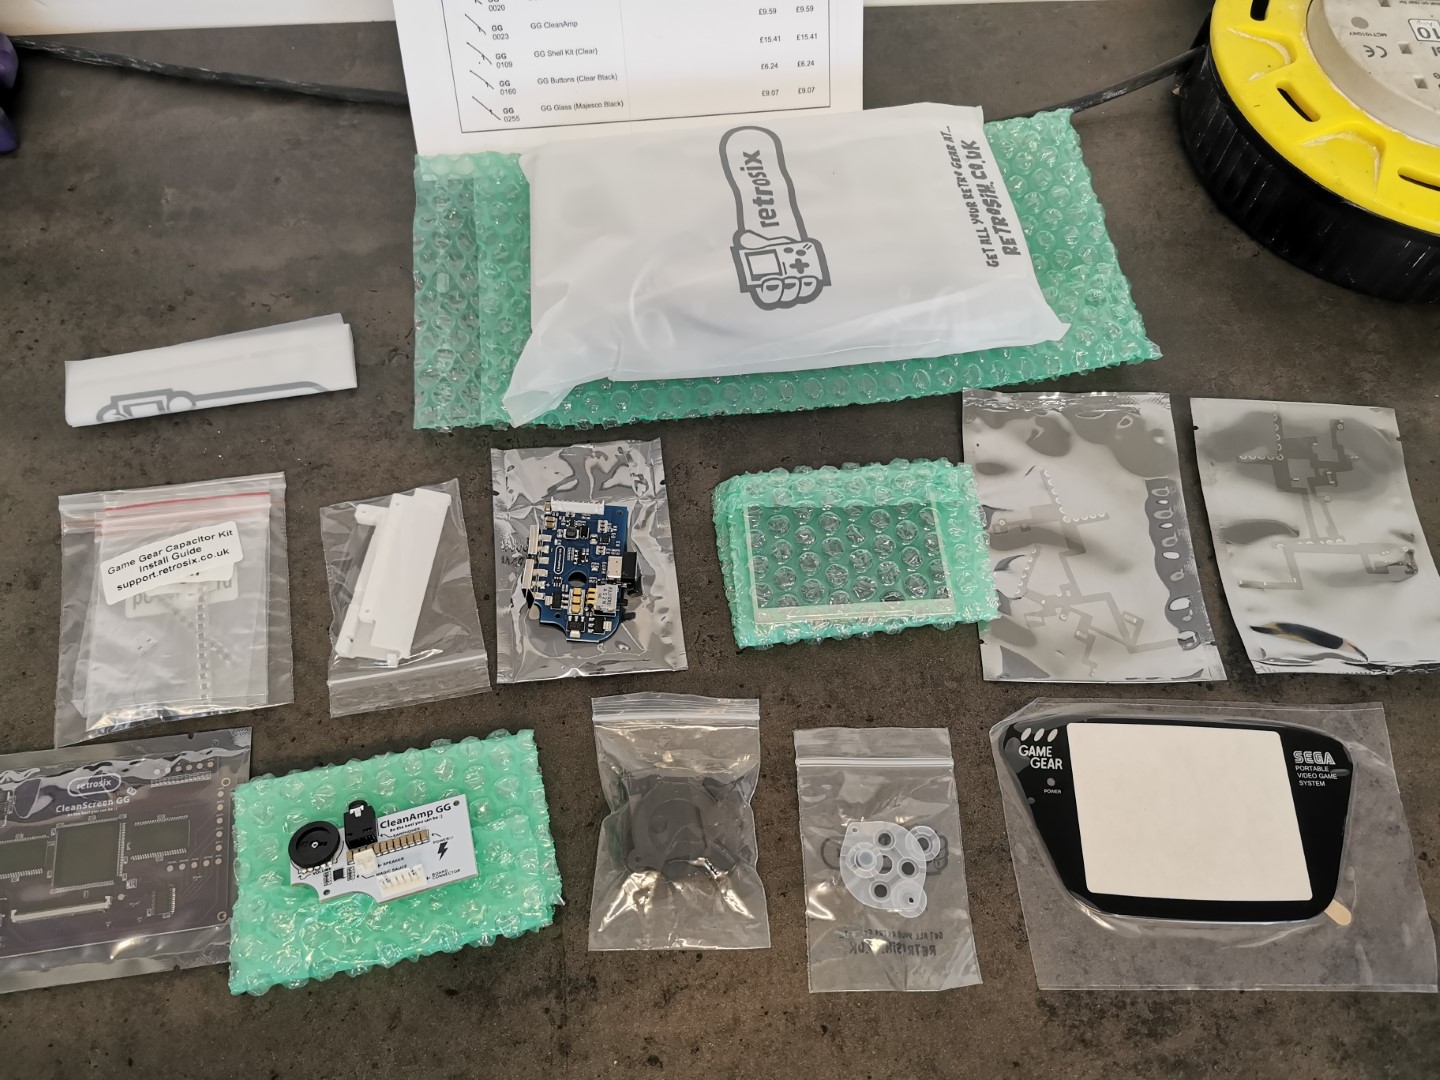
All the parts I will be using
So the first thing I had to do, was to get the base Game Gear working again. Changing the capacitors on a Game Gear is not a fun task, removing the old capacitors is not difficult to do, but replacing with the new ones is a nightmare. They are very small, but the good thing about these are that you do not need to worry about polarity so it doesn’t matter which way they are installed.
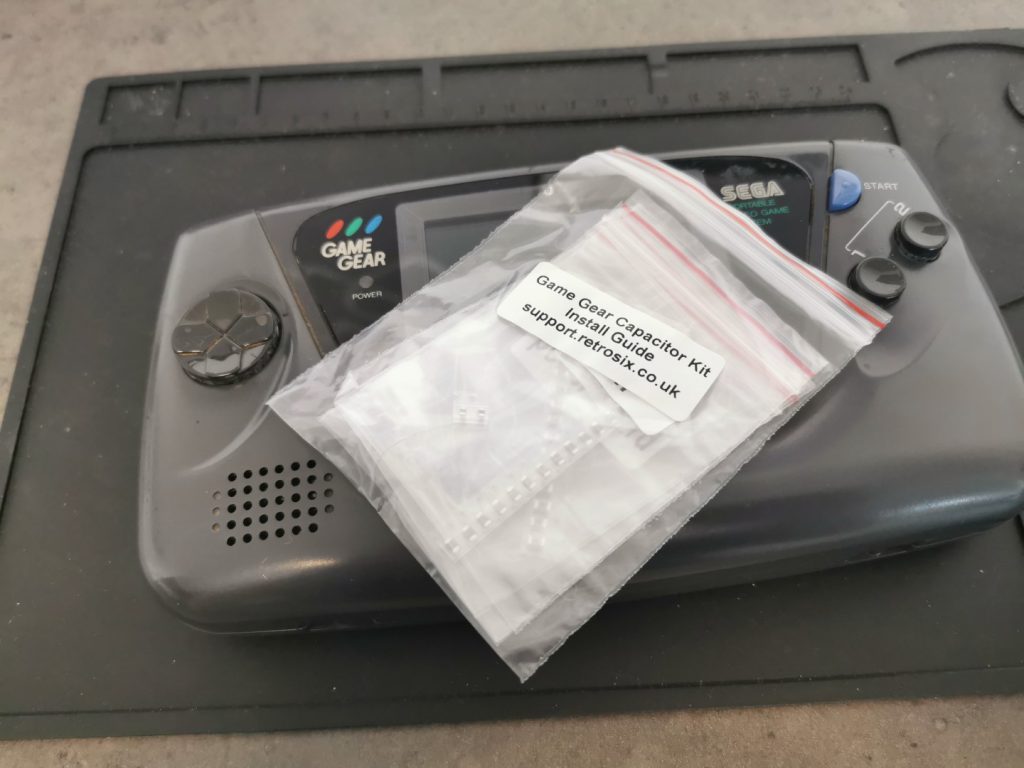
The capacitor kit

After unscrewing the console the 2 halves need to be detached
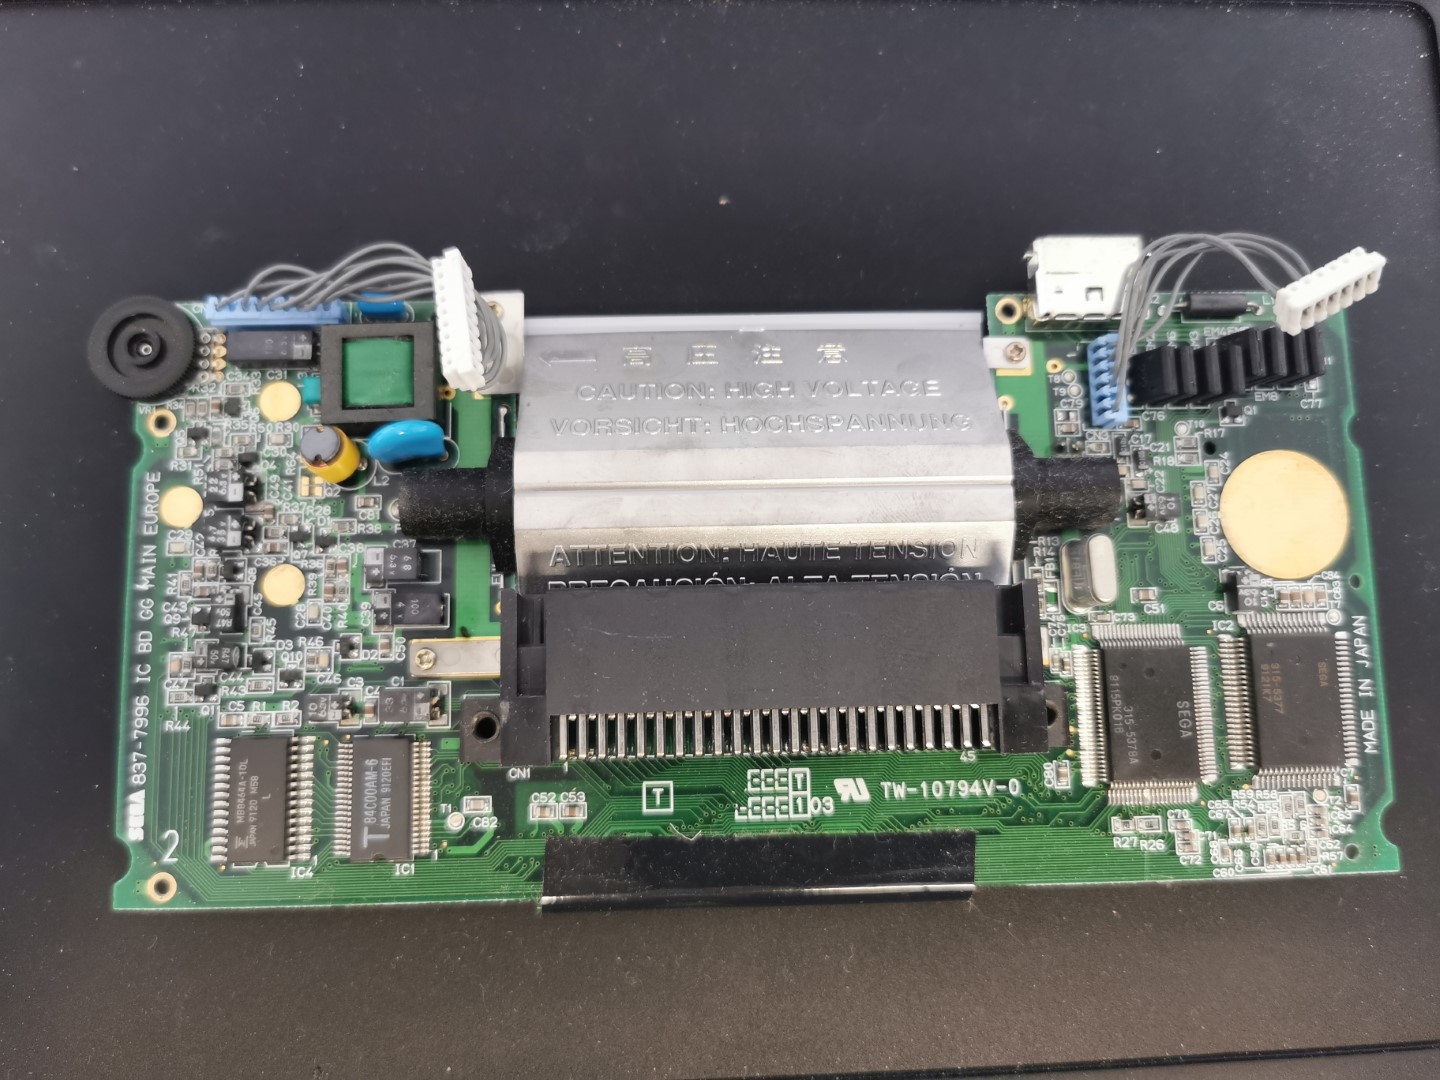
The main board out of the shell
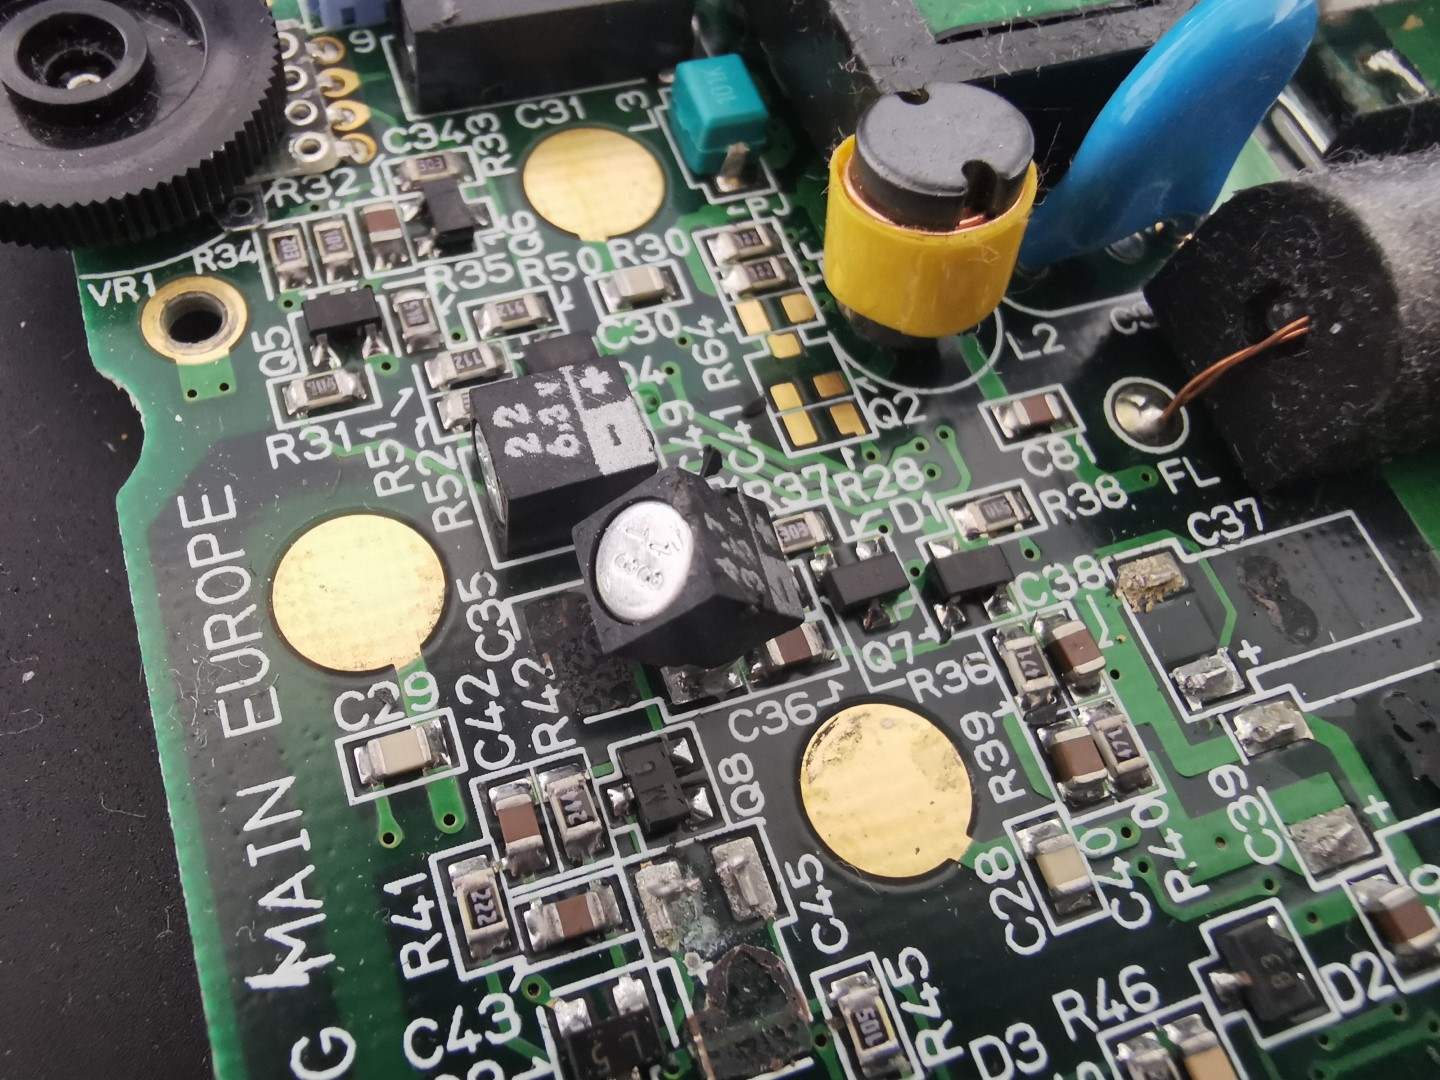
Removing the old capacitors. They just need a wiggle and the come off really easily
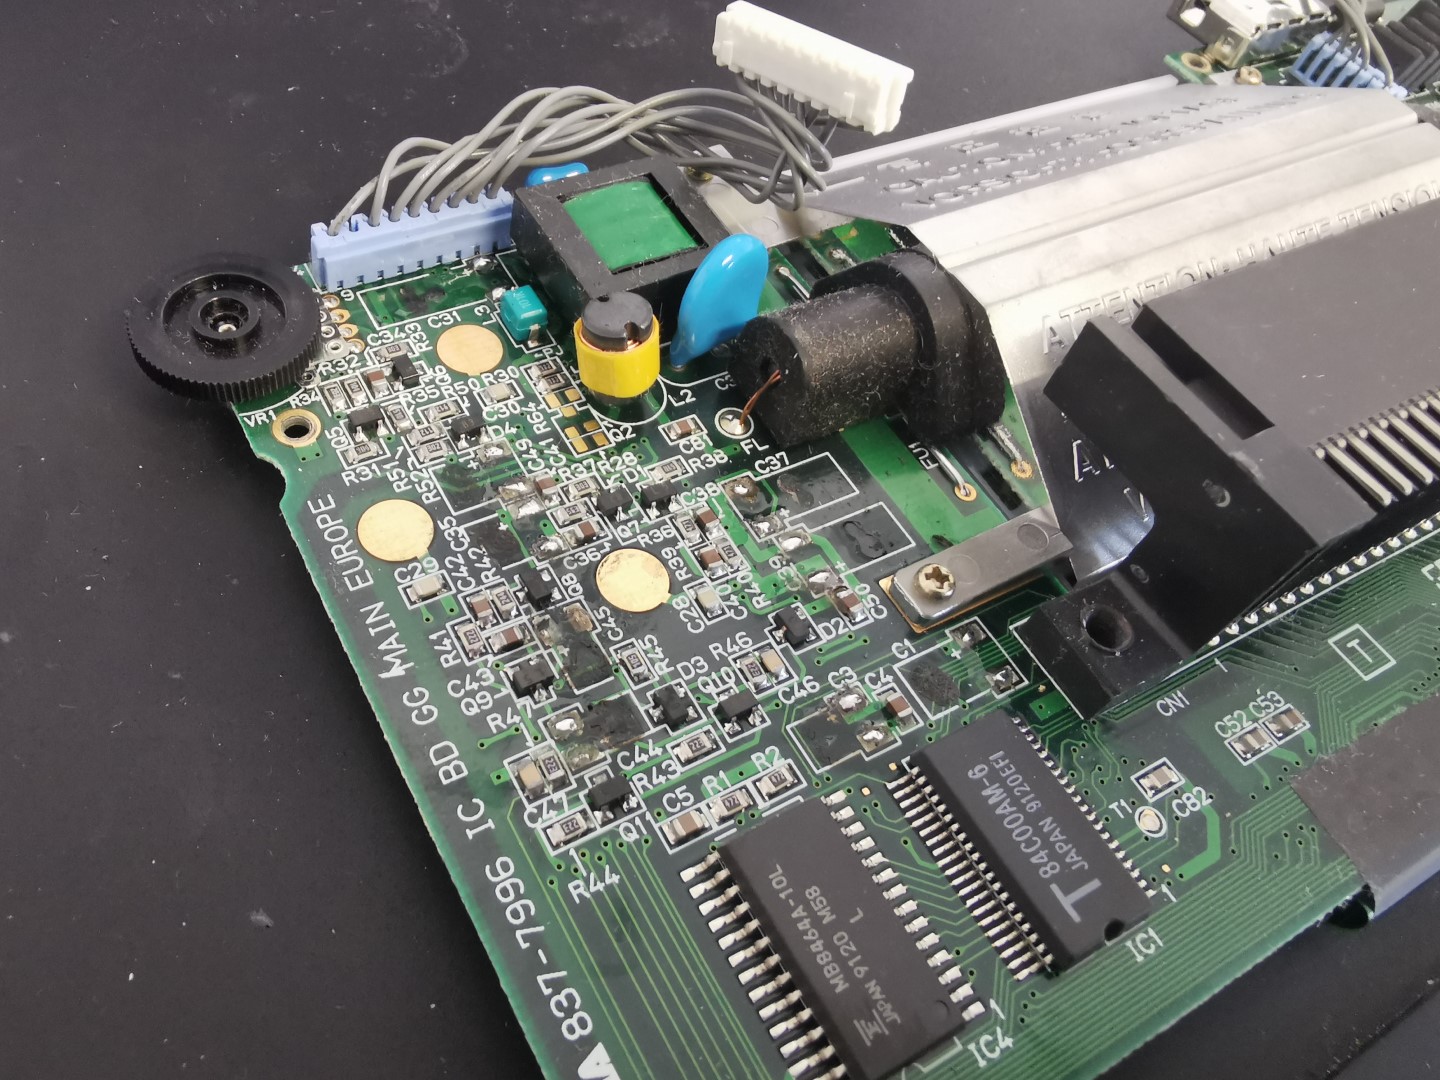
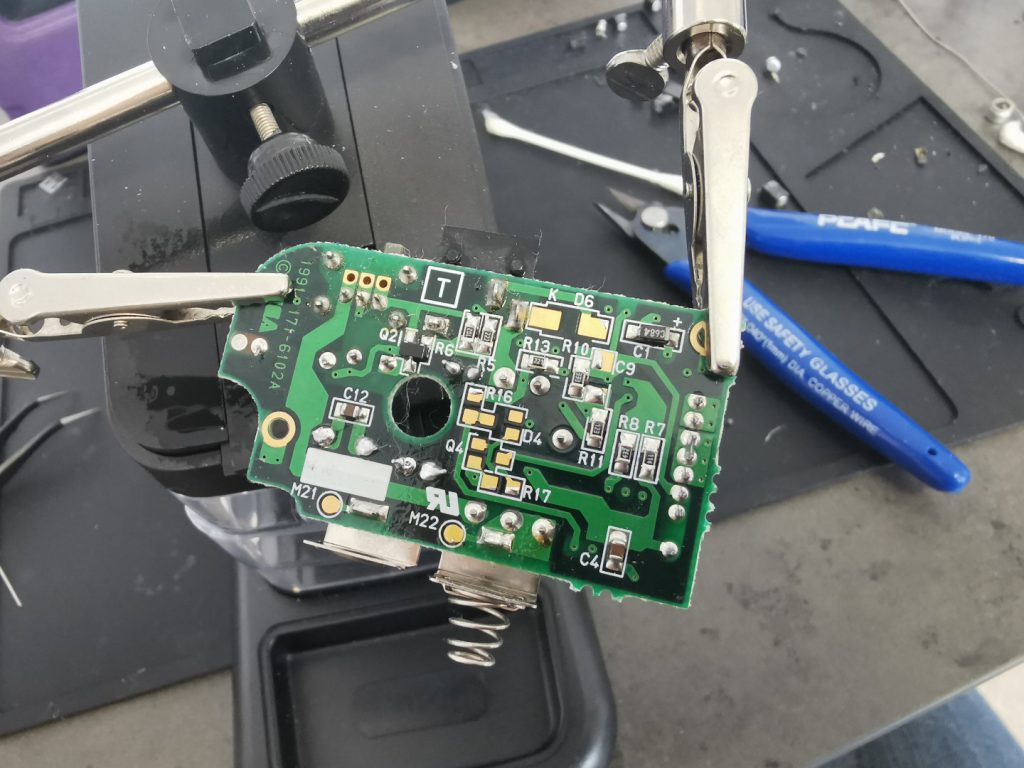
The main board with the caps removed

This is how the board looks with all the caps replaced. Please ignore my amateur soldering skills
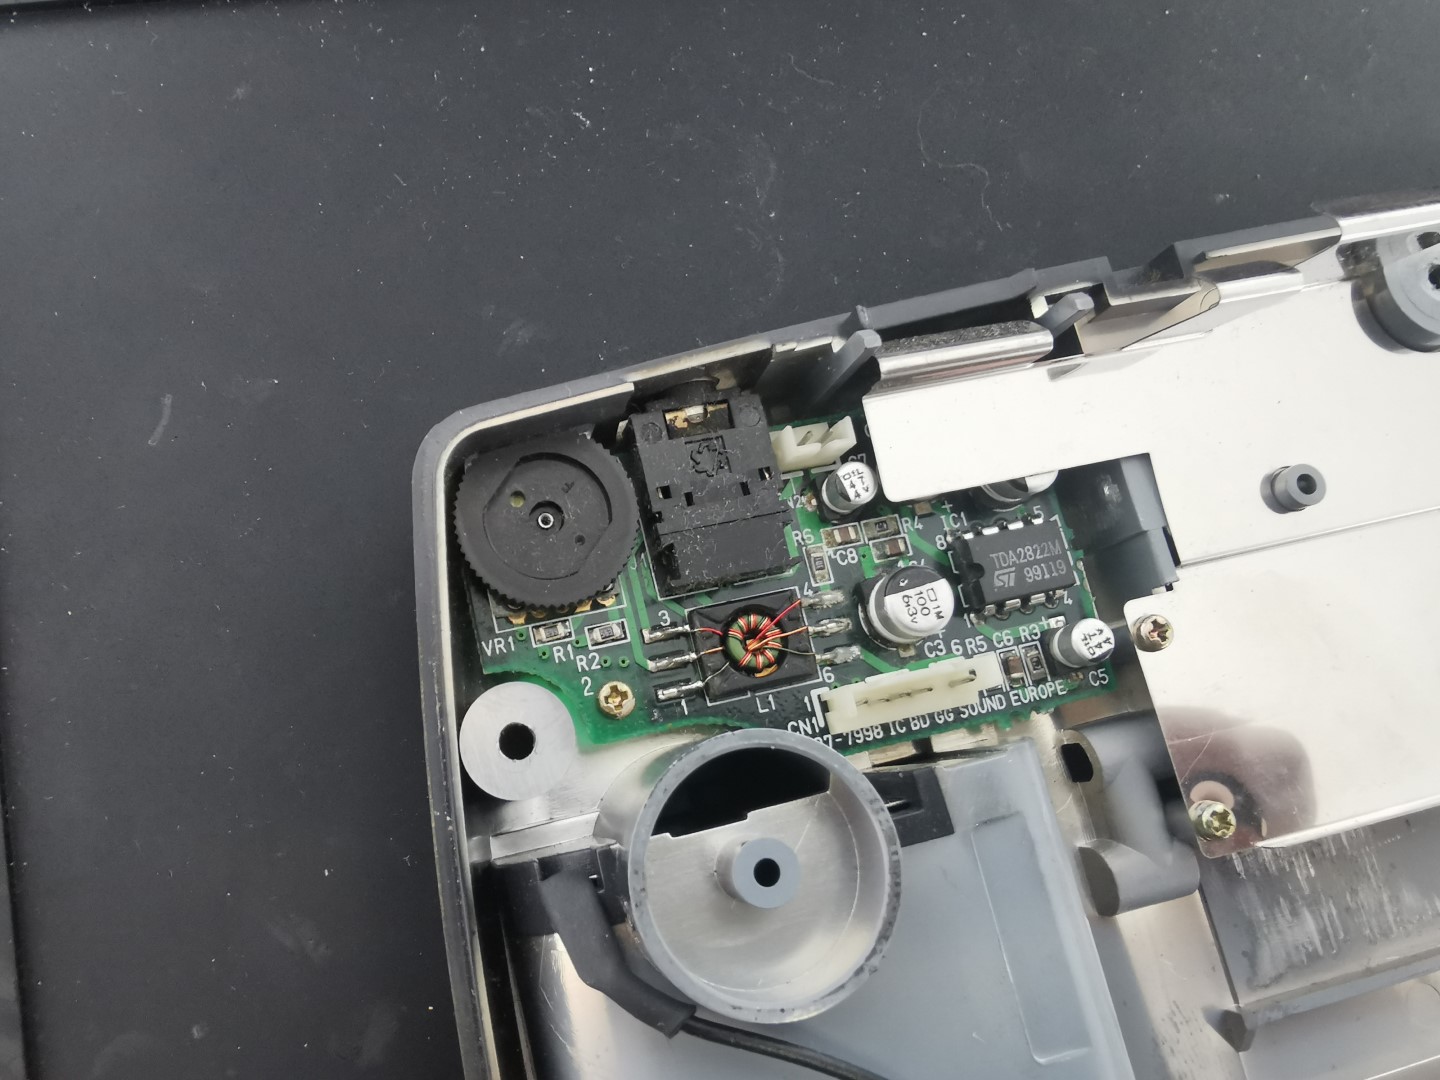
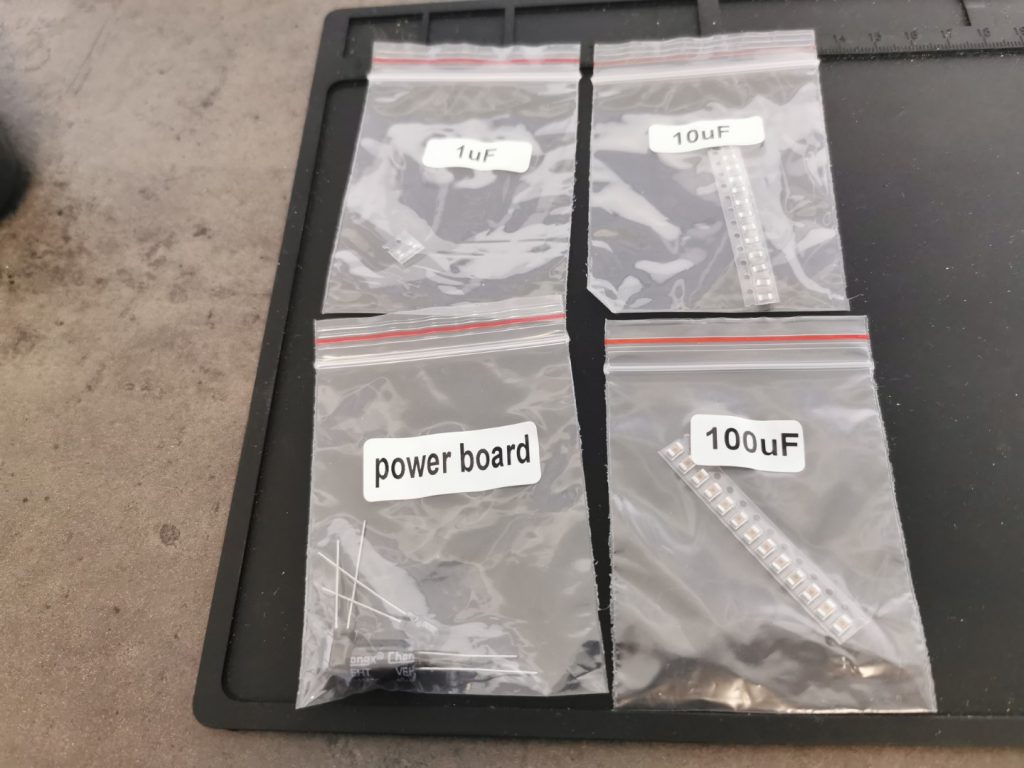
Next I had to remove and replace the caps from the sound board
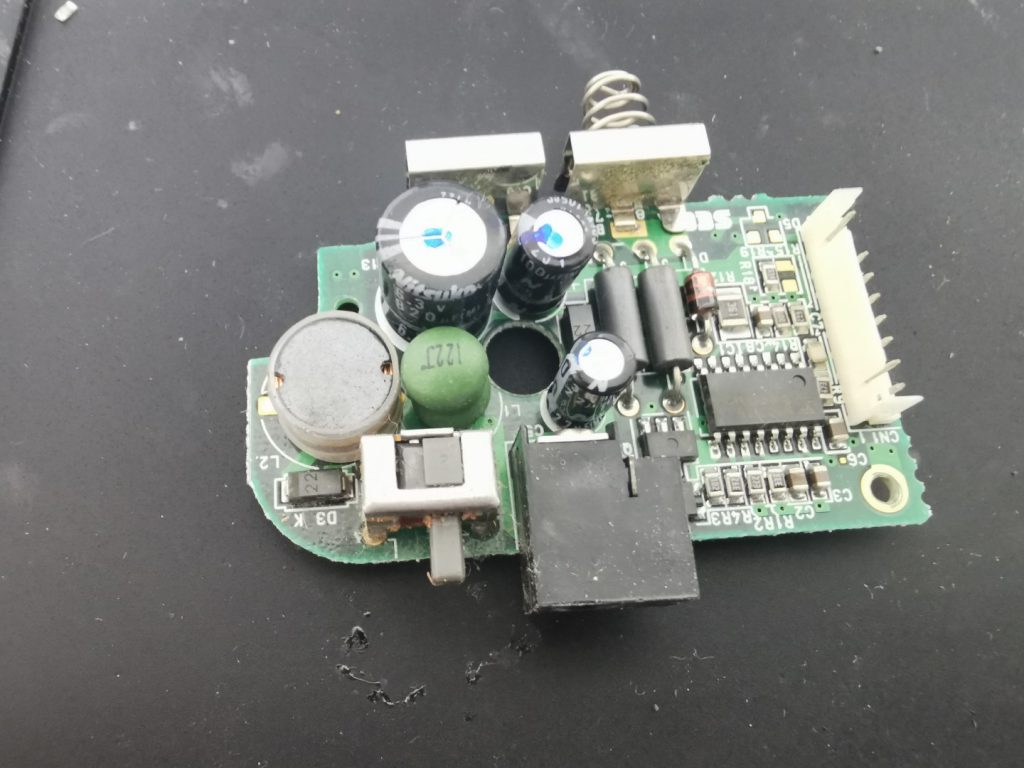
The power board was next, this had through-hole caps which had to be de-soldered from the underside of the board.
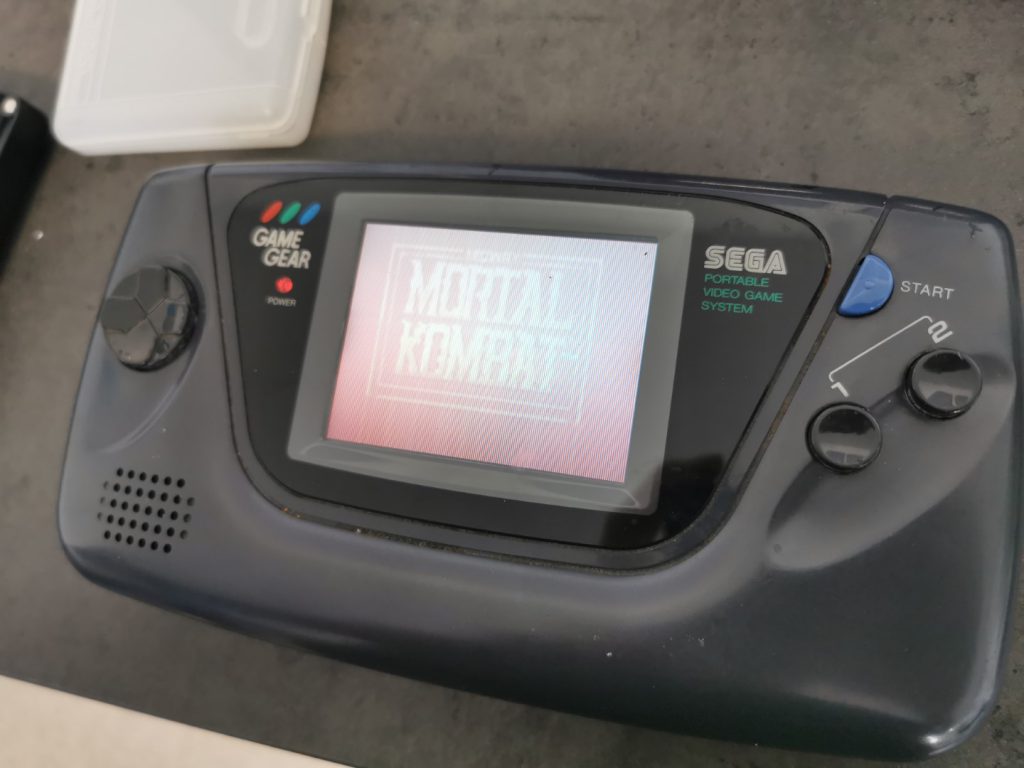

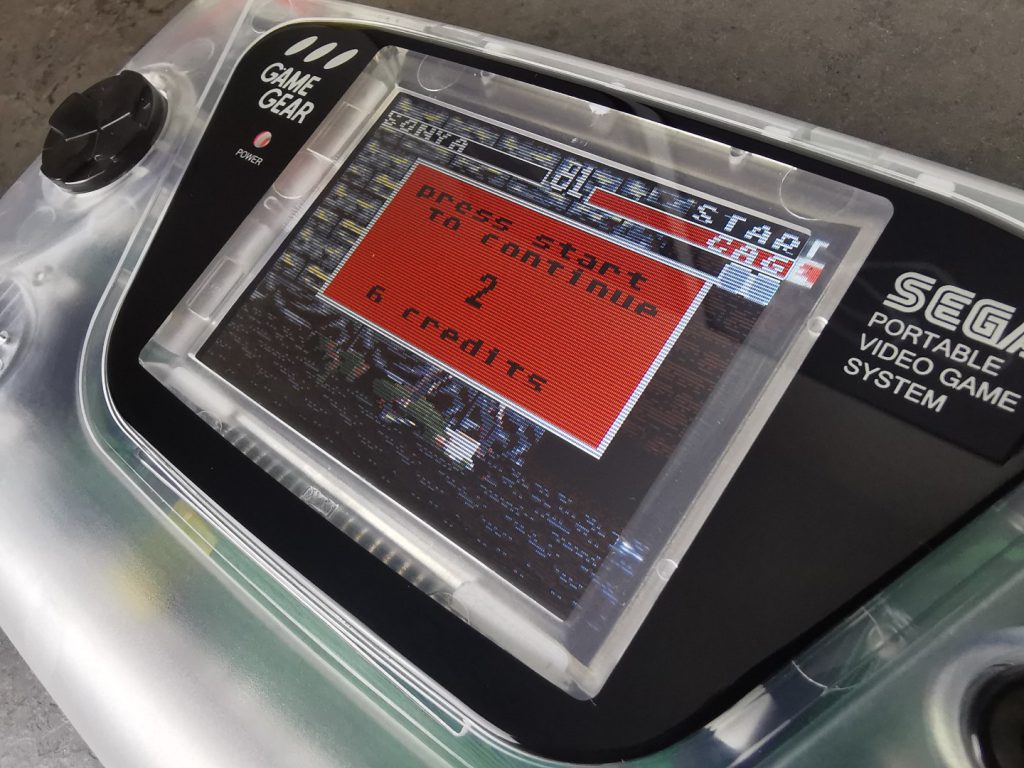
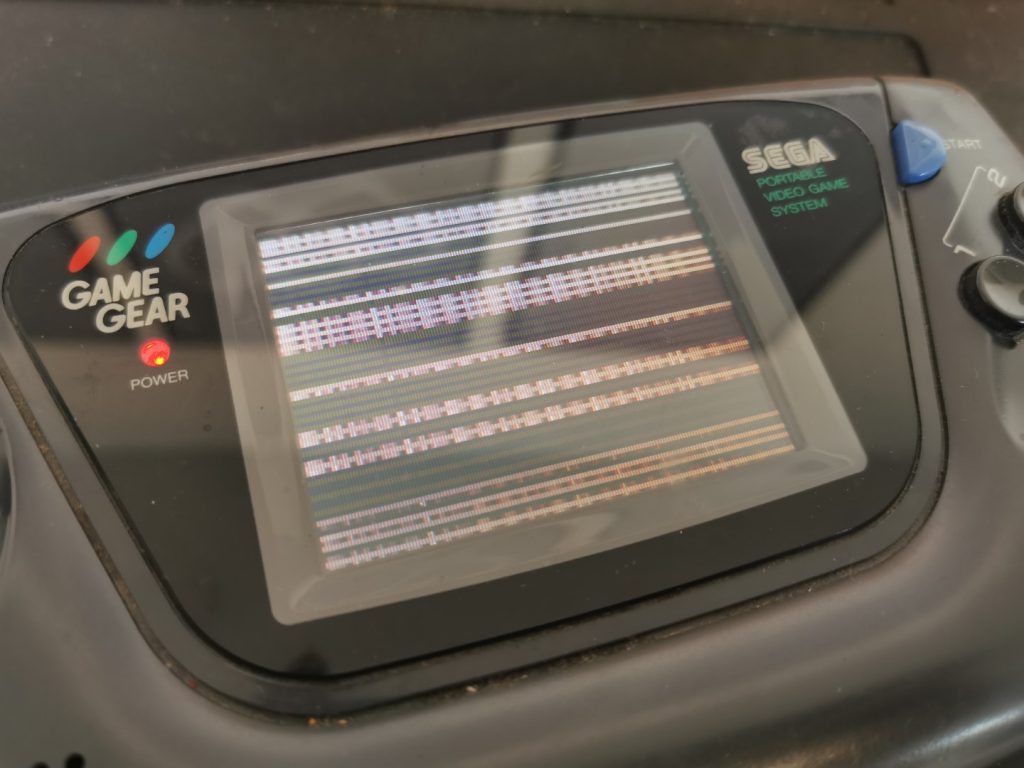
After buttoning up the console, I put in the 100 batteries this thing takes, and she powered up. SUCCESS!!!
The screens on the Game Gear were terrible, it has a lot of ghosting.
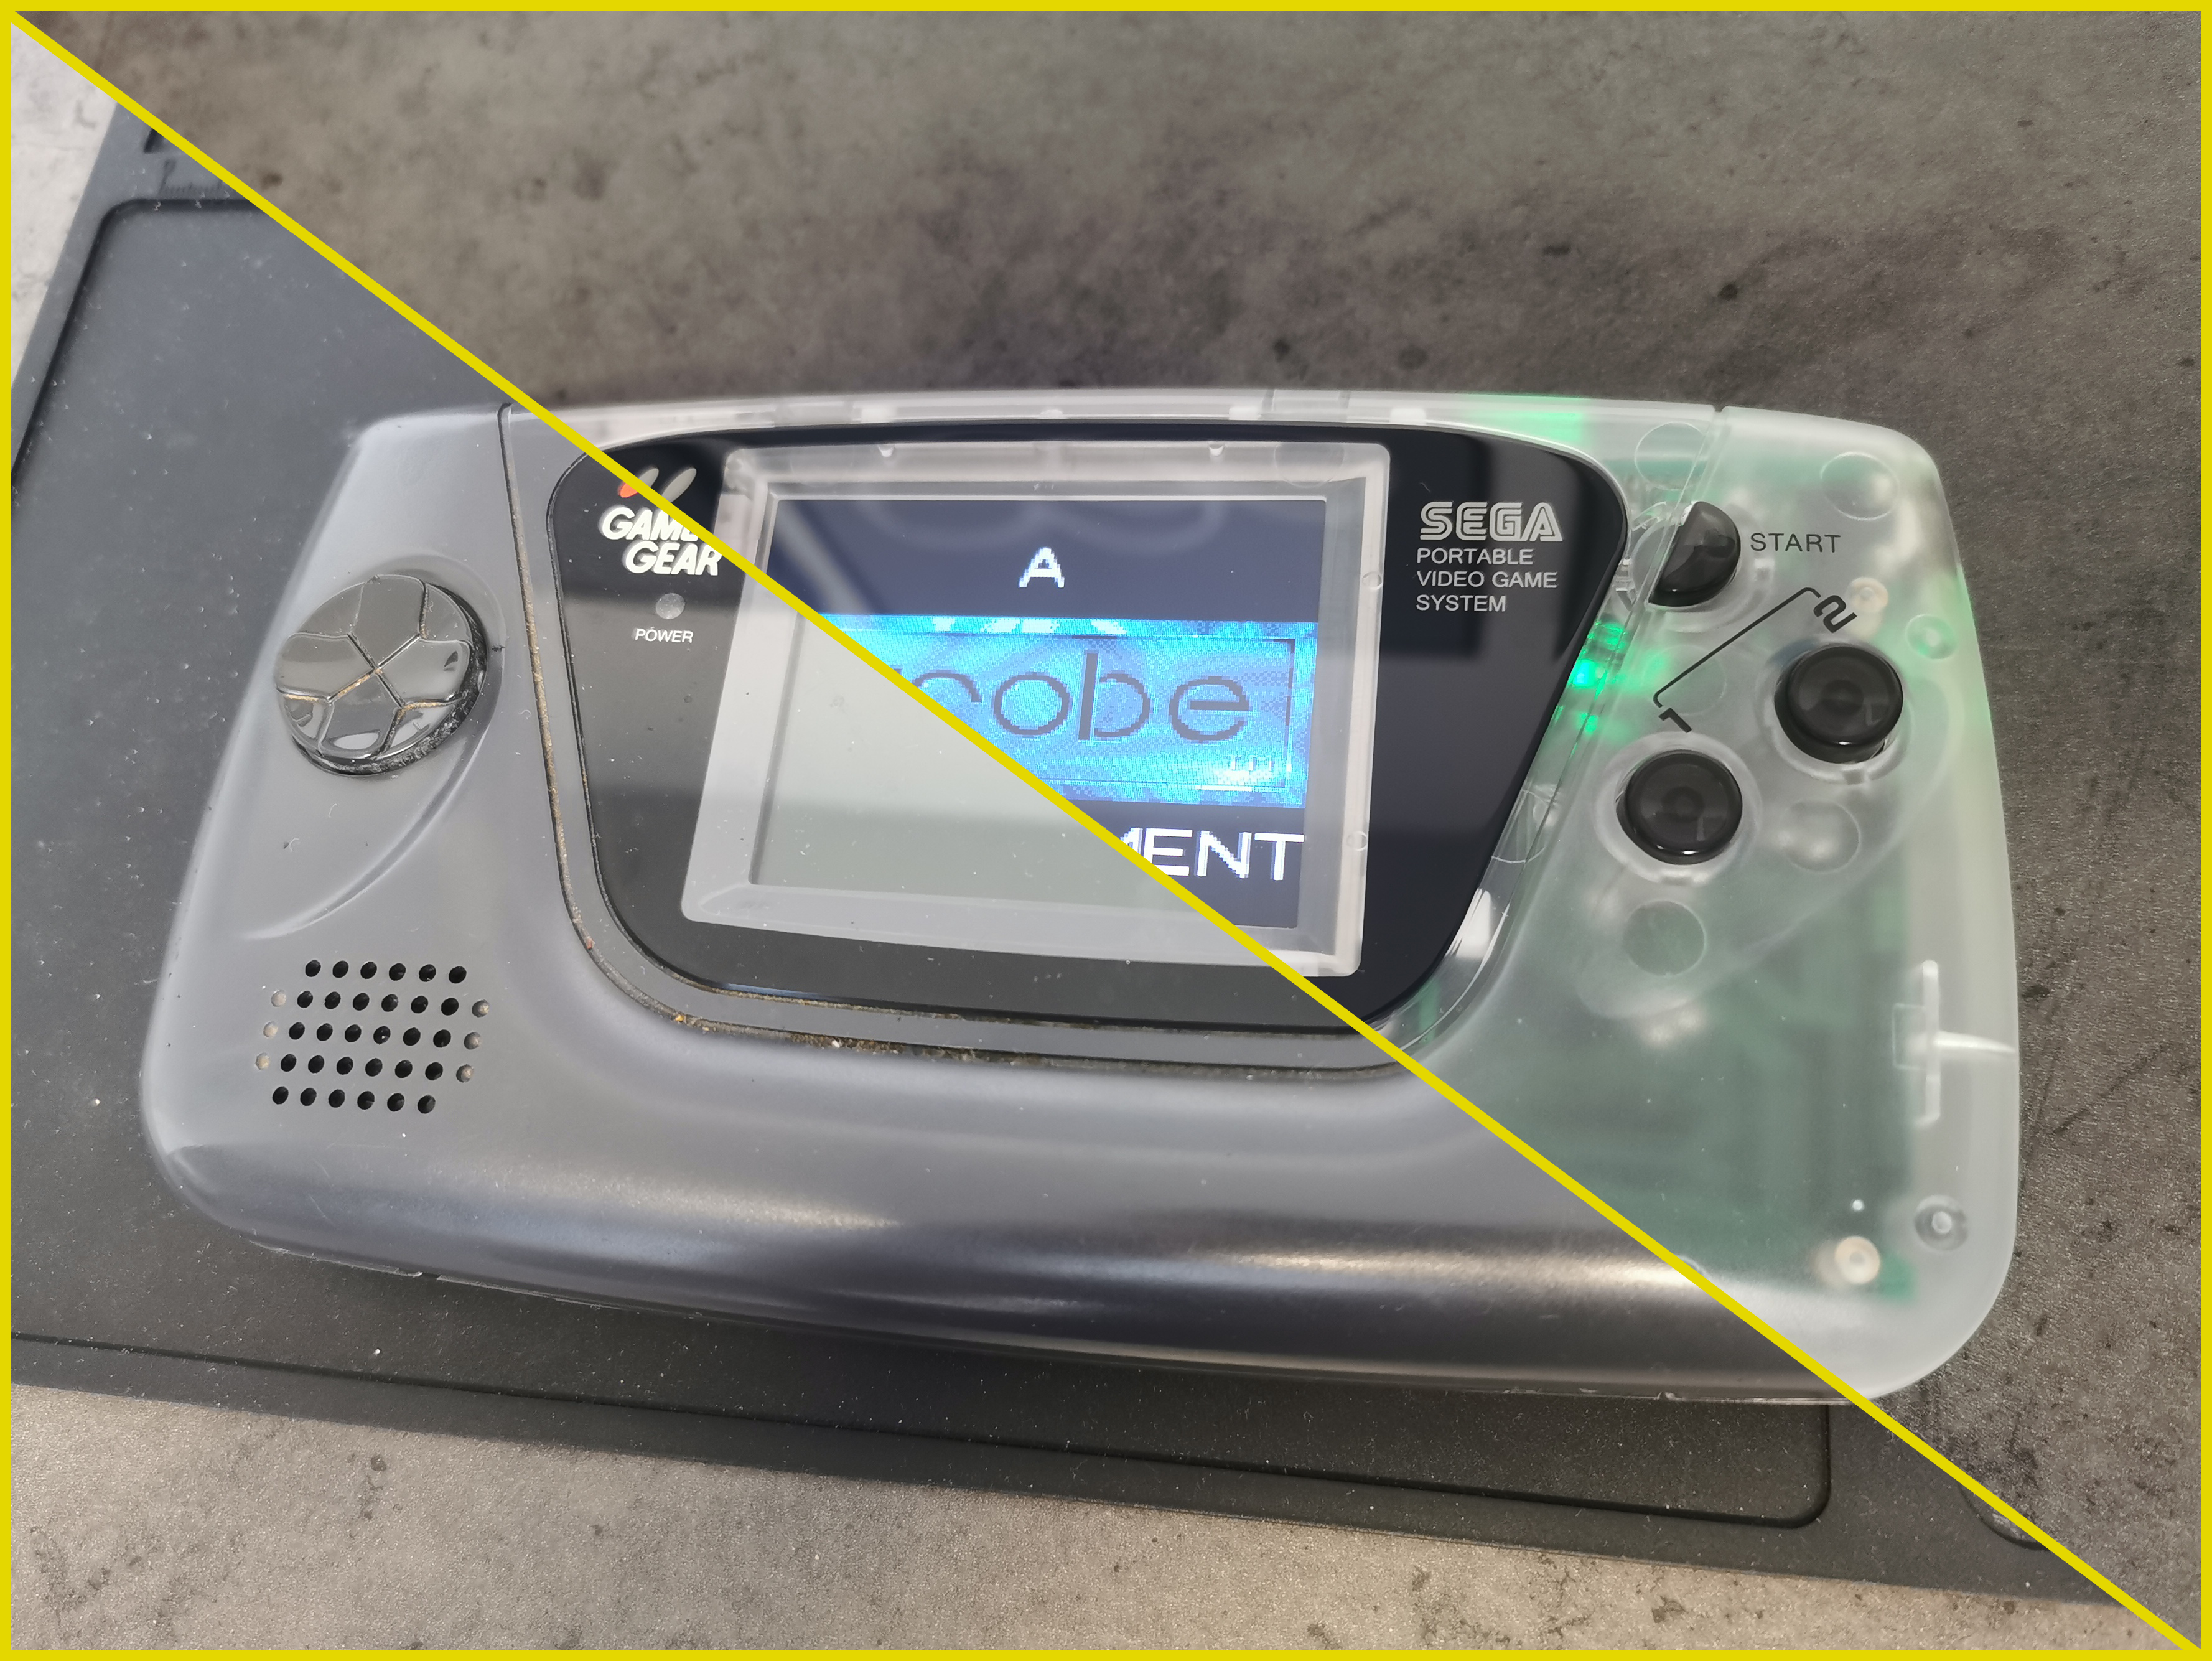
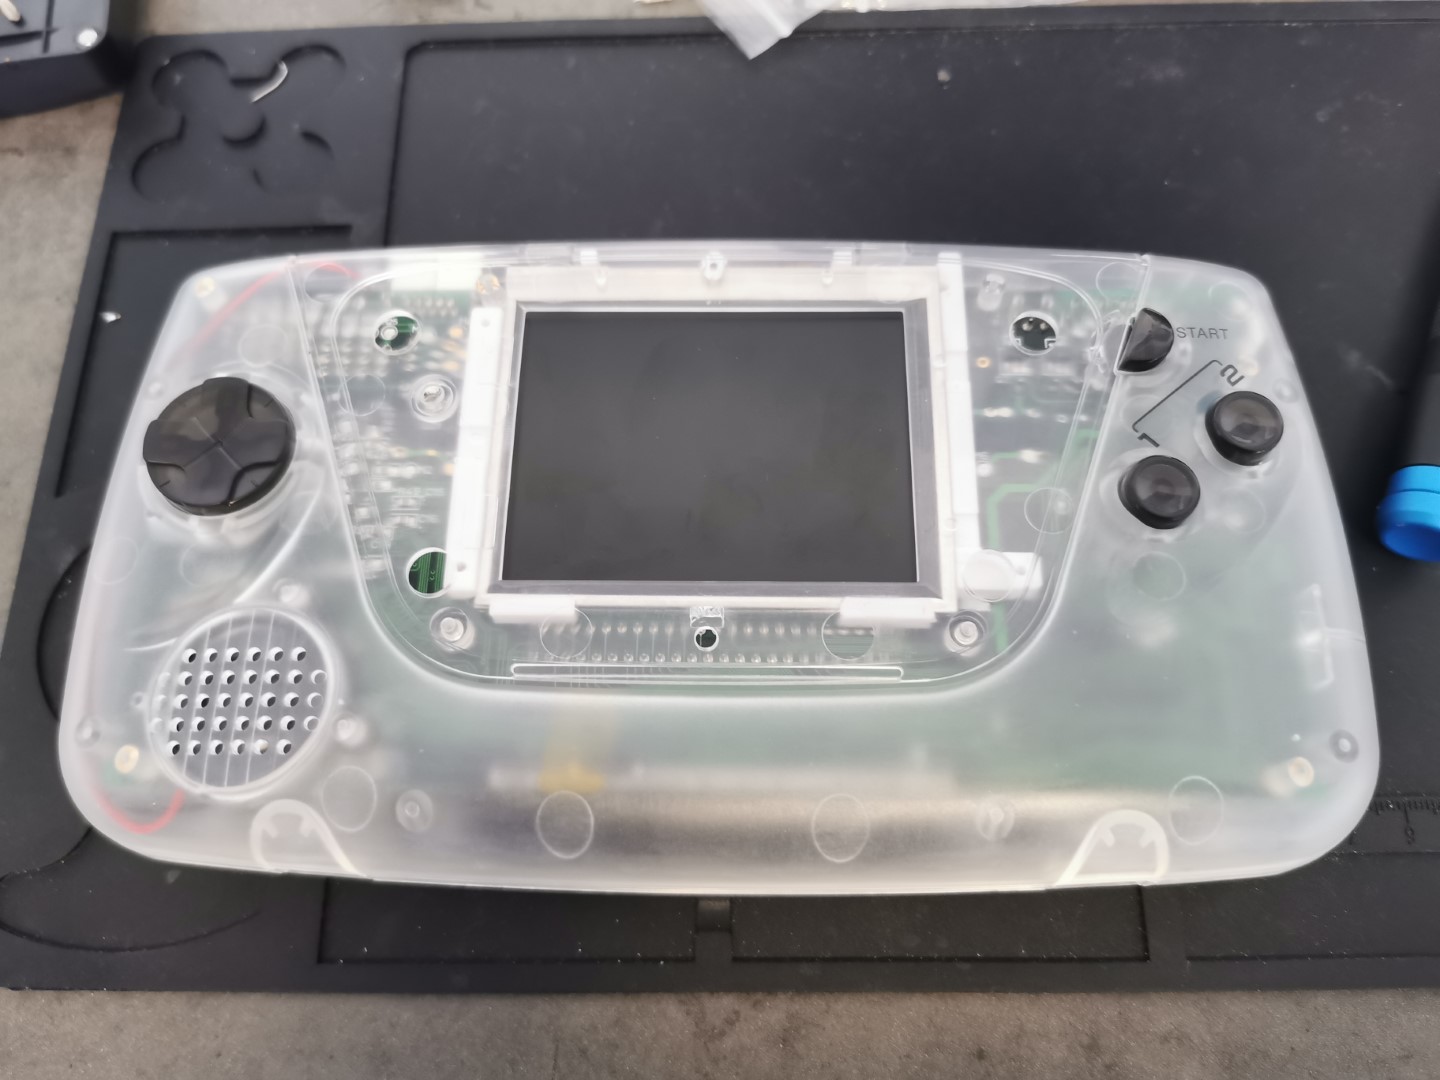
So after I knew that I was working with a working console, I set about upgrading it
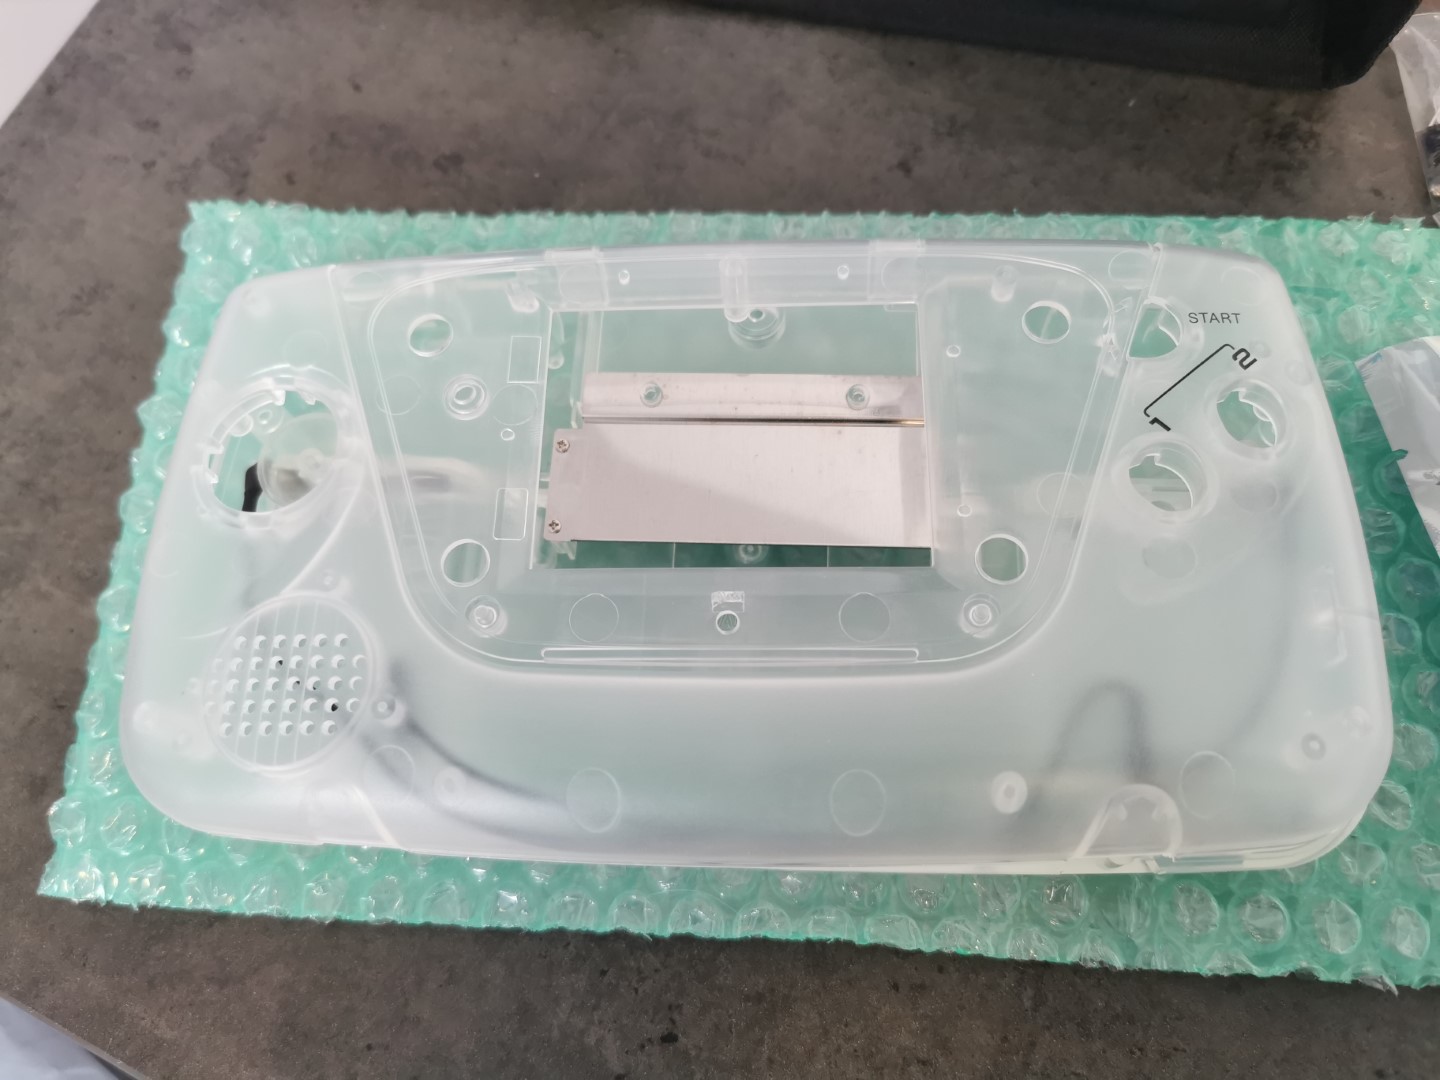
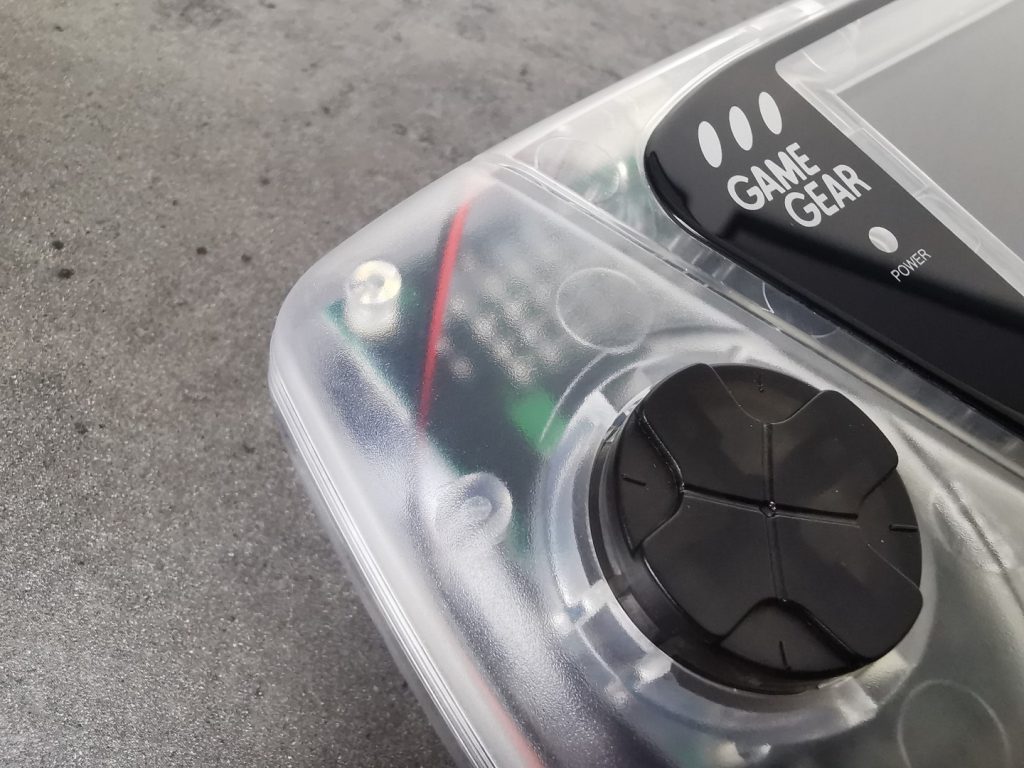
I went for a clear shell as I wanted to go for that see-through aesthetic that was all the rage in the nineties
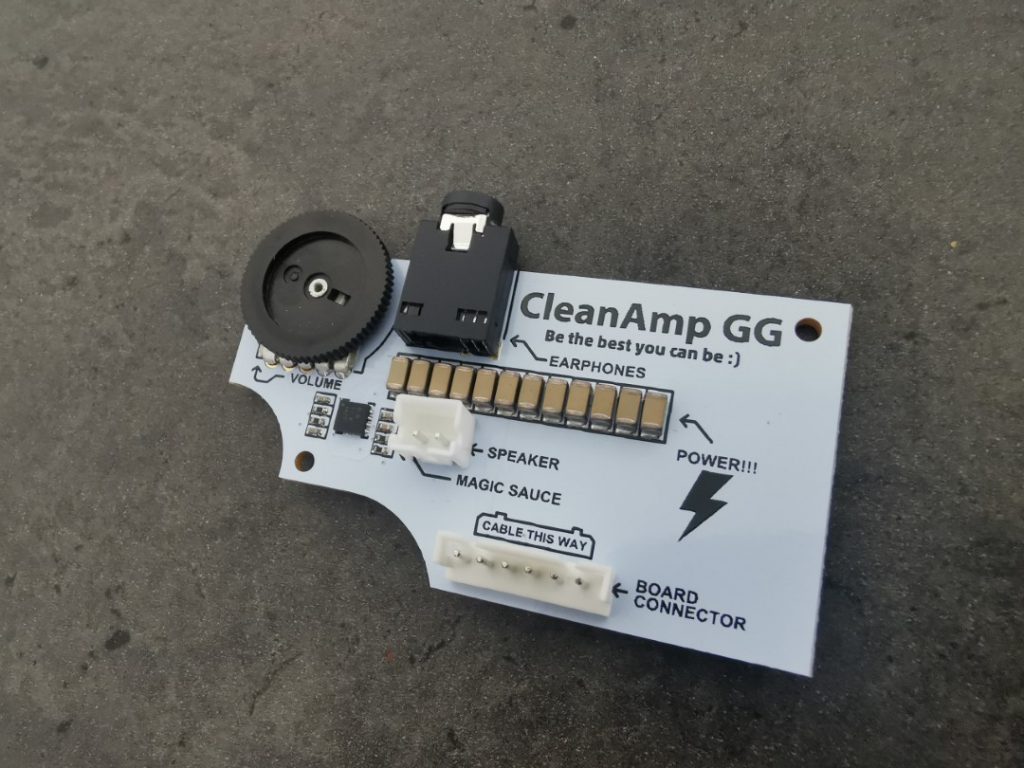
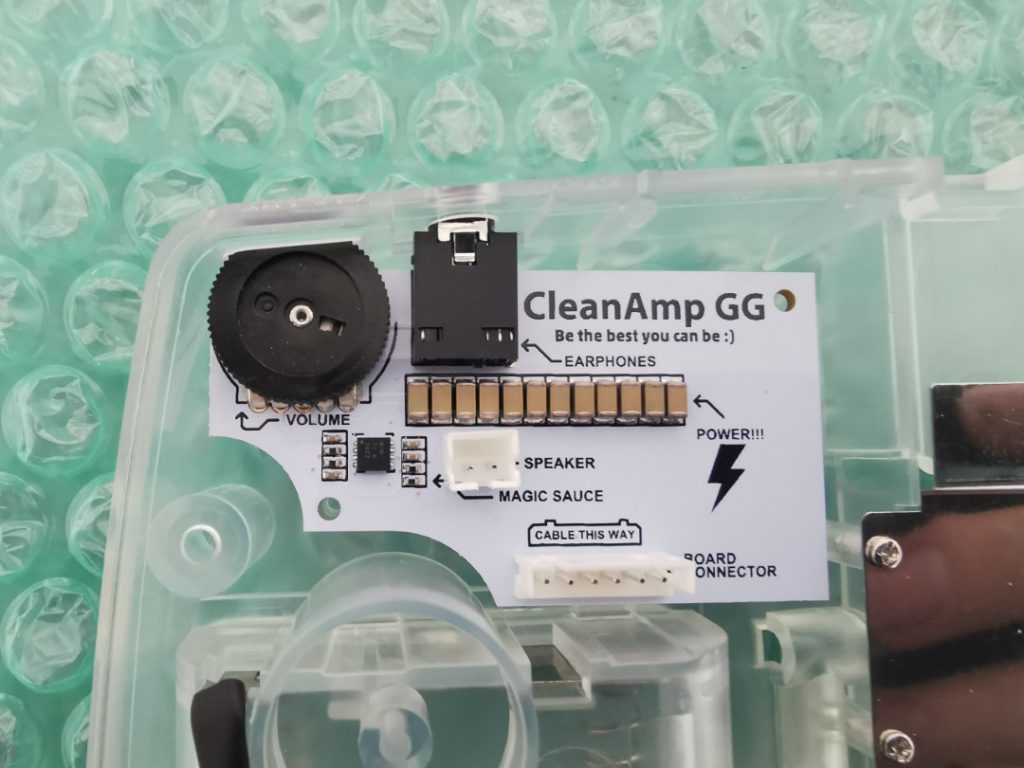
The new sound board just screws into place
The power board goes in next and it screws into place just like the sound board
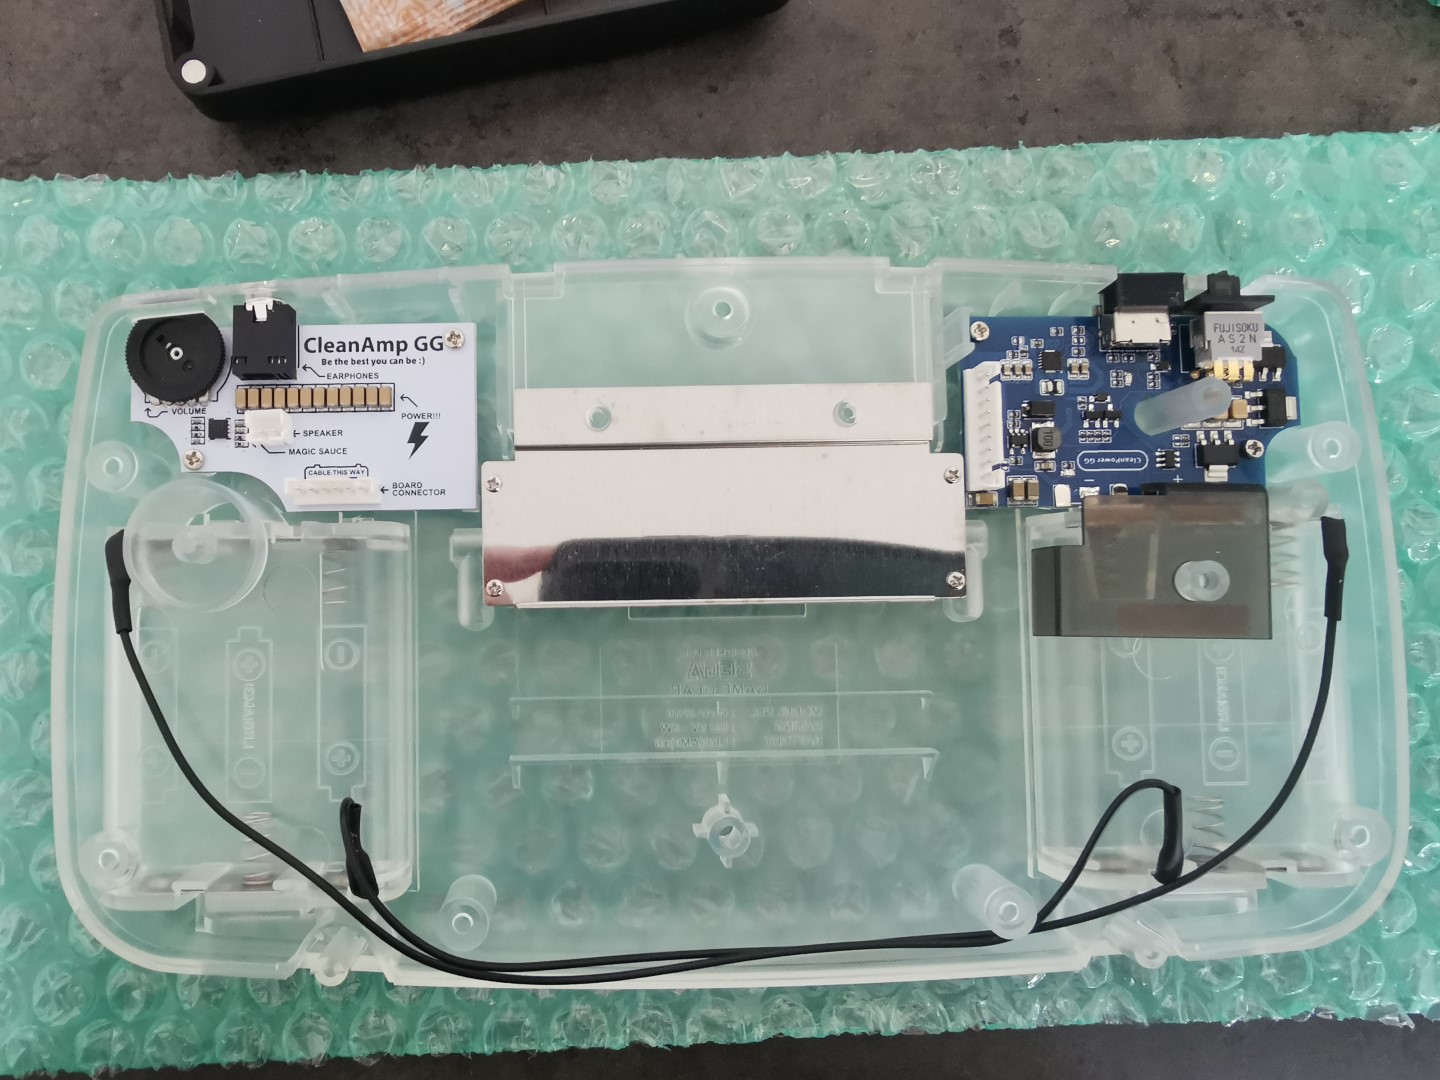
The new shell with the upgraded sound and power board
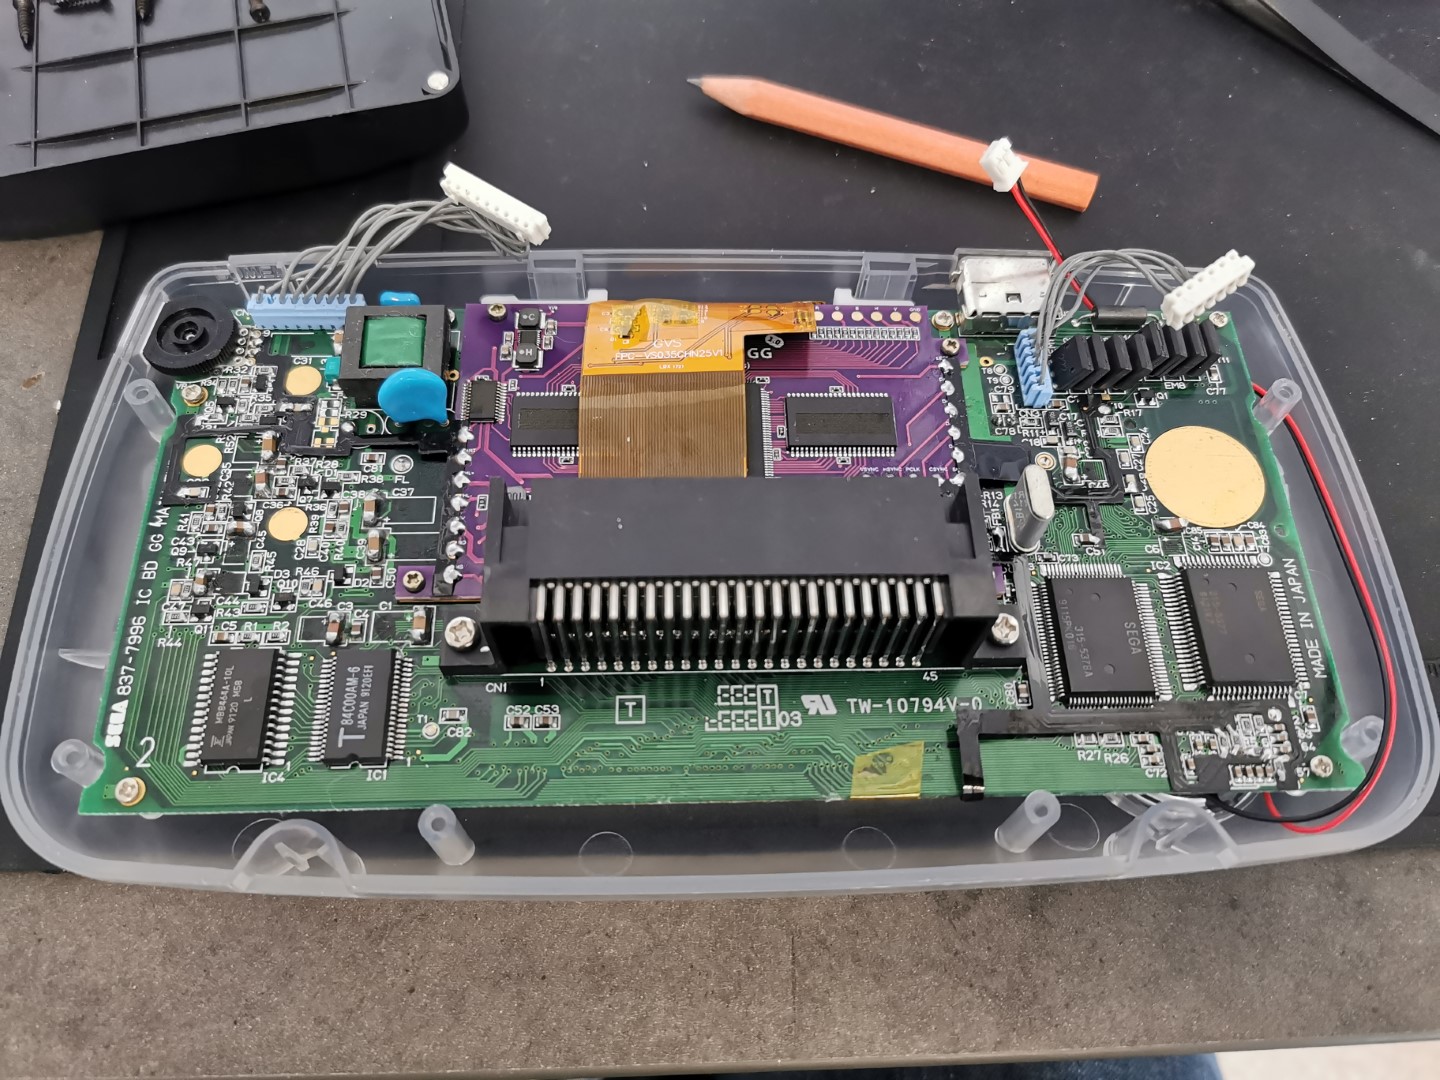
Now with the easy parts installed, I have to turn my attention to the main board. The first thing I had to do was to remove the old screen. The screen is attached with a ribbon cable that is glued to the board. Rubbing a hot soldering iron over the ribbon while pulling slowly makes short work of it.
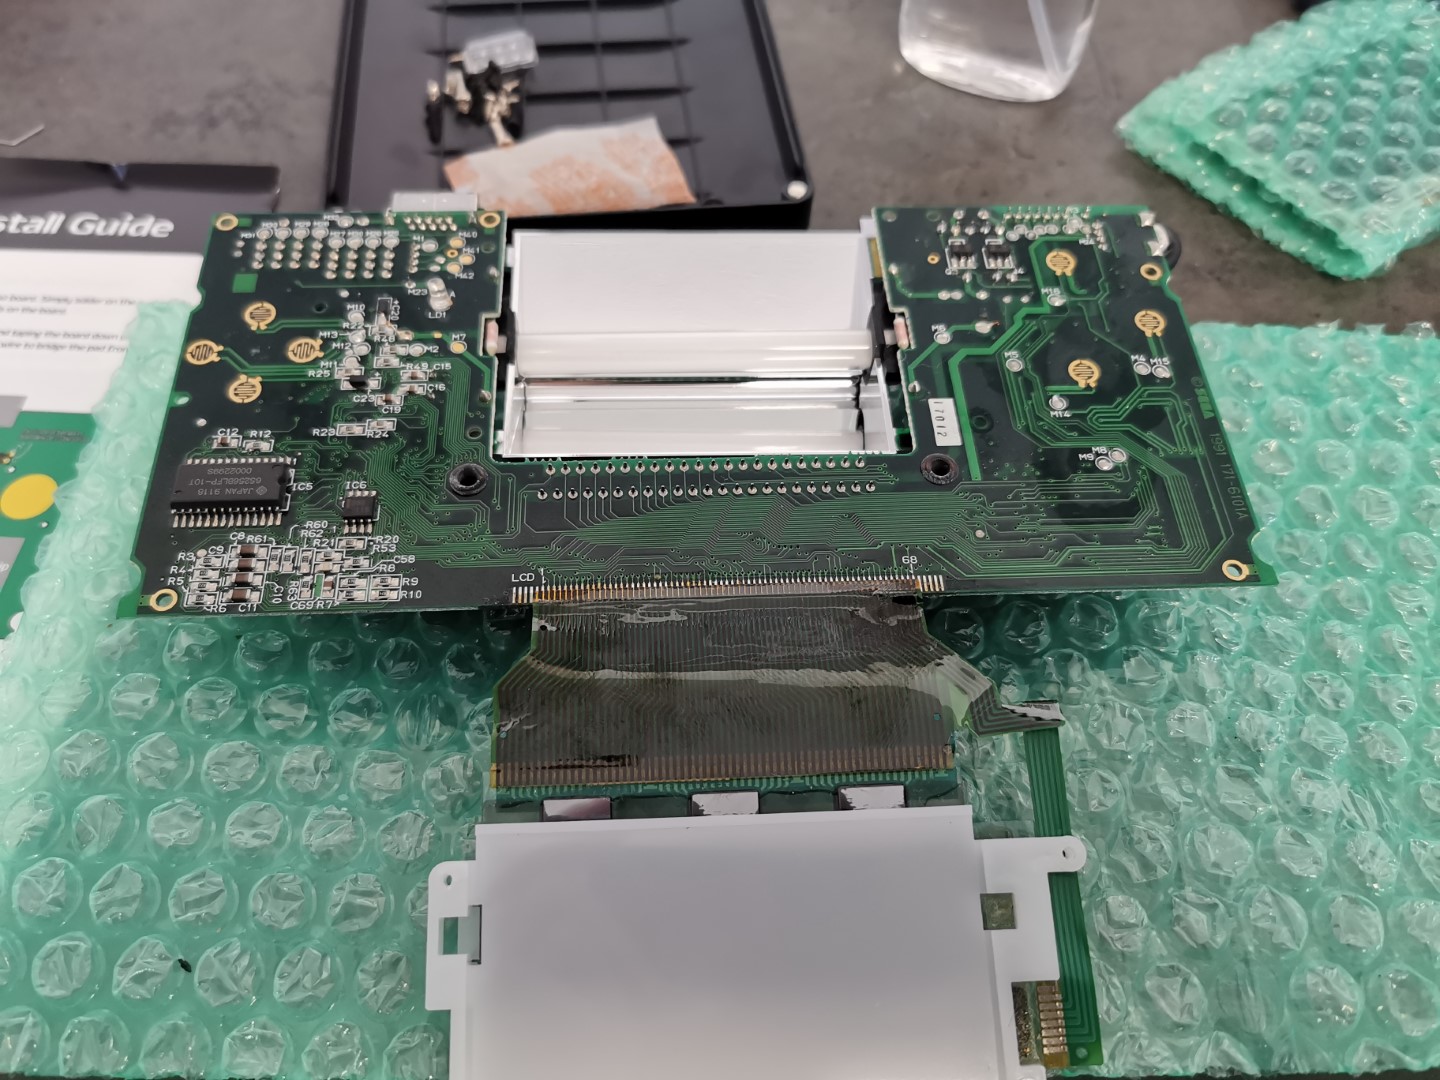
The old screen will be removed, as will the 2 fuses and the light tube.
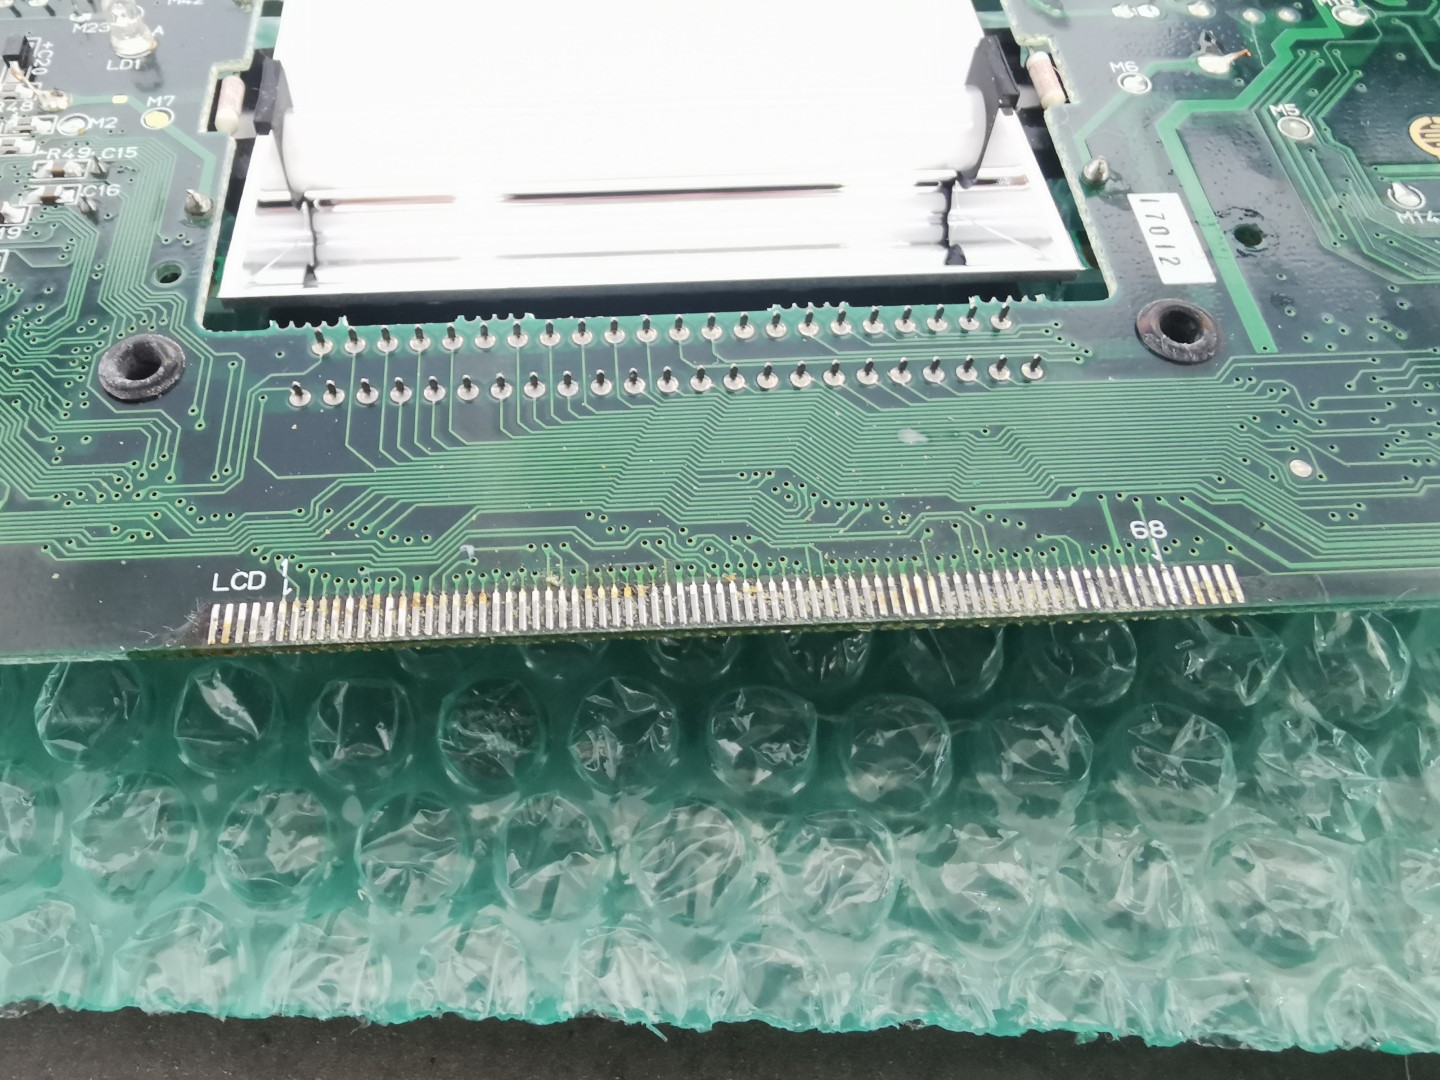
The pads need to be cleaned up before I attach the new screen
Now I did not get any photos of the next part, but I had to slide some brackets over the new screen on one side of the board and place the screen PCB over the other side and screw all the pieces together. This was fiddly and was very difficult, but I eventually managed to get everything located in place.
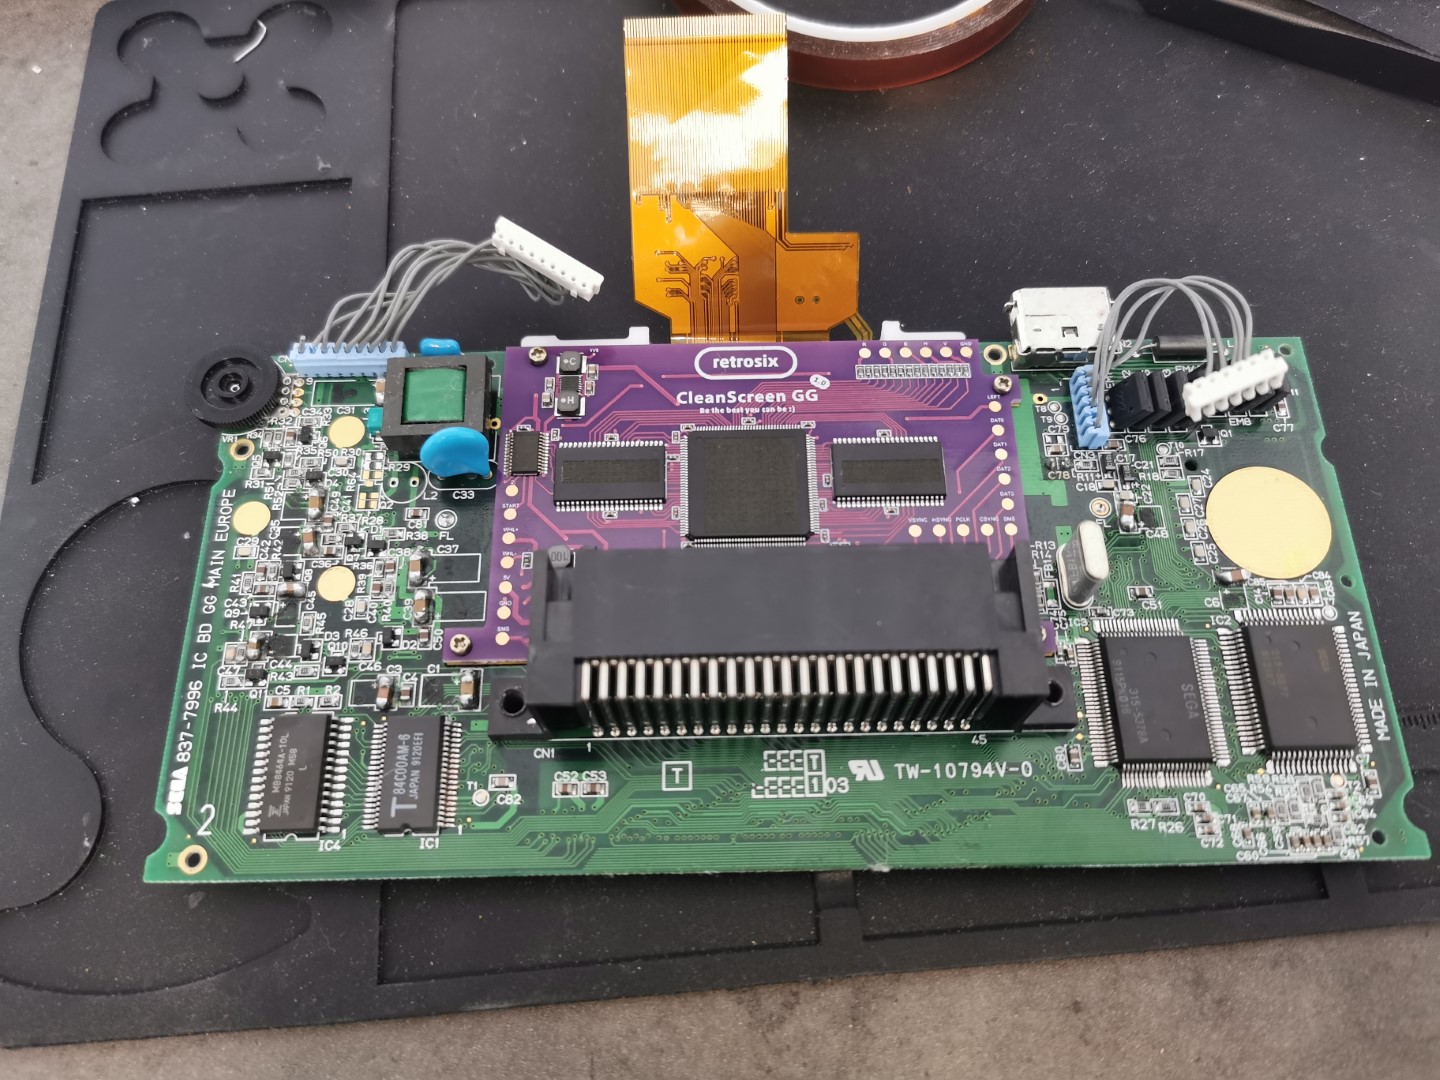
Screen and PCB all in place
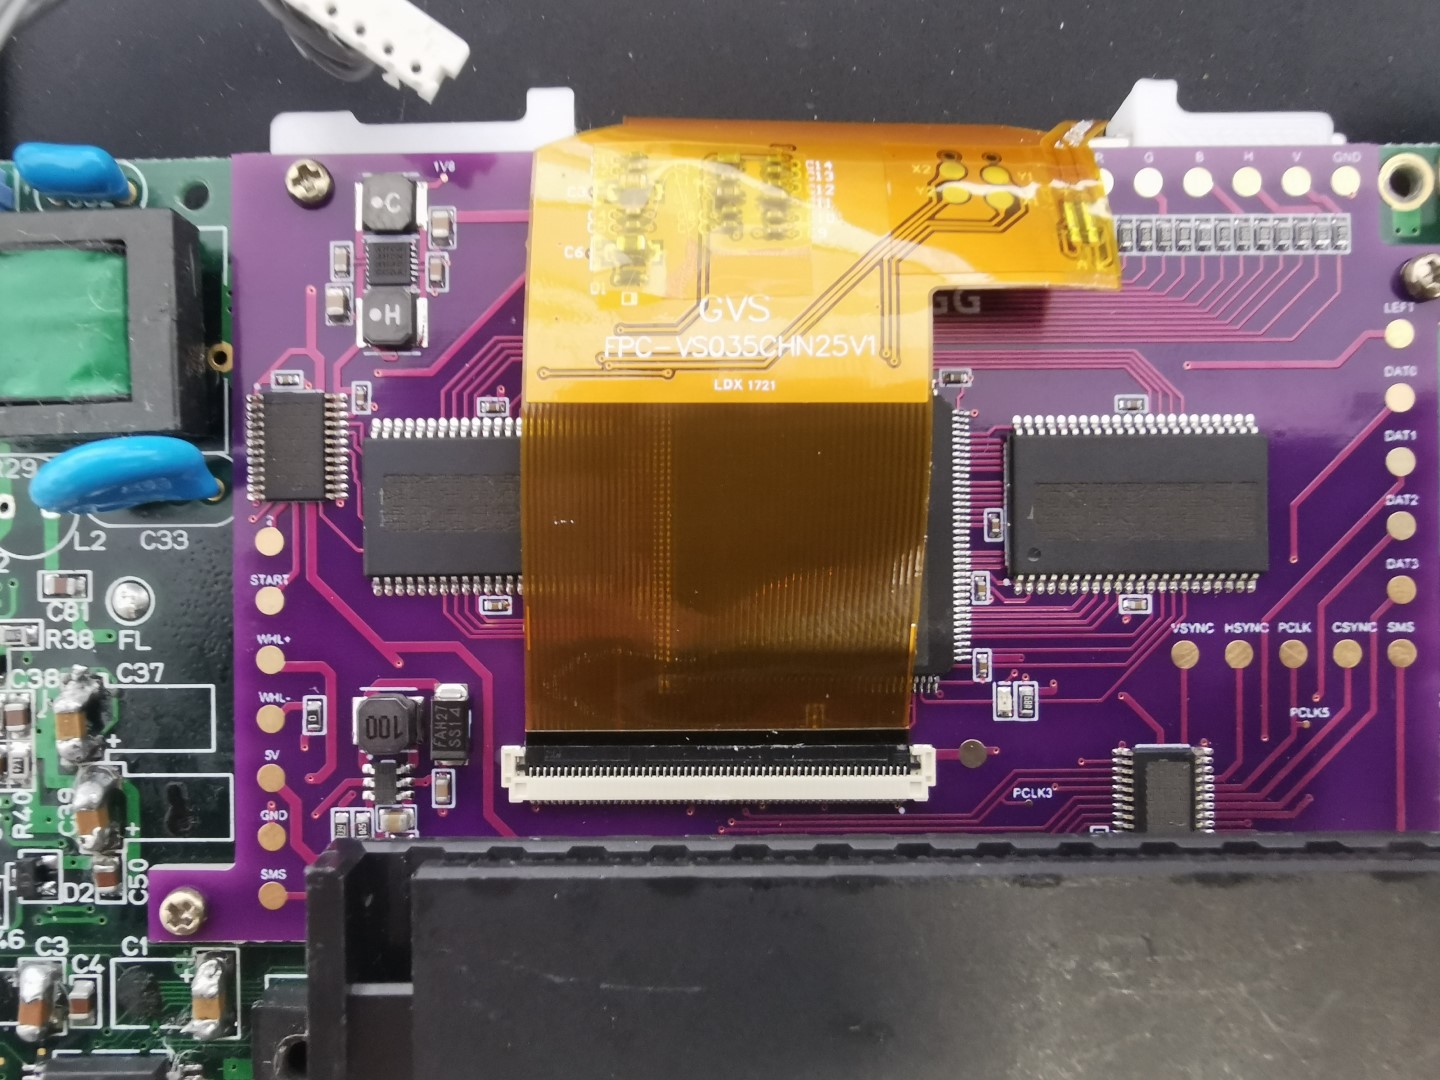
Screen ribbon needed attaching to PCB
The next part was the most time consuming. Instead of using wires all around the board, I opted for a wire free kit, this includes a ribbon cable that needs soldering to the screen PCB as well as a load of other spots of the motherboard. According to the instruction, this should take 30mins. It took me close to an hour. I wanted to make sure I did this part right so I took my time.

The wire free kit
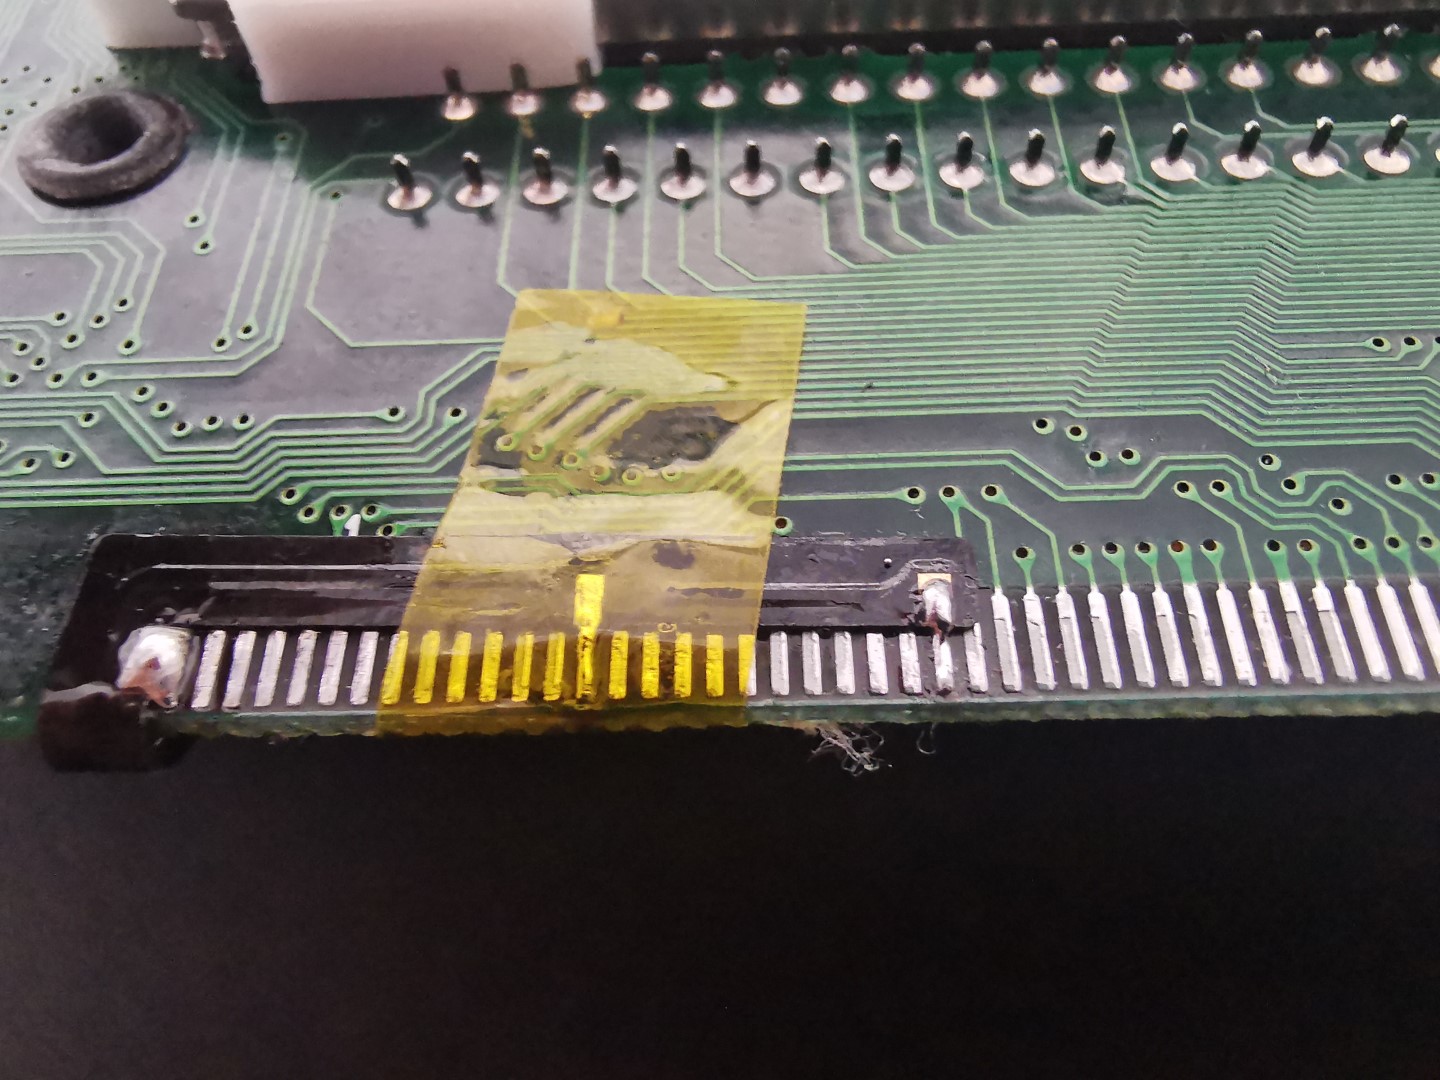
The kit required some very fine soldering
After all the soldering was done, I installed the new speaker in the shell.
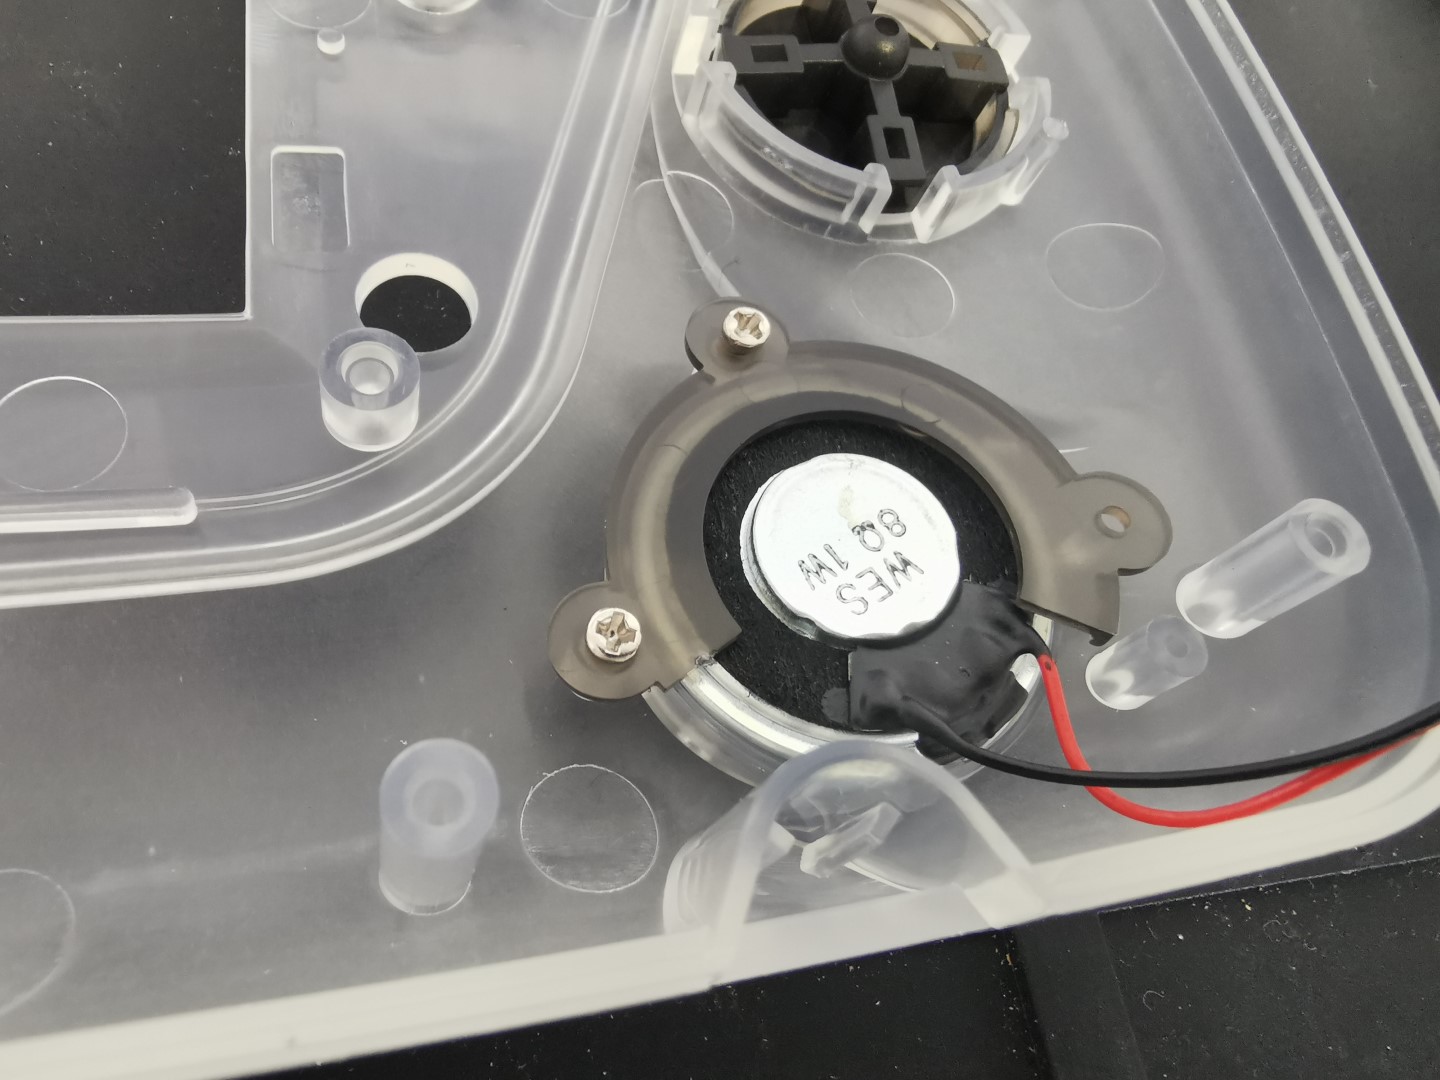
The new speaker in place

The shell with the buttons and speaker installed
Screen installed into the shell
Console all screwed closed
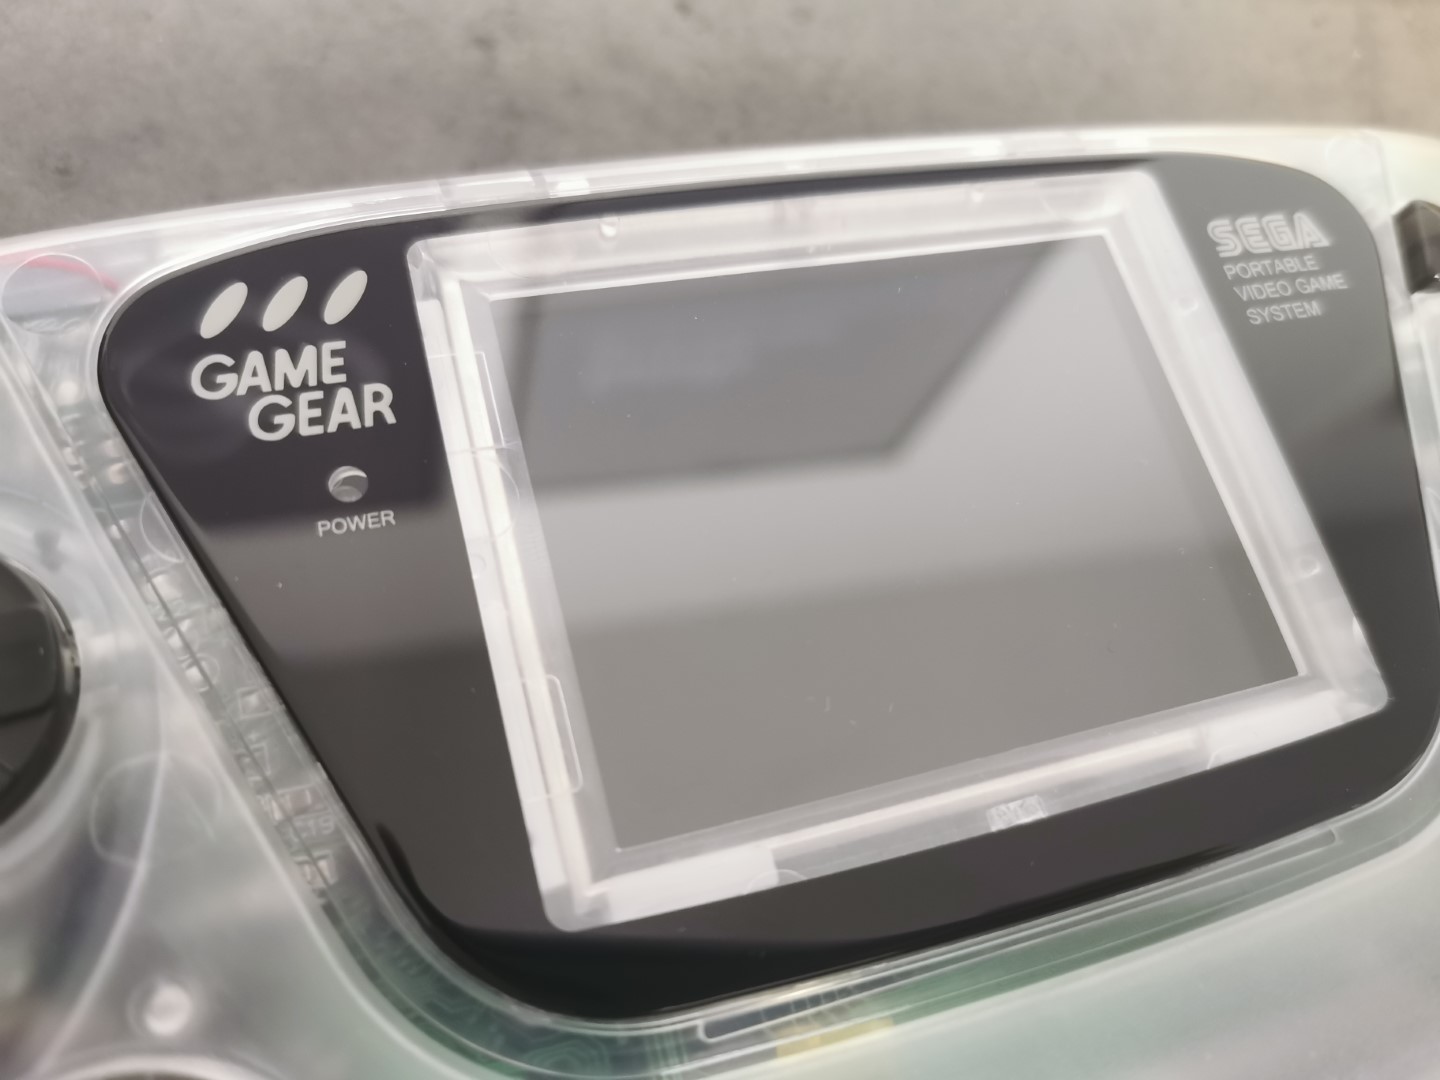
I then installed the screen lens, it just sticks into place on the front of the shell.
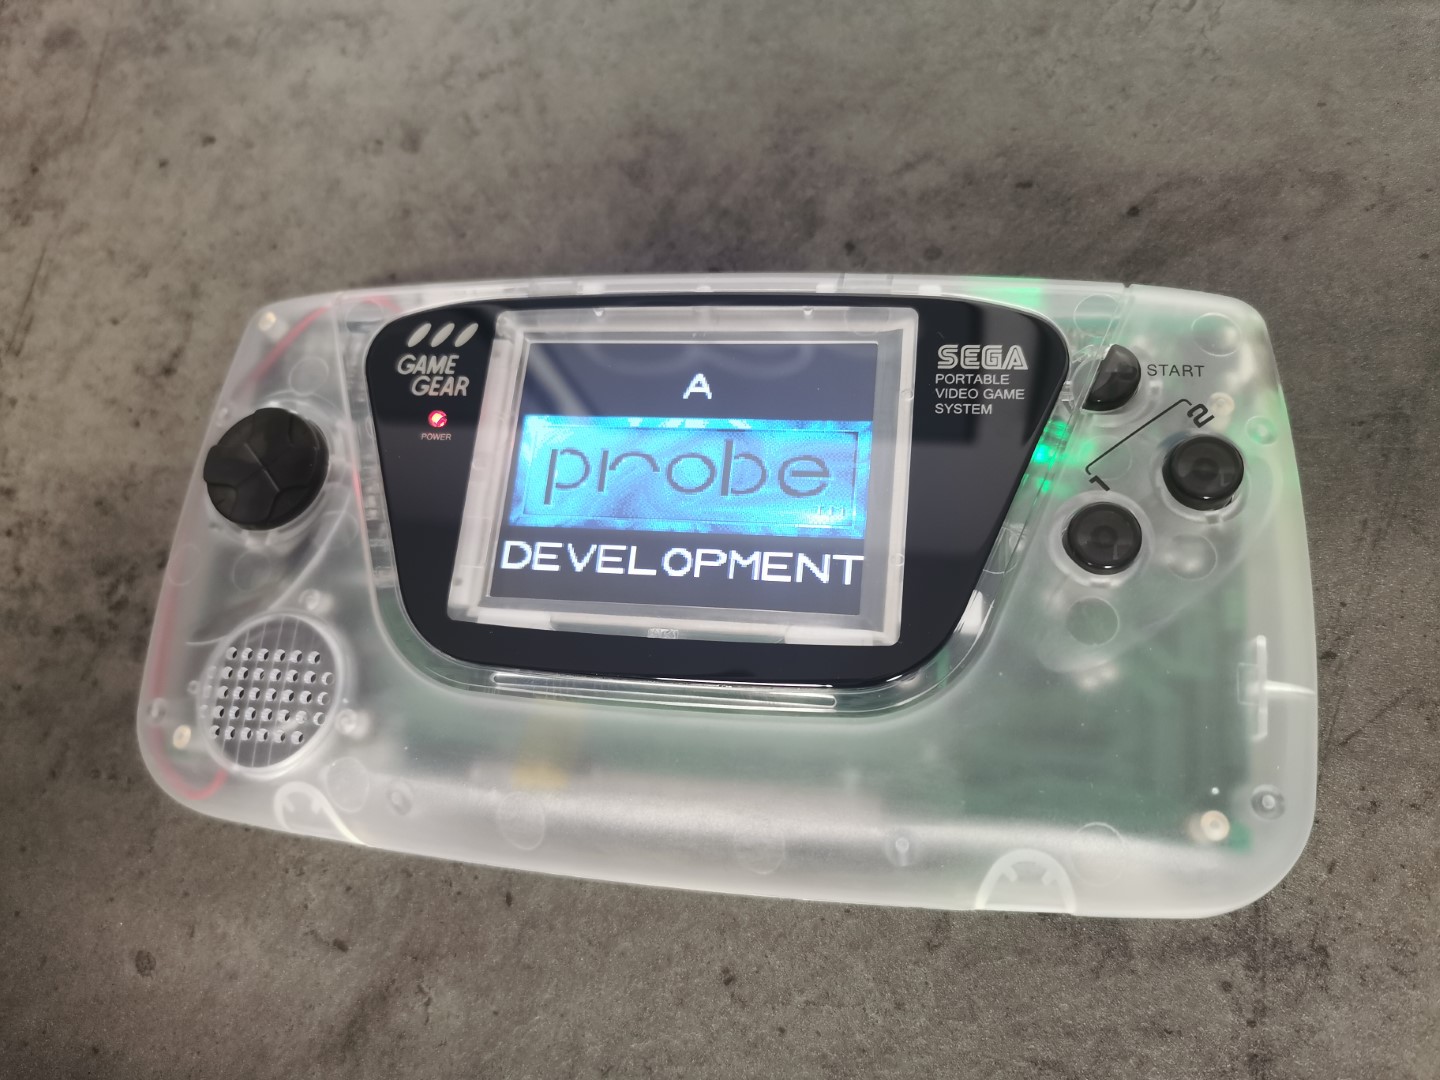
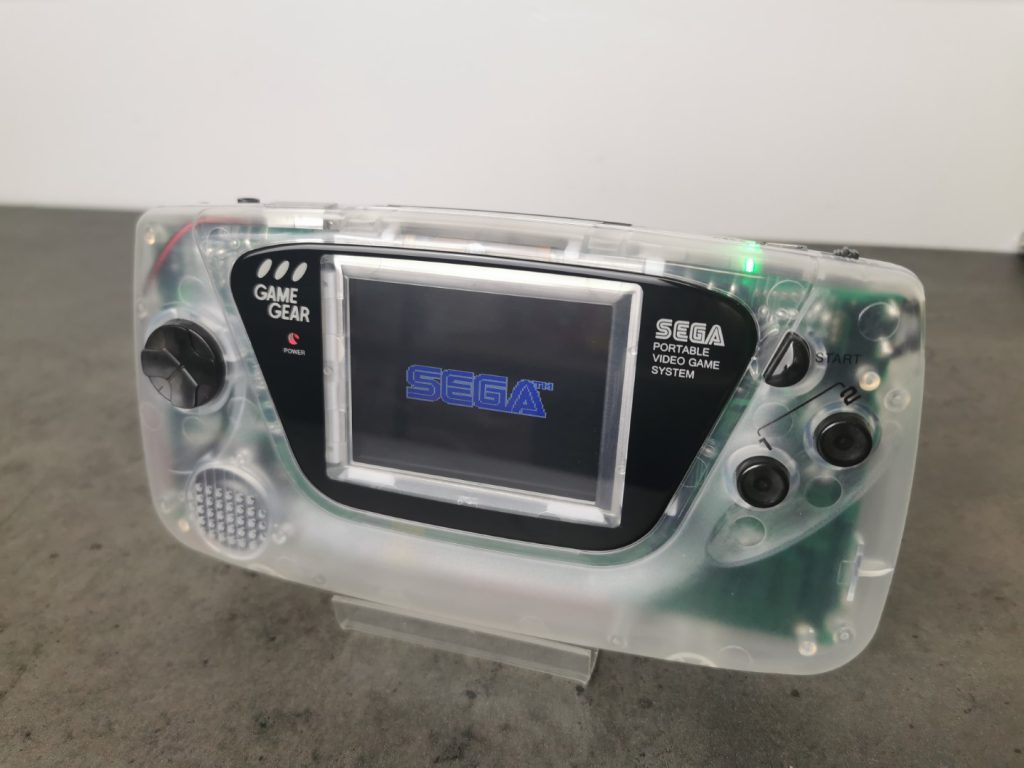
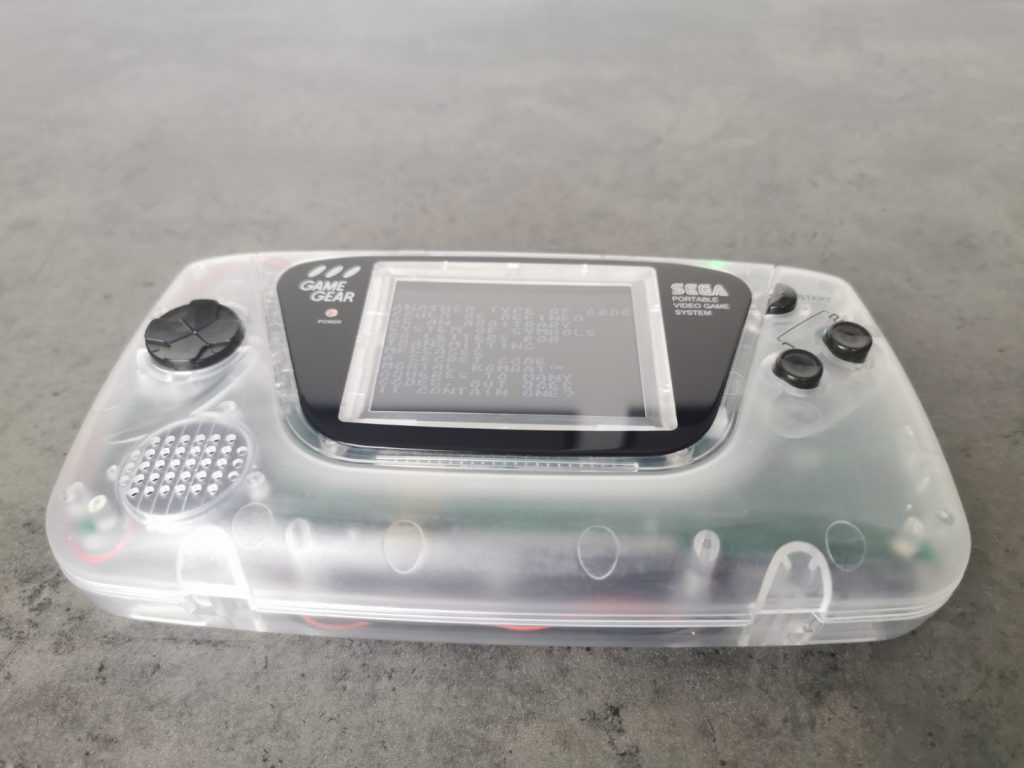
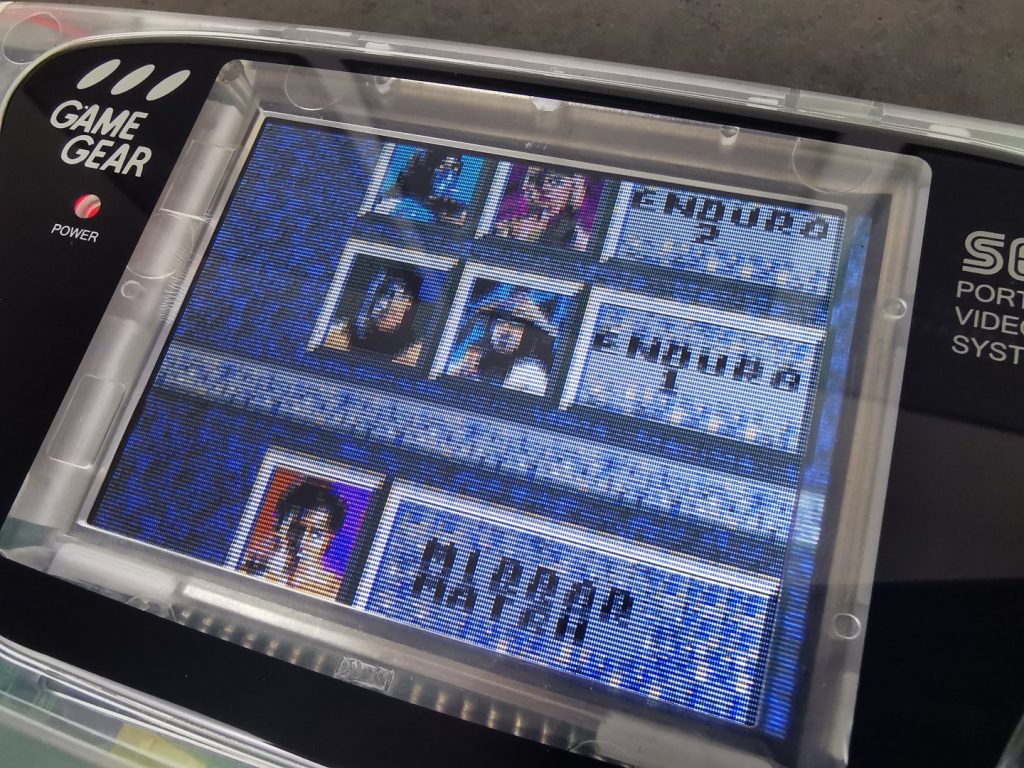
And here we have the finished Game Gear build. It was at this point I was satisfied knowing that I have created the ultimate Game Gear. I have taken a 30 year old console and brought it screaming into the 21st century. I was happy…until I jumped onto Facebook and was greeted with this.
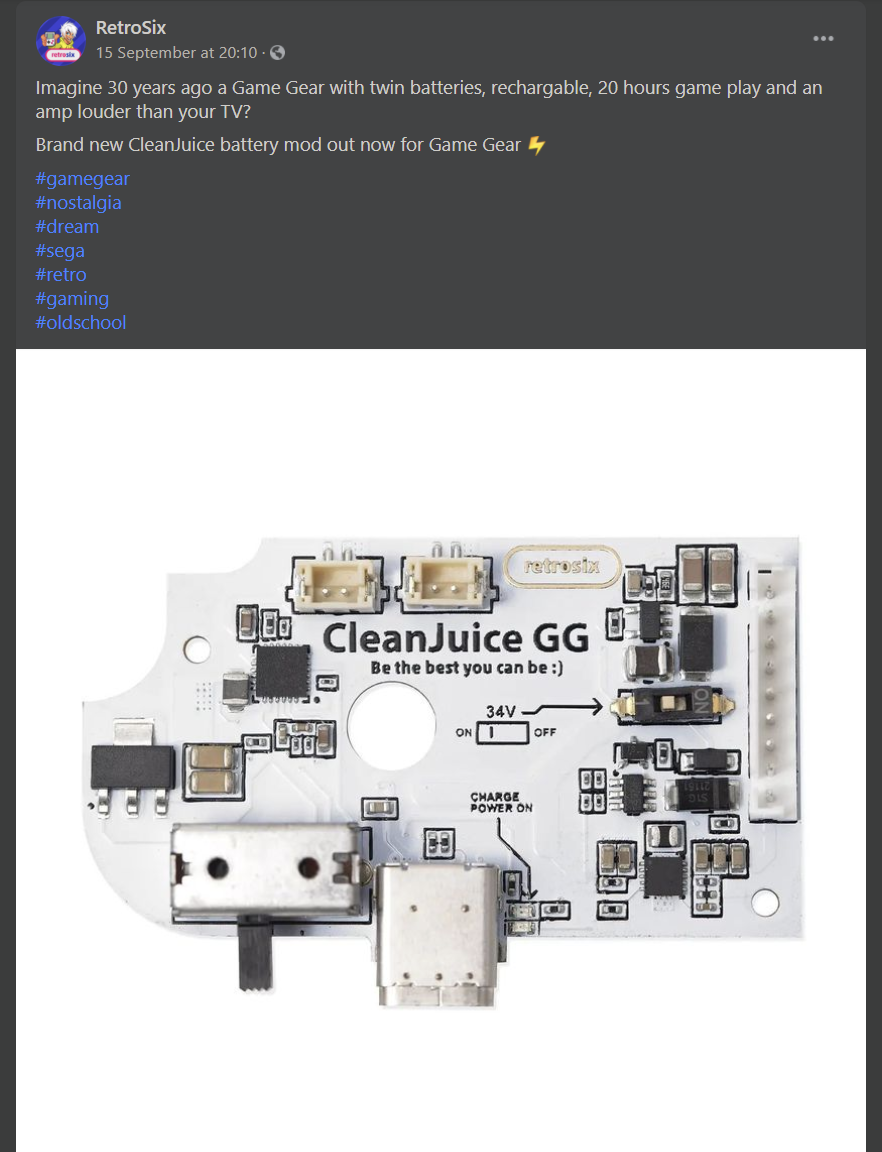
That is just my luck. A new better mod for the Game Gear. I was so mad. But I couldn’t come all this far and stop, it would always annoy me that it was not all it could be, so I knew I had to get it.
After a few days the new CleanJuice GG part was delivered. I was confused because the package was a lot bigger than I was expecting. That is because the lovely folks at Retrosix threw in a free Game Gear shell. That was very nice of them. Throughout my time ordering from them, I have gotten a fair few things chucked in for free and it is always appreciated.

The shell delivered with the mod already in place.

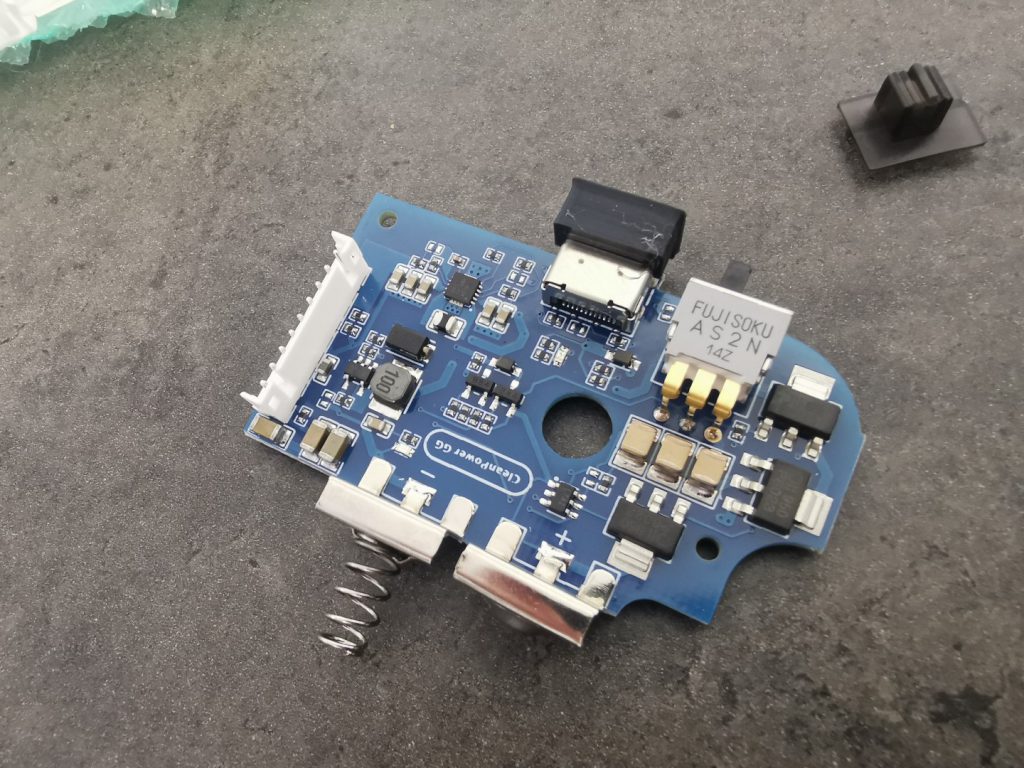
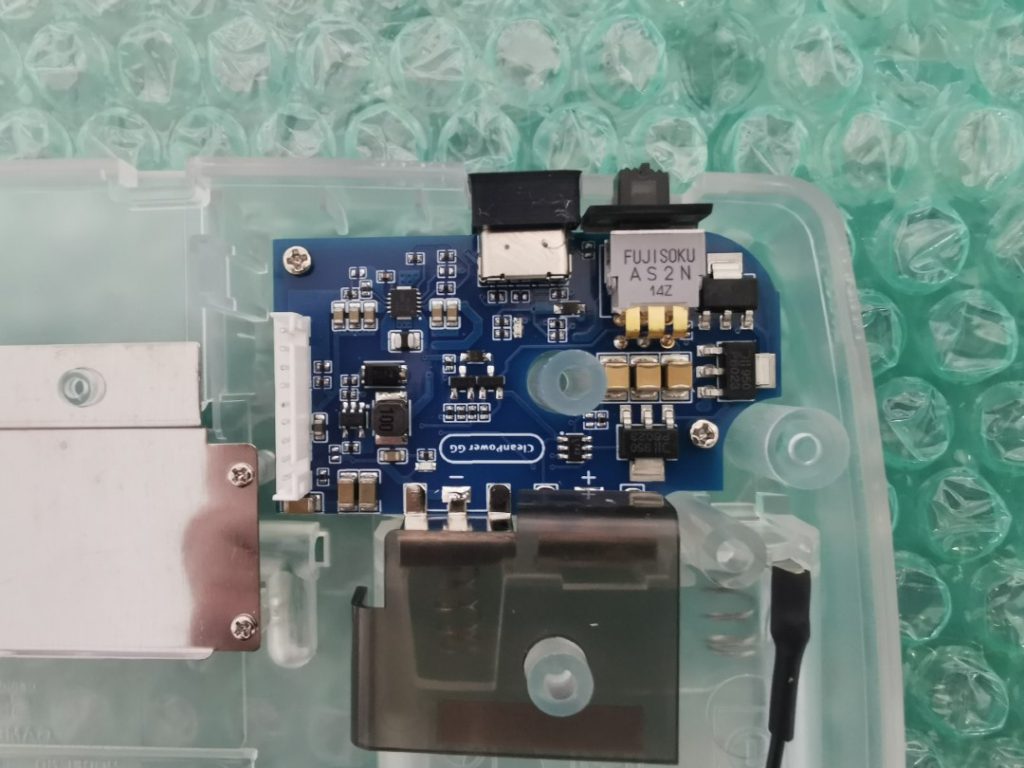
I took out the power board from my clear shell and replaced it with the upgraded one, it just screws into place.
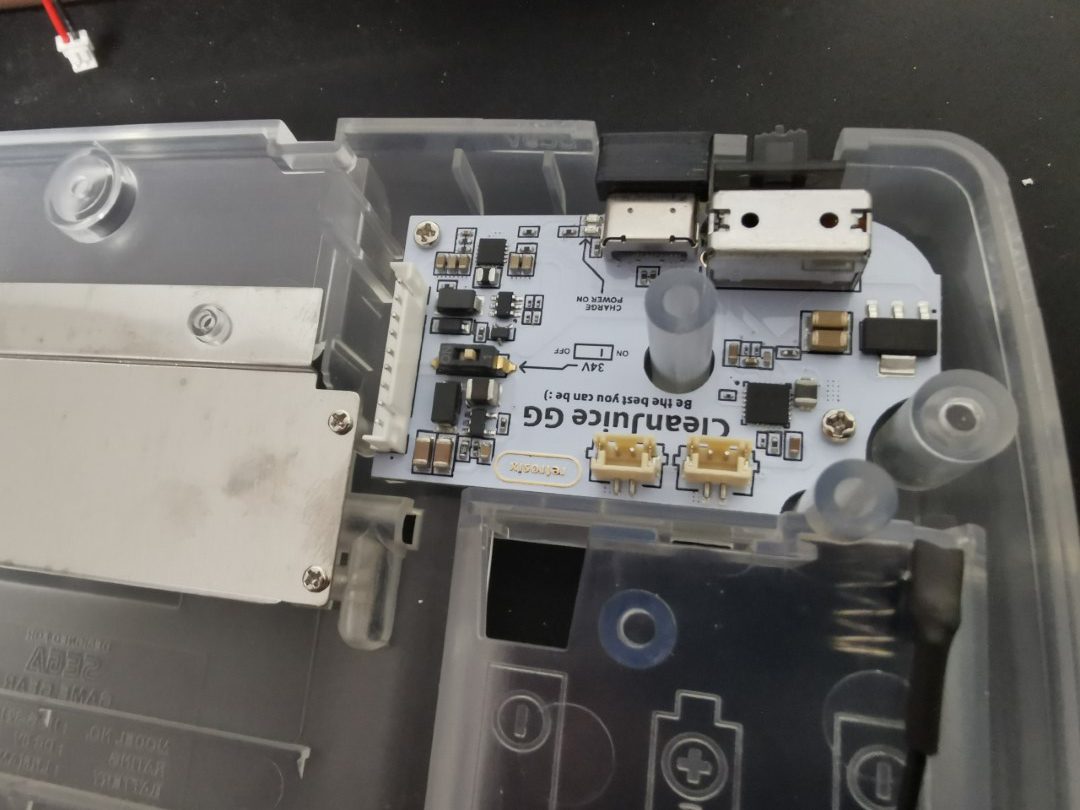
All screwed in place

Now if I had to complain about something, it would be that the text on the new power board is the opposite way than the sound board and it drives my slightly OCD brain crazy.
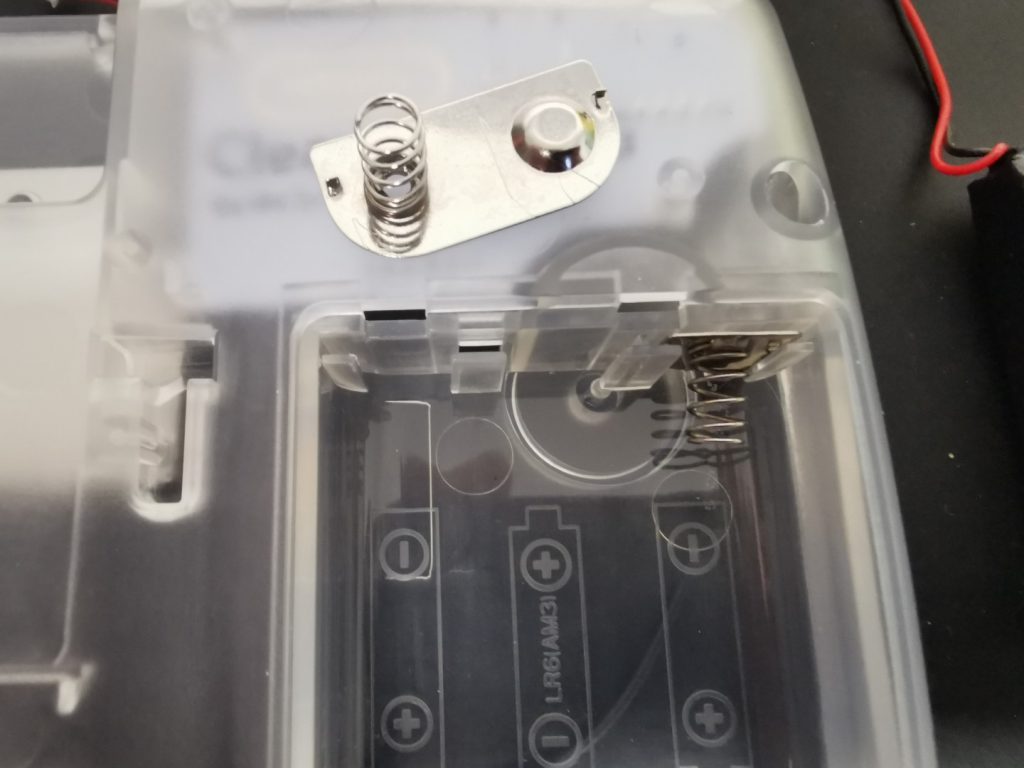
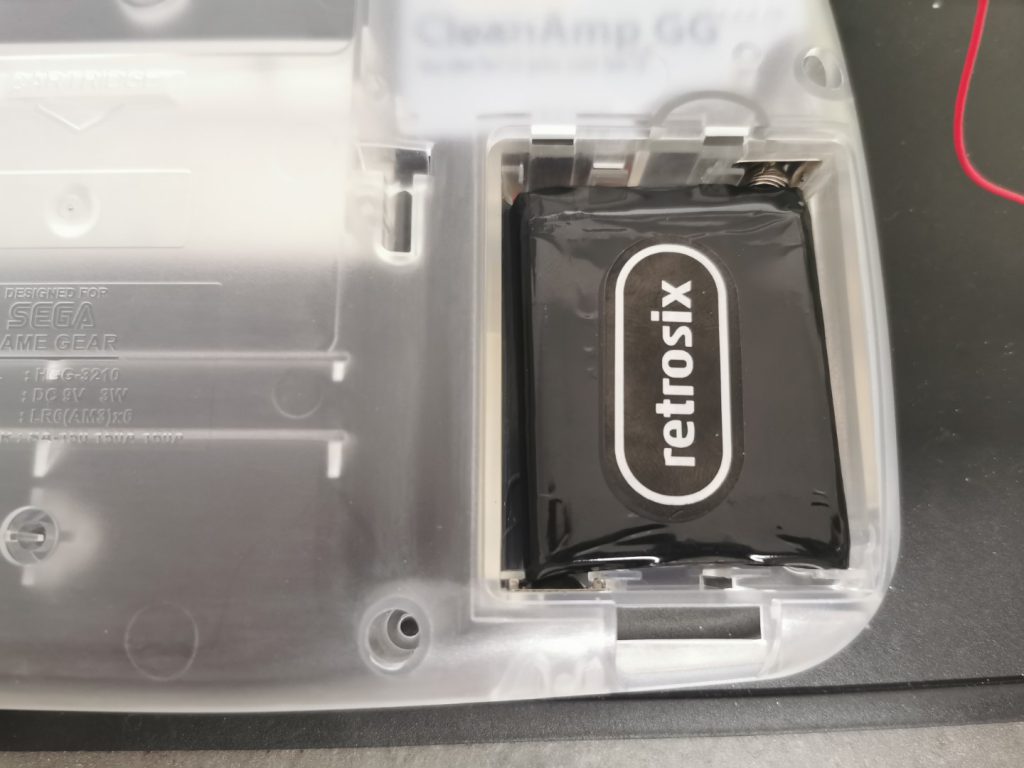
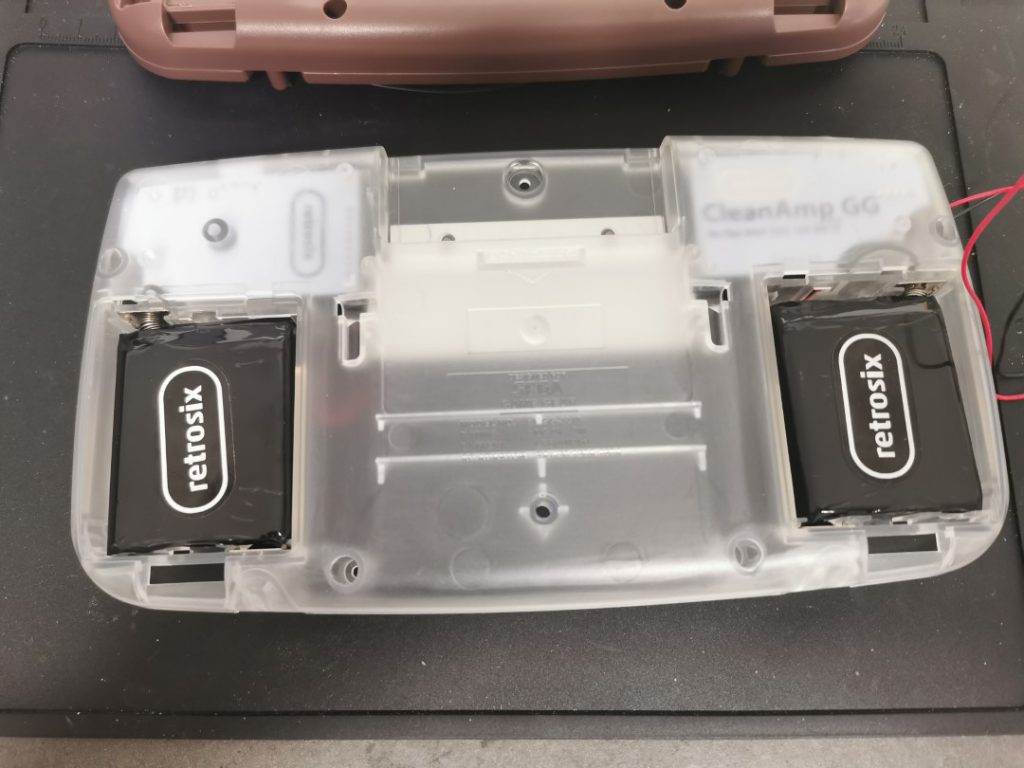
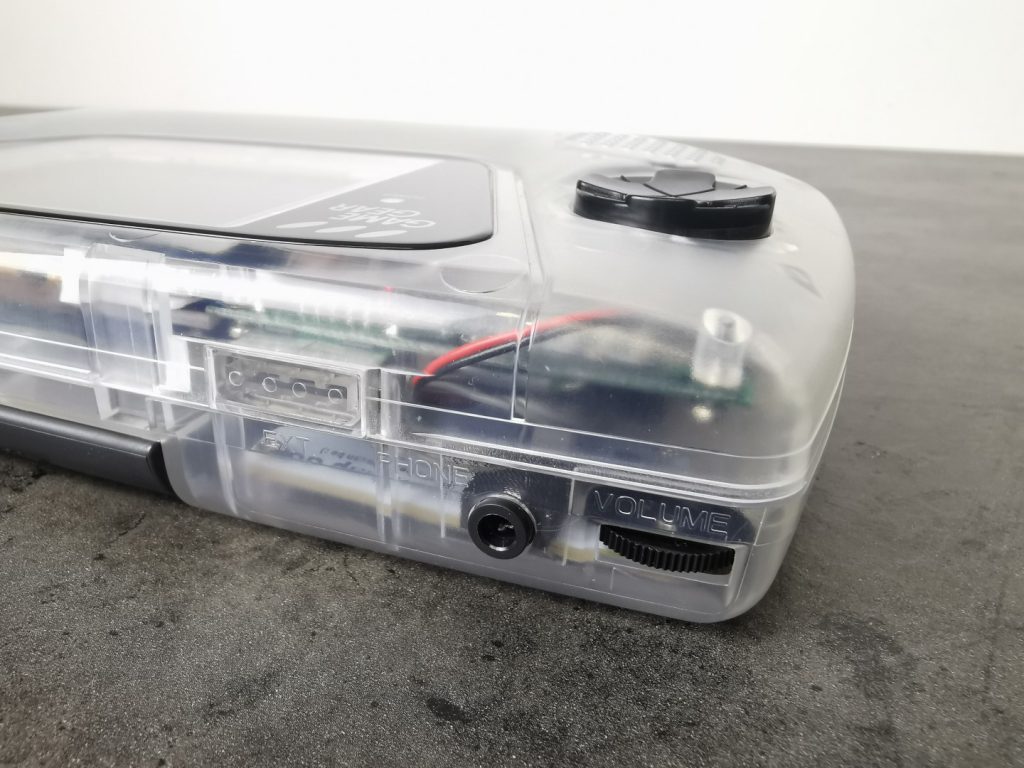
Installing the battery packs was very easy and because I had a custom shell, required no cutting. After removing a couple of battery terminals the battery packs slot right in place.
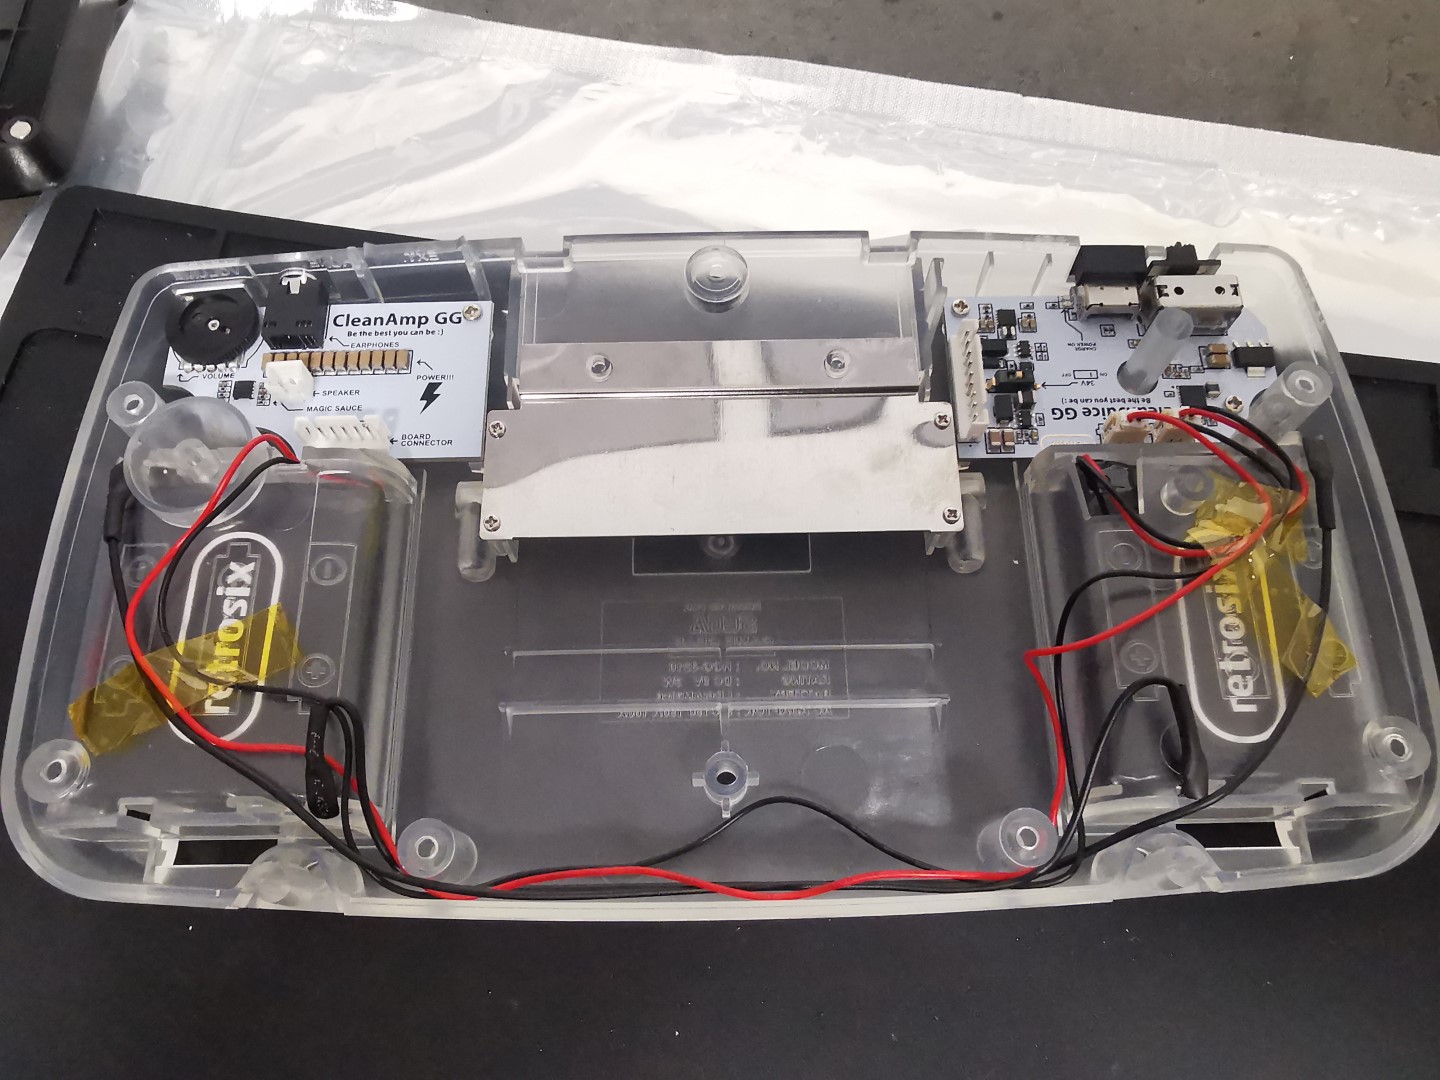
I then fed the wires through the inside of the shell. I stuck them in place to make sure they wouldn’t get in the way.
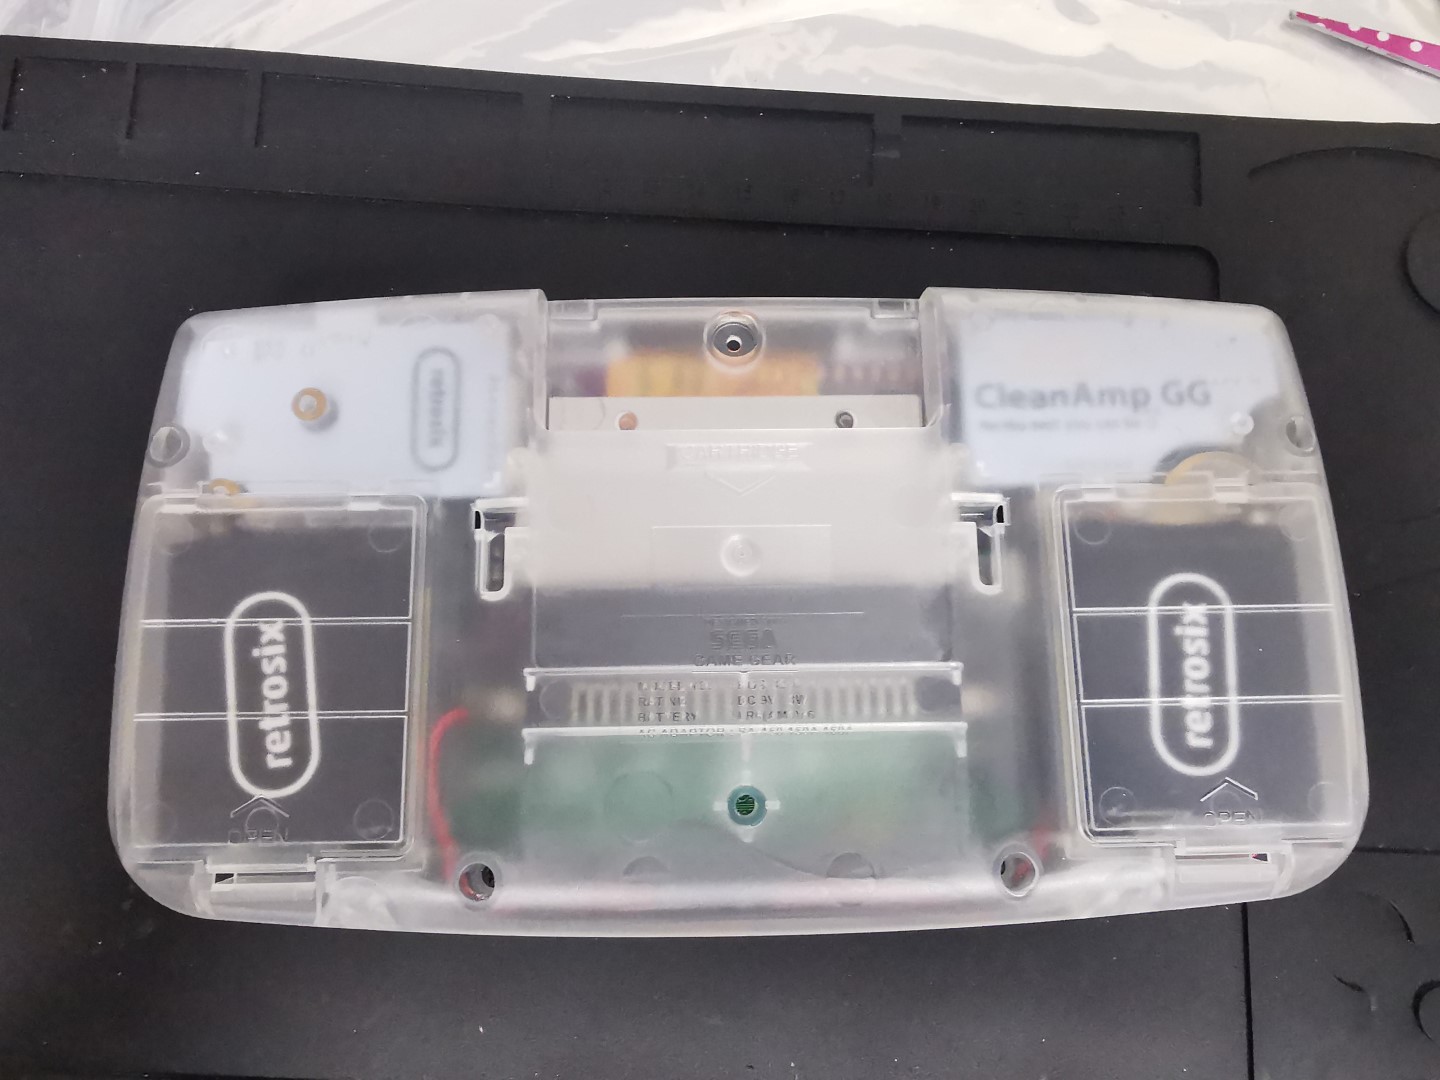
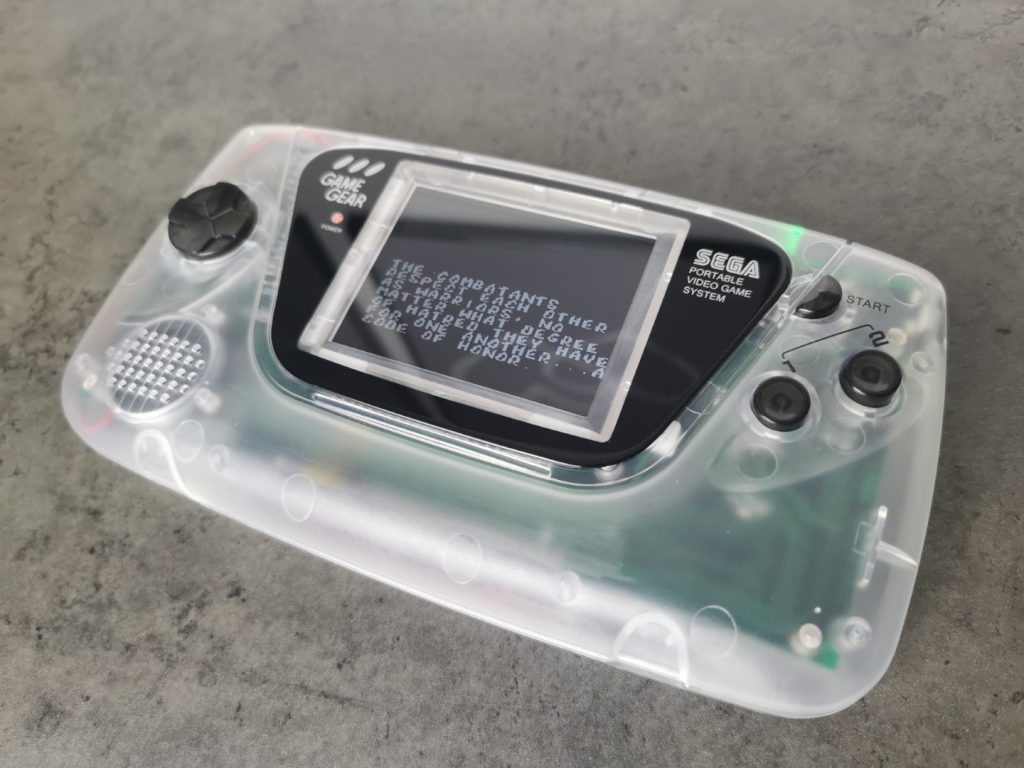
After screwing the console closed I was done.
I really enjoyed this build. it was relatively easy which helped. Let me tell you, this console is a beast, the upgraded parts show how far technology has come in the 30 years since the Game Gears inception. The upgraded speaker is insanely loud, the website states that the sound is well over 300% louder than the original, can be heard 20 meters away.
The USB C dual-lipo rechargeable battery pack addition is fantastic and adds 22.2 watt hours of power giving you over 13 hours of game time.
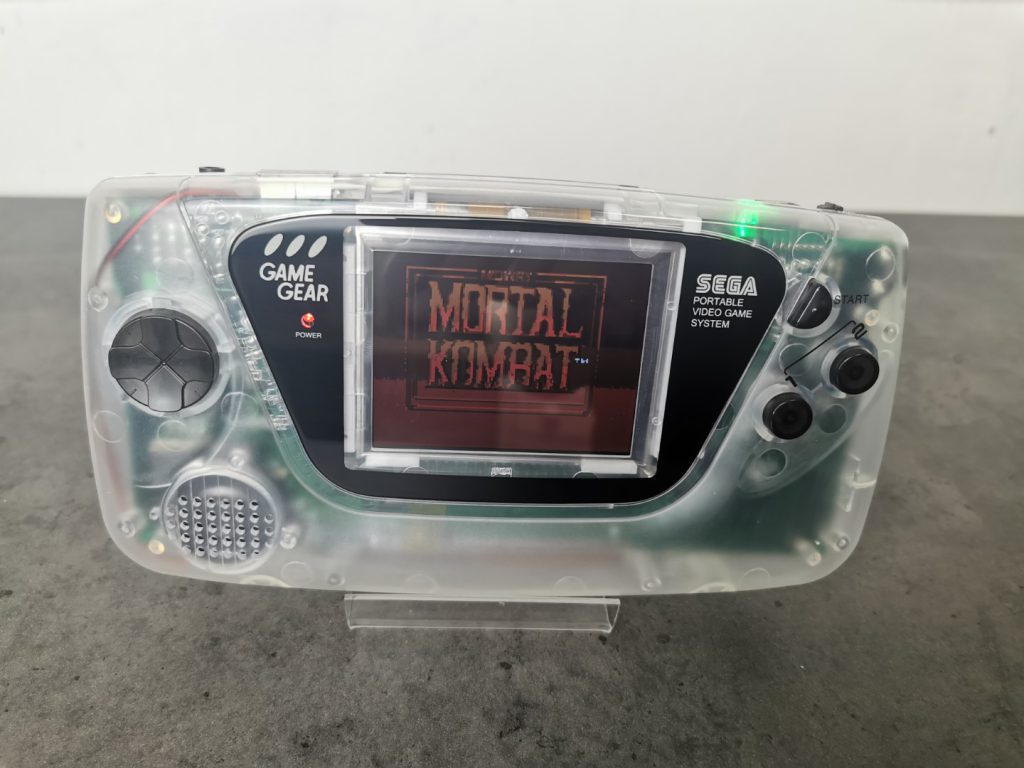
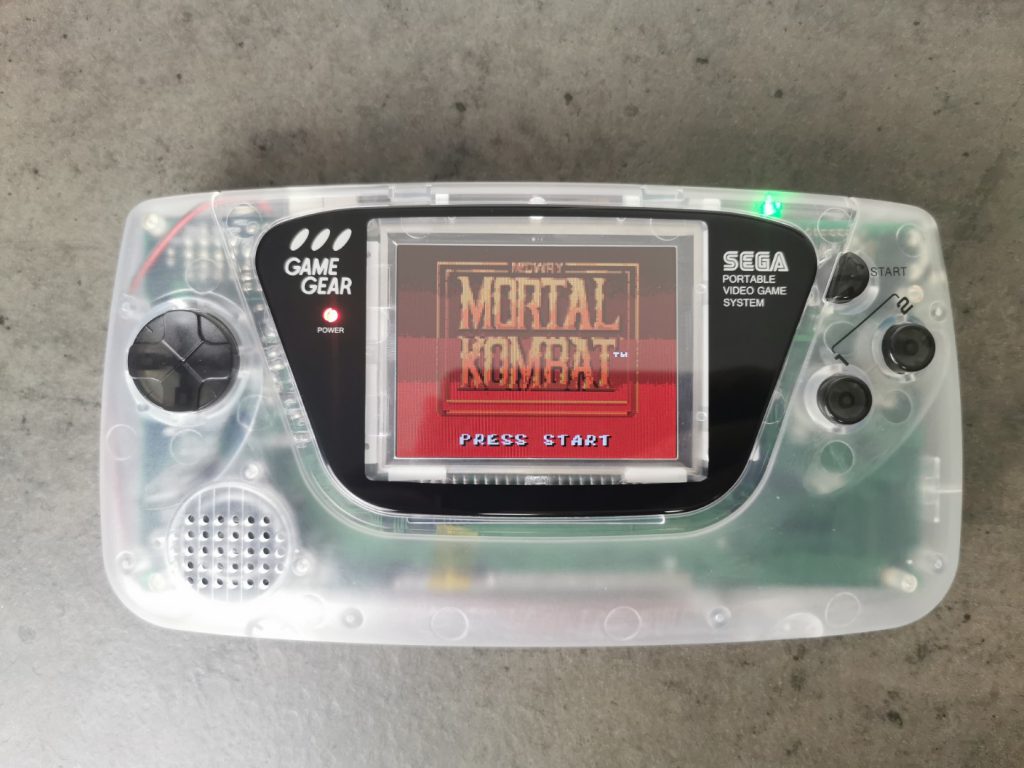
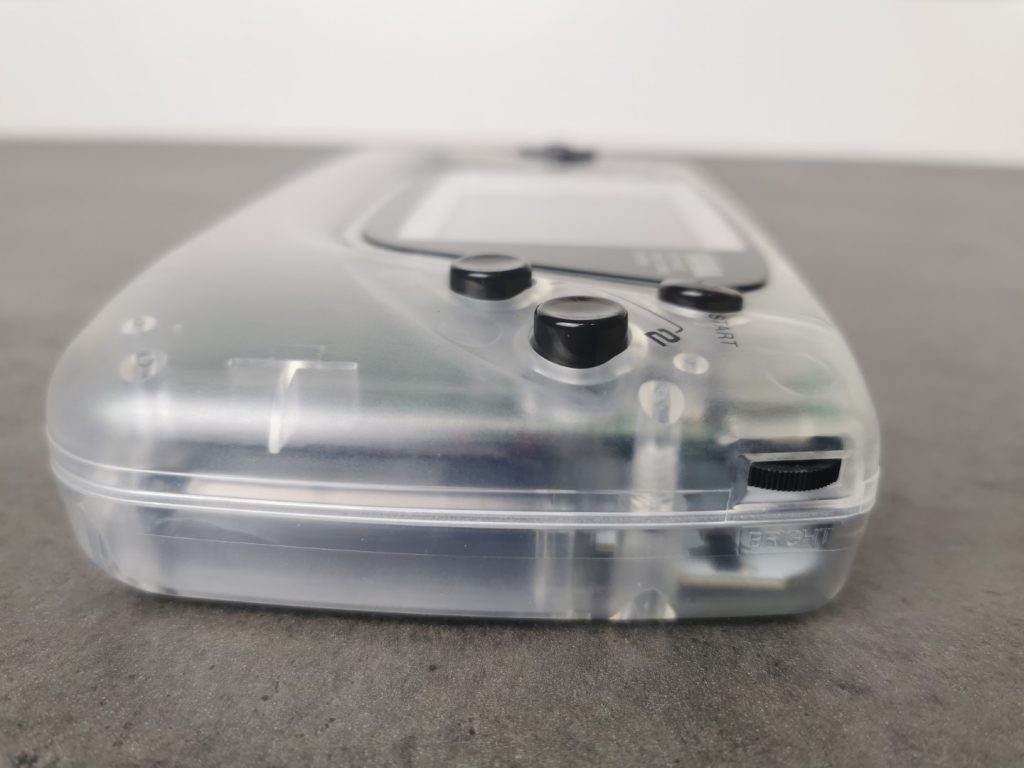
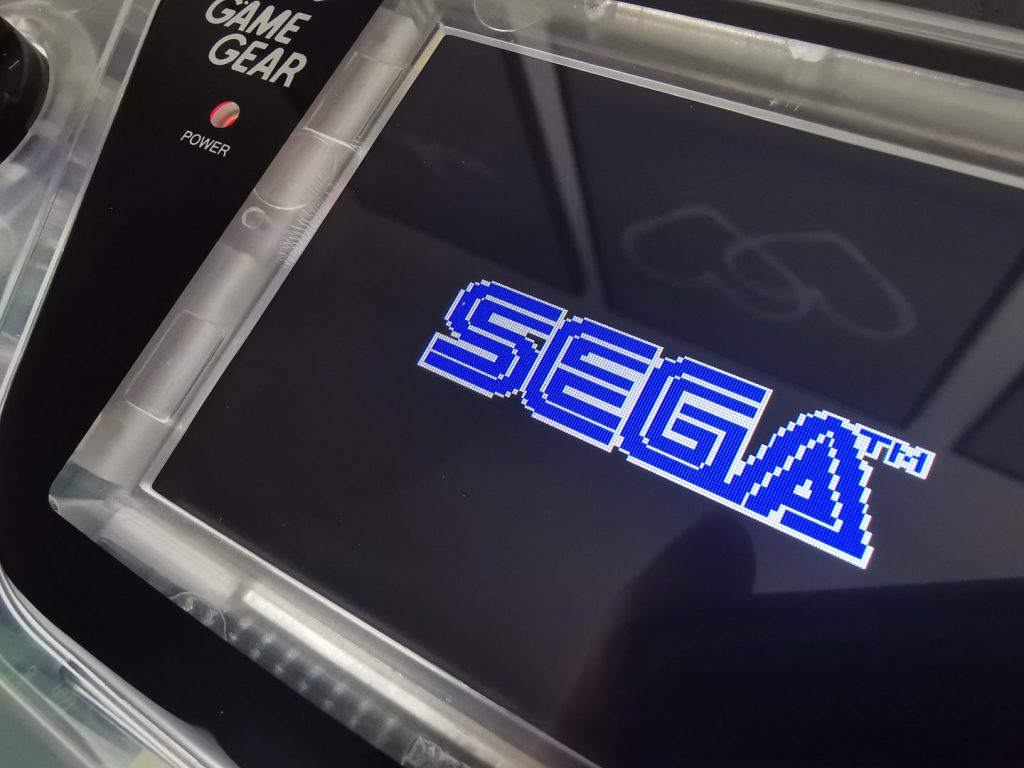
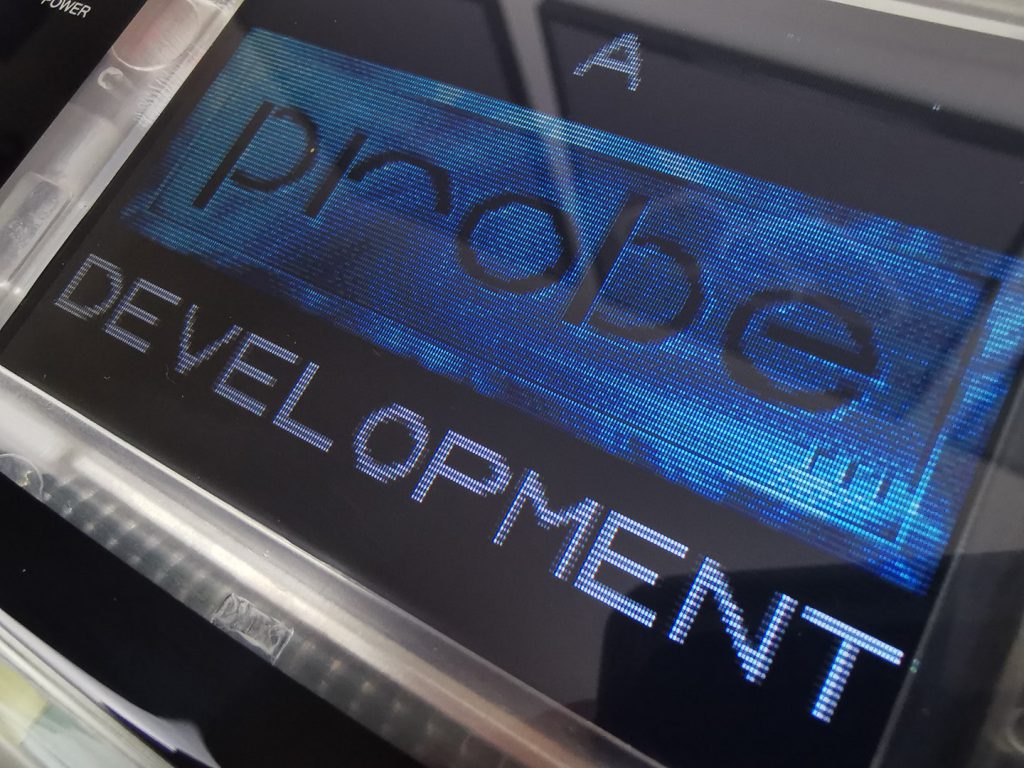
The upgraded screen is amazing it gives a more retro feel with its larger pixels and a matt finish. It also has support for adjustable brightness using contrast wheel. It also includes scaling options for full size, original size and stretched, all with scanline emulation.